Please see my facebook page for latest updates: click!
11.1.2015
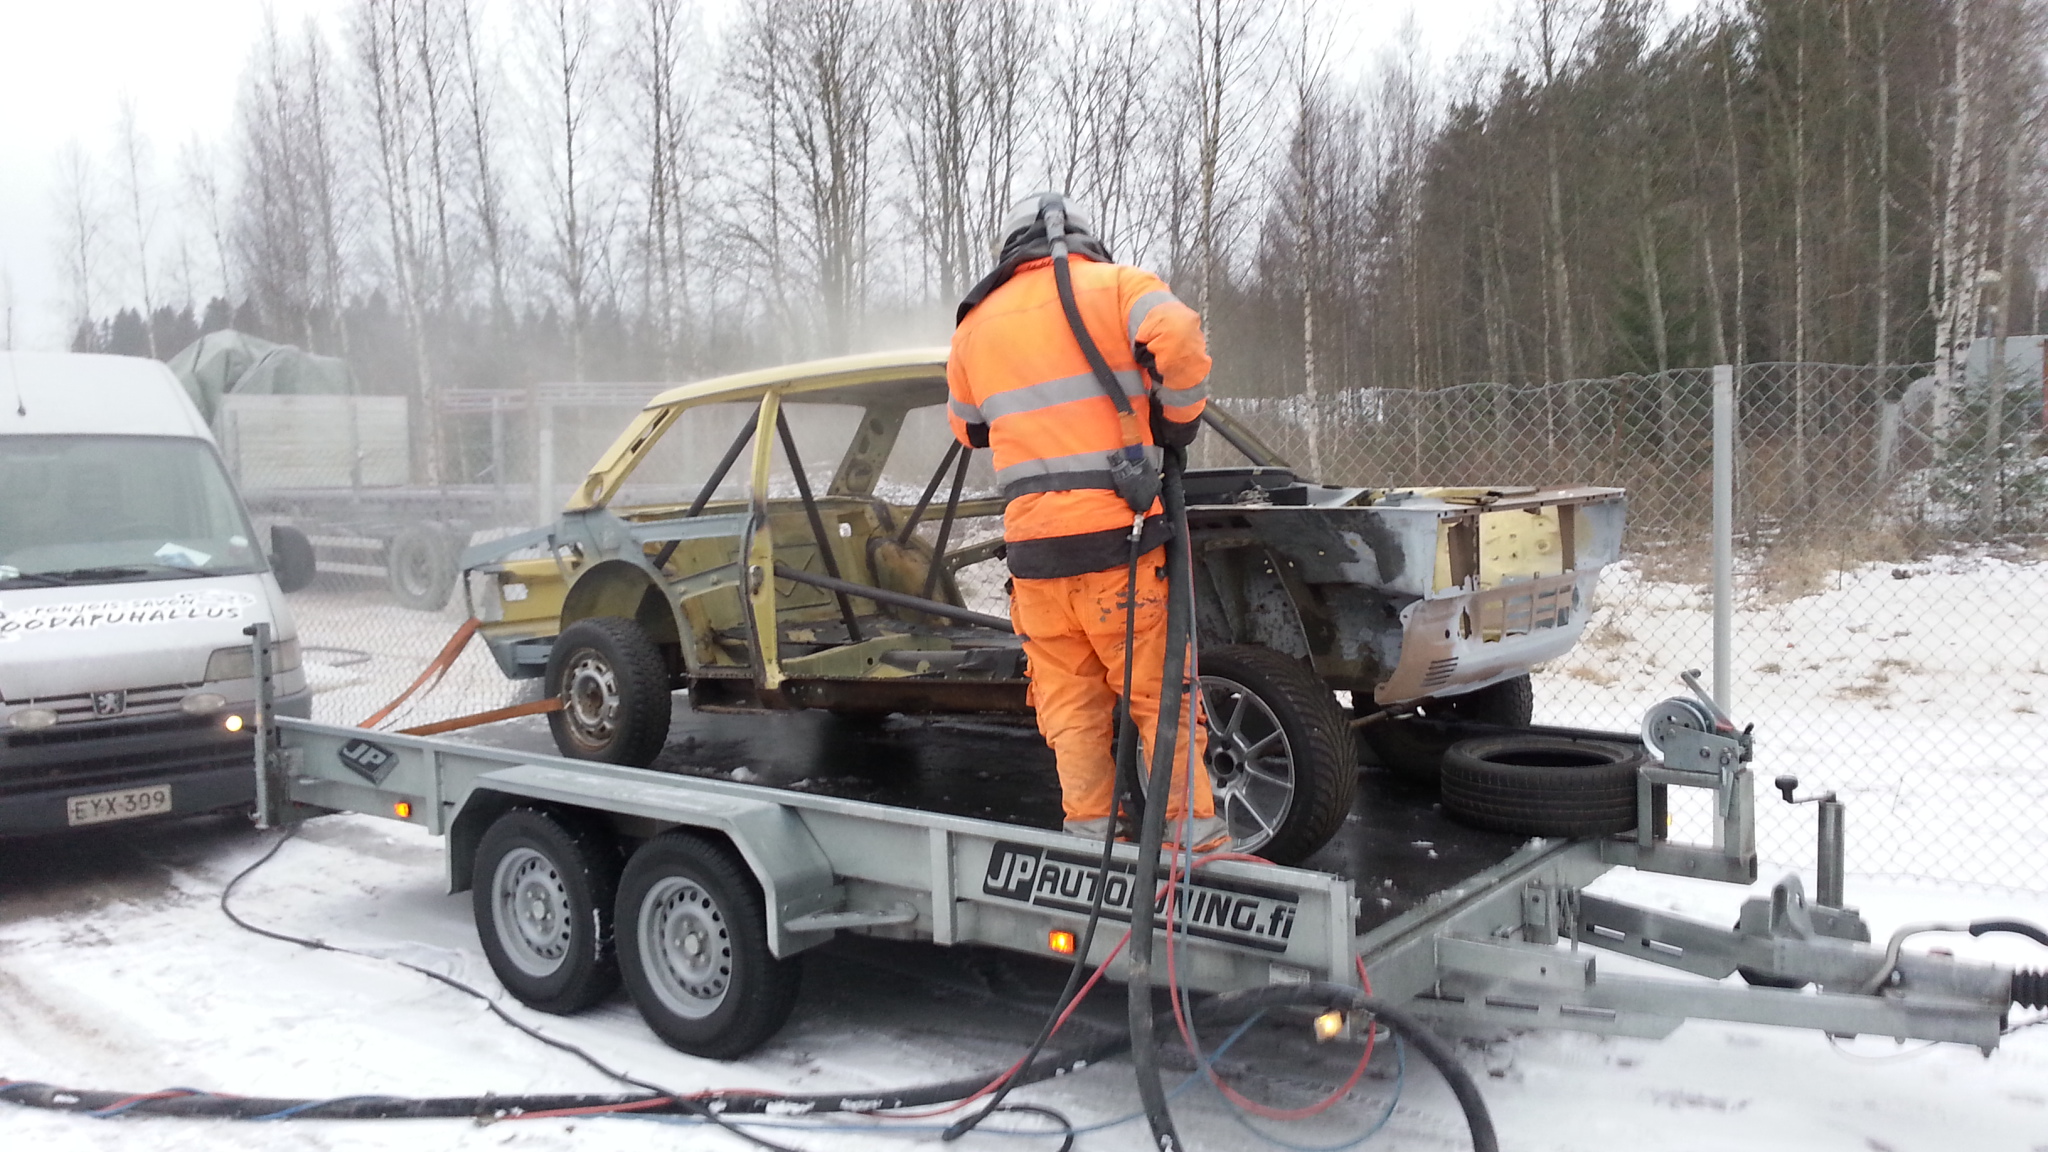
Long time without update. But here is some pics of what Ive done.
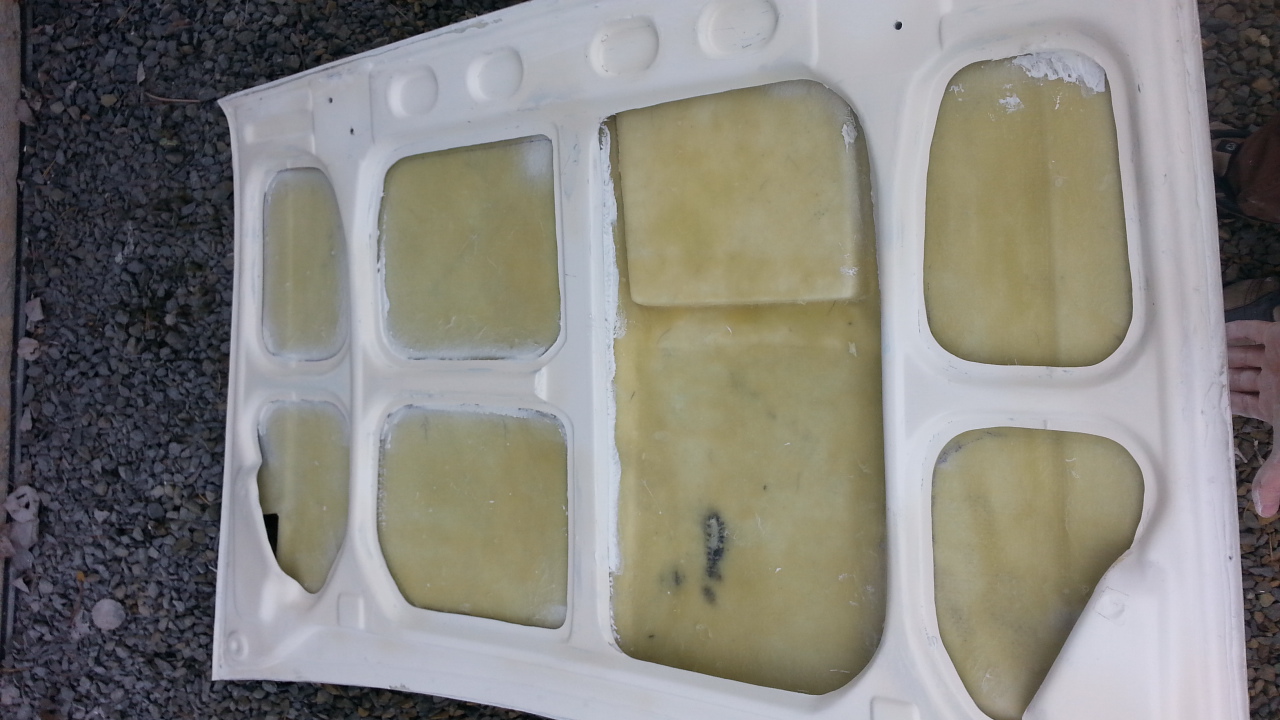
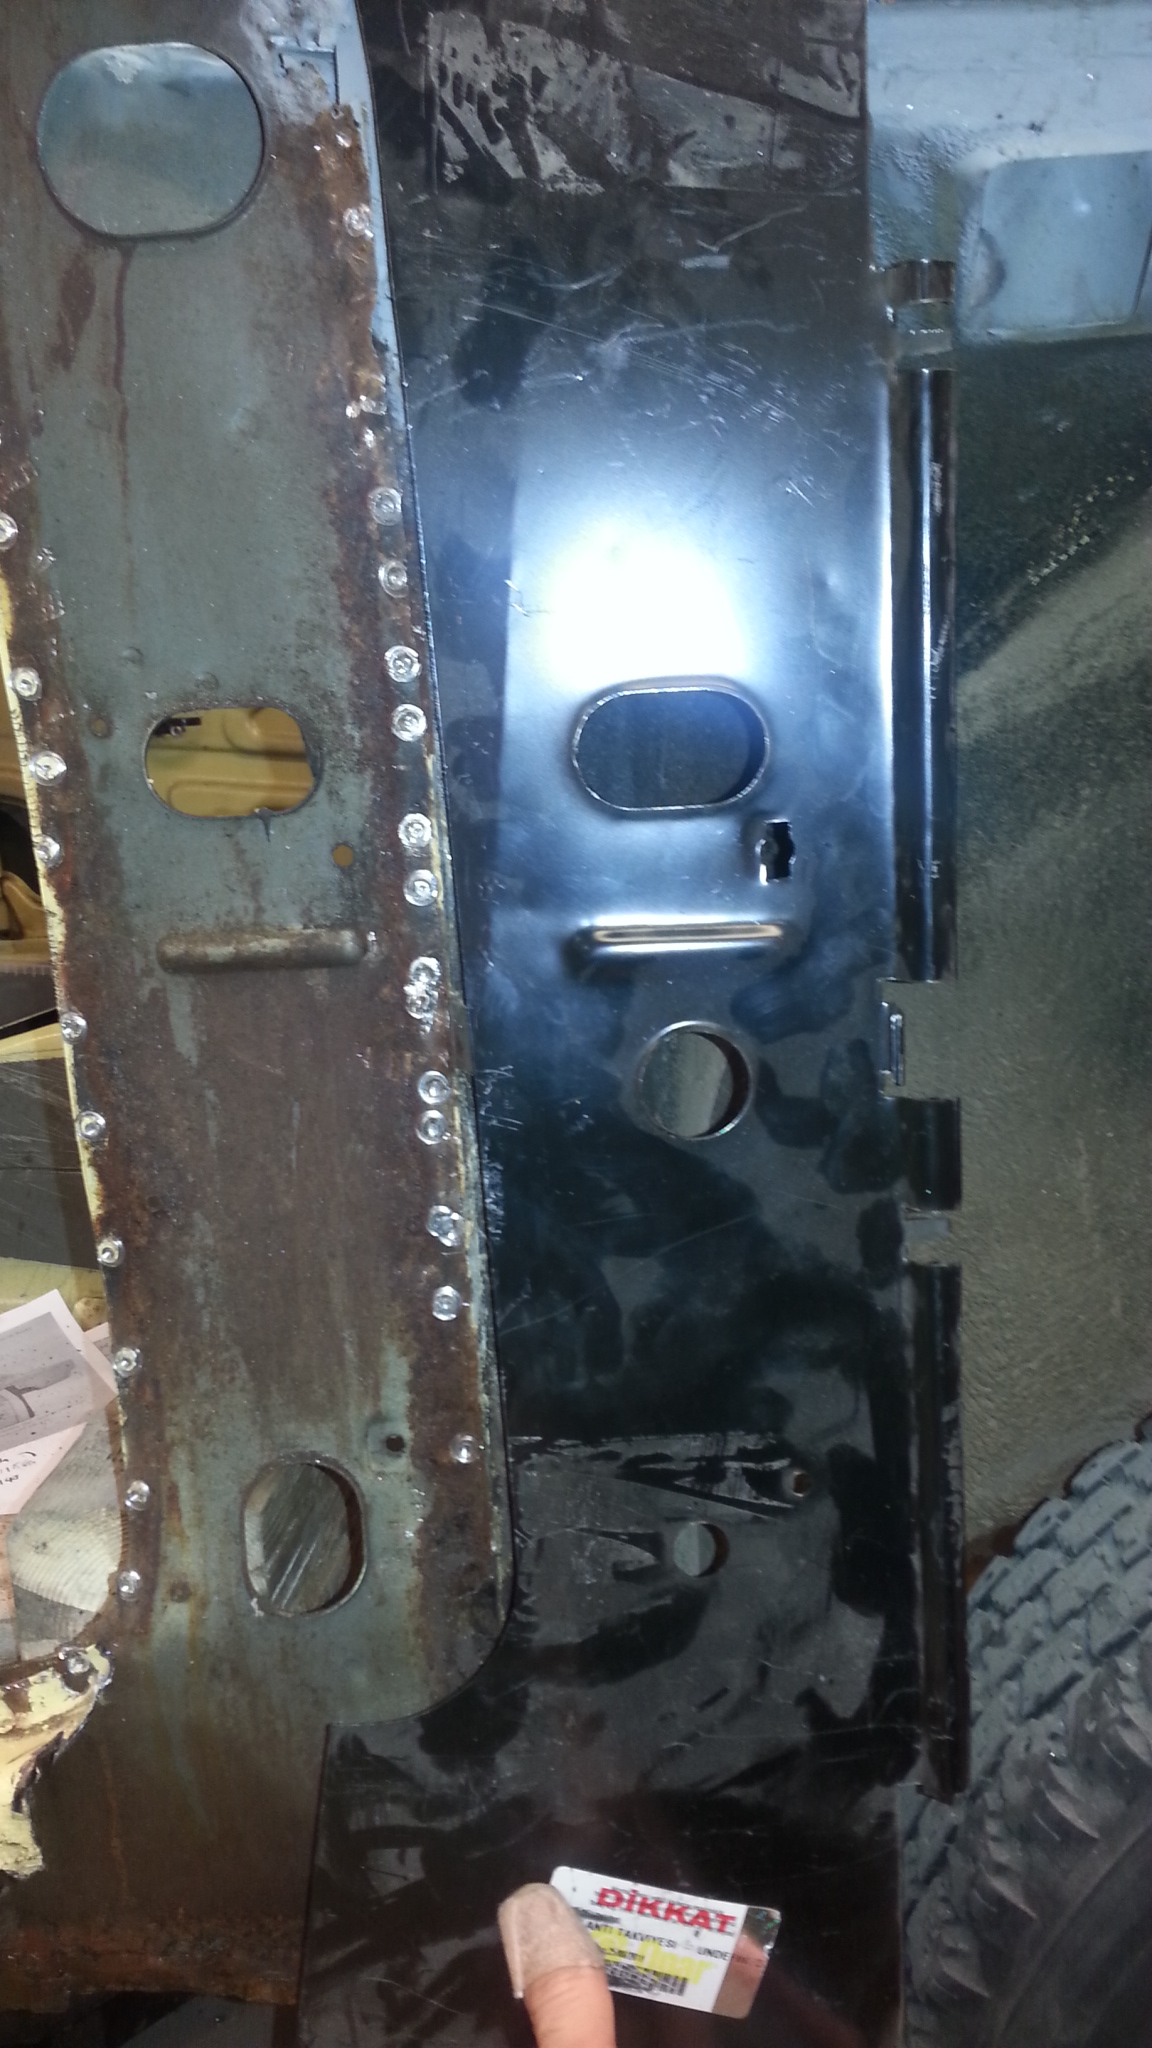
Sandblasting the inside of the panels. A tiny ship flew to my family car rear window, and straight through…


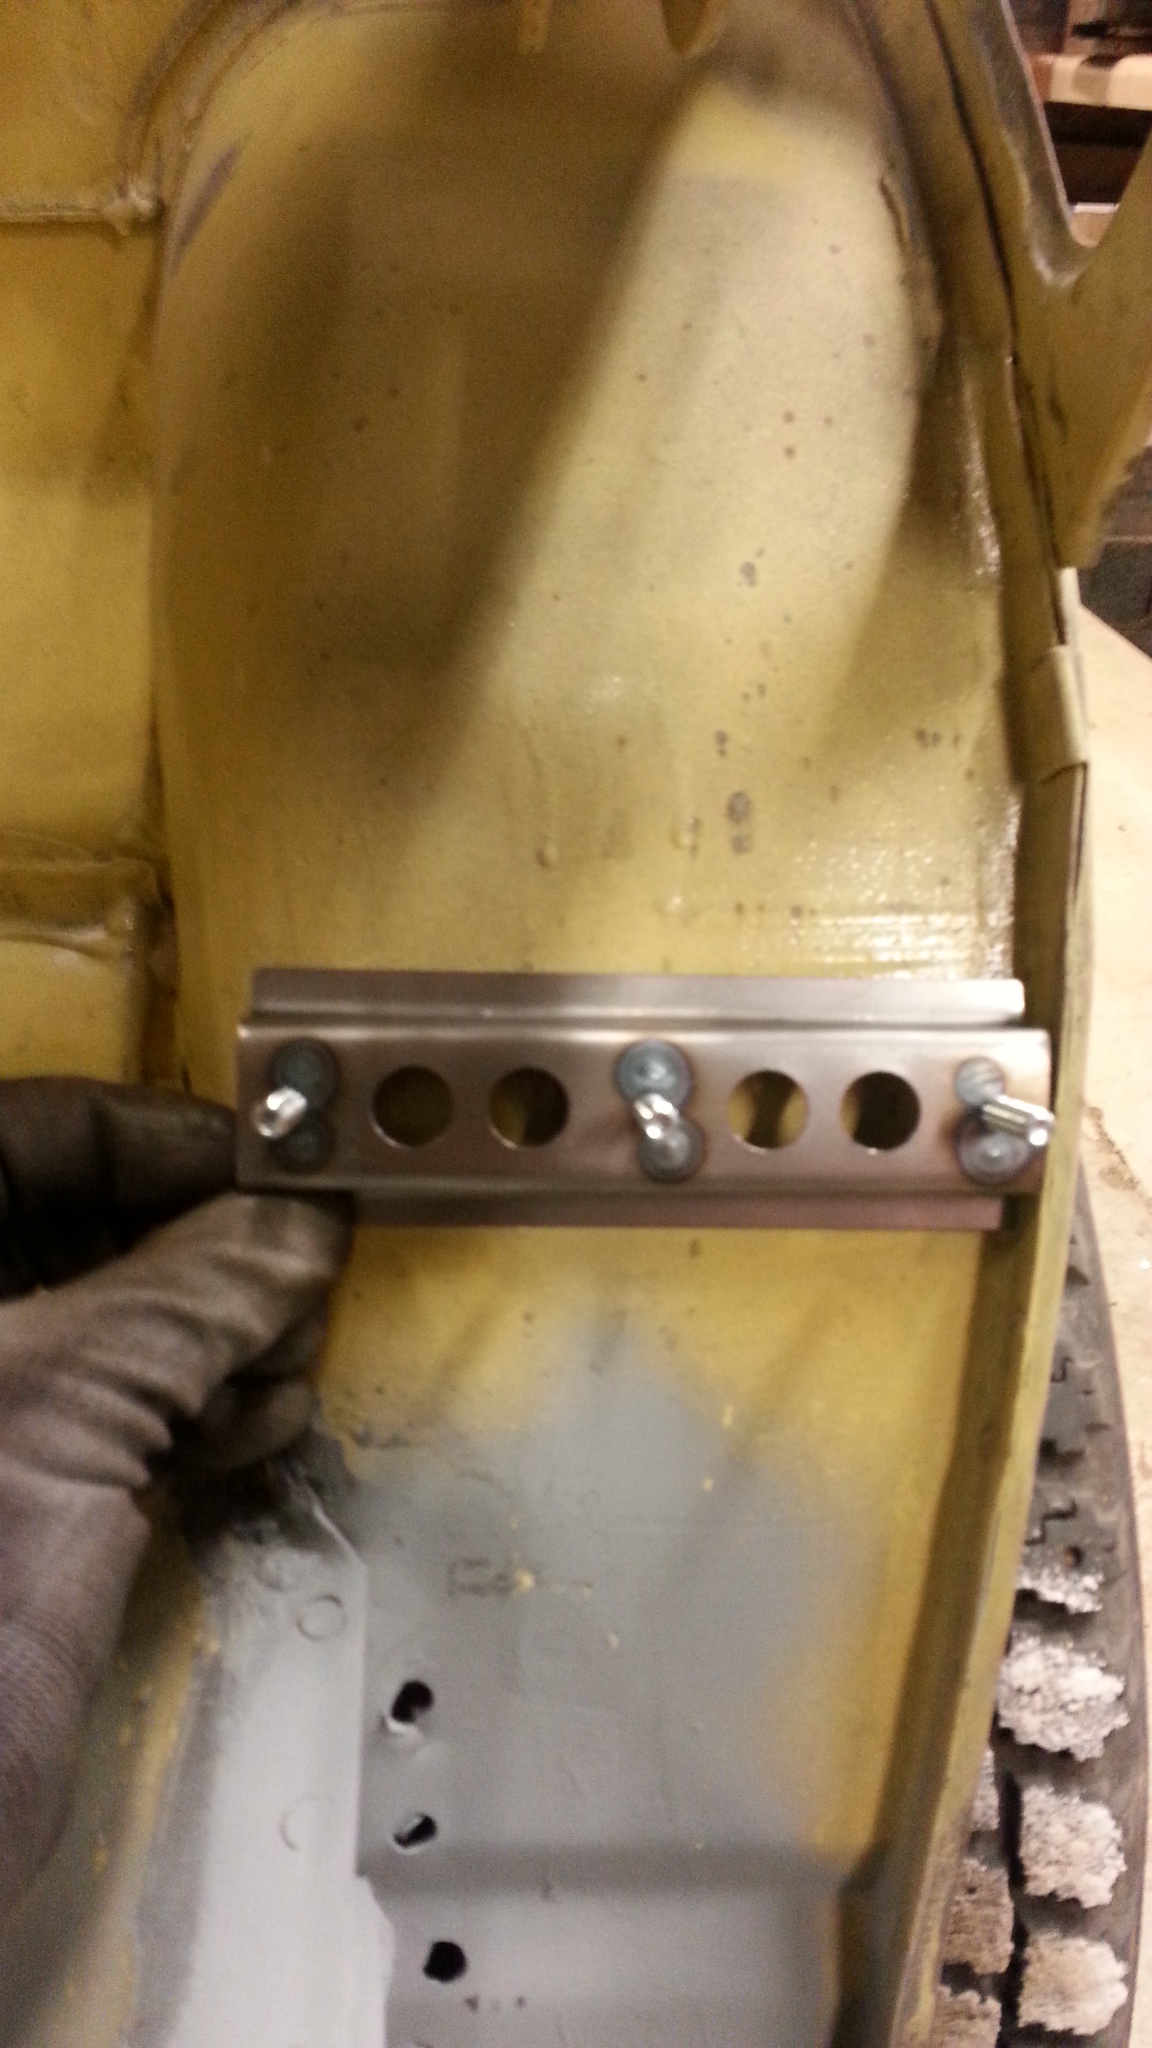
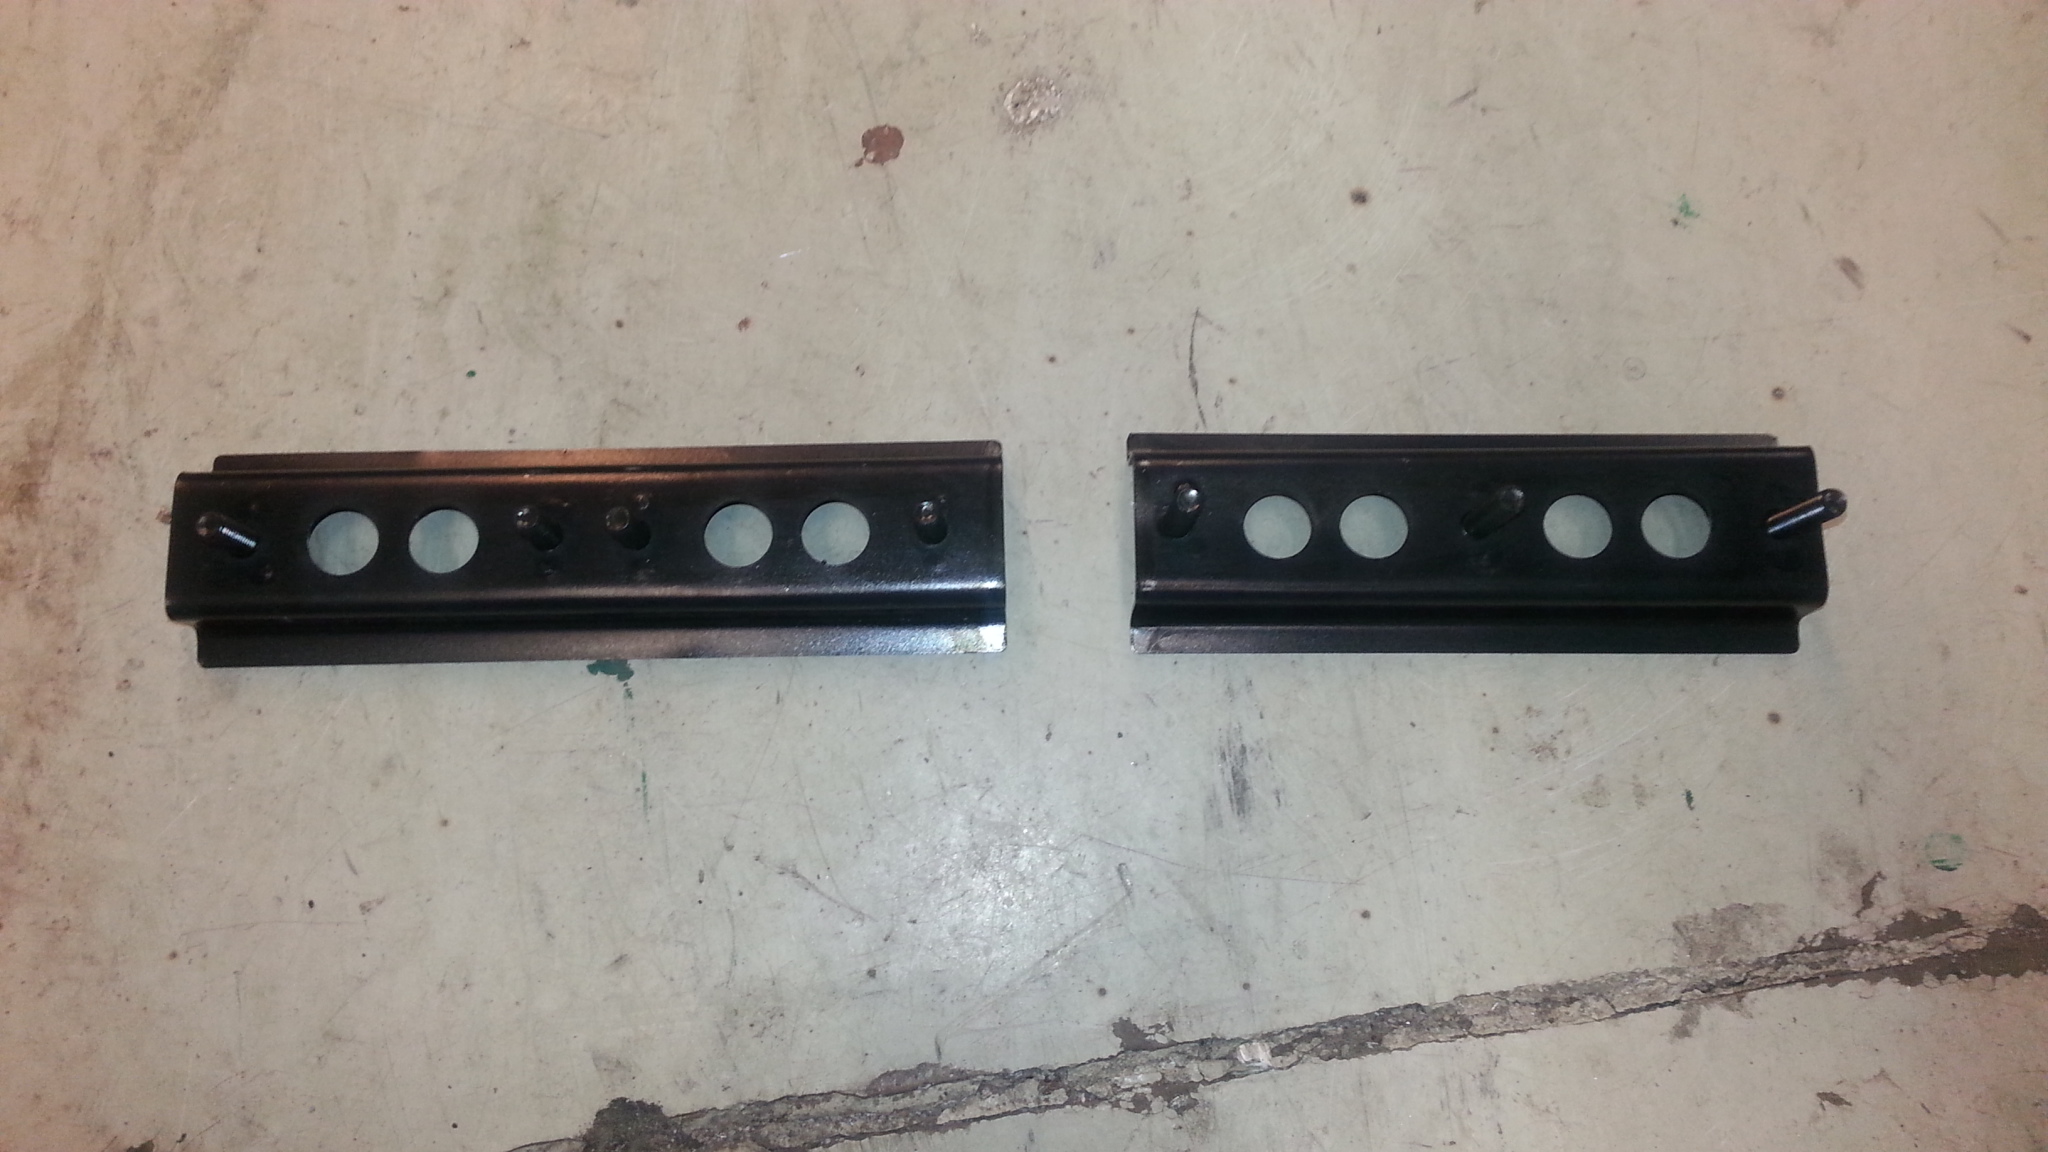
I made brackets for the fuelpumps. Theyr now black passivated.


12.10.2014
I made the first bonnet, actually a month ago, but havent got time to update the web.
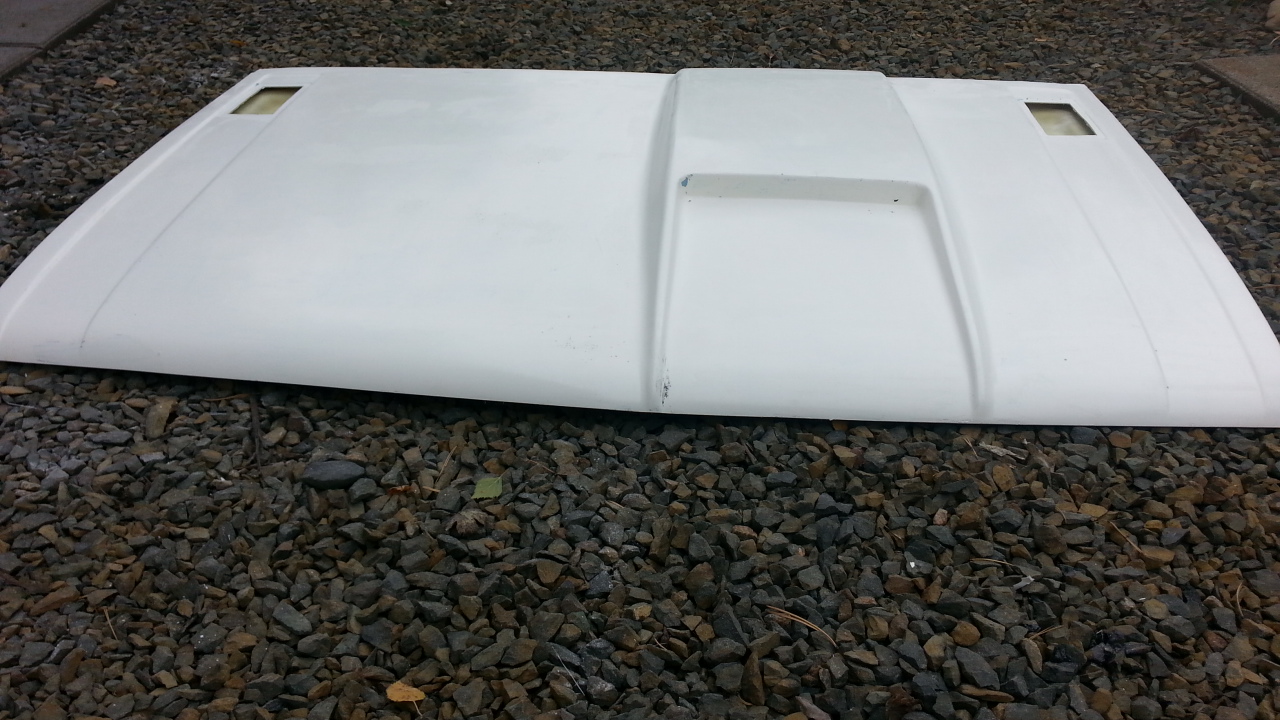
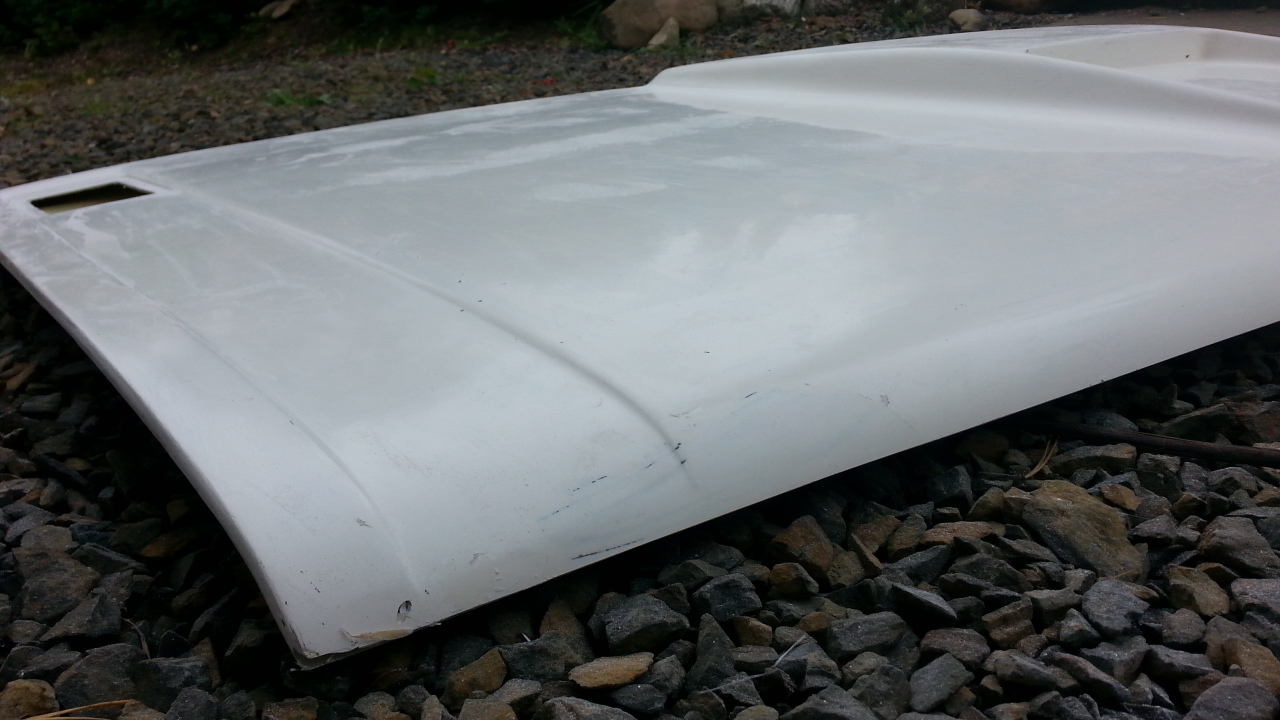
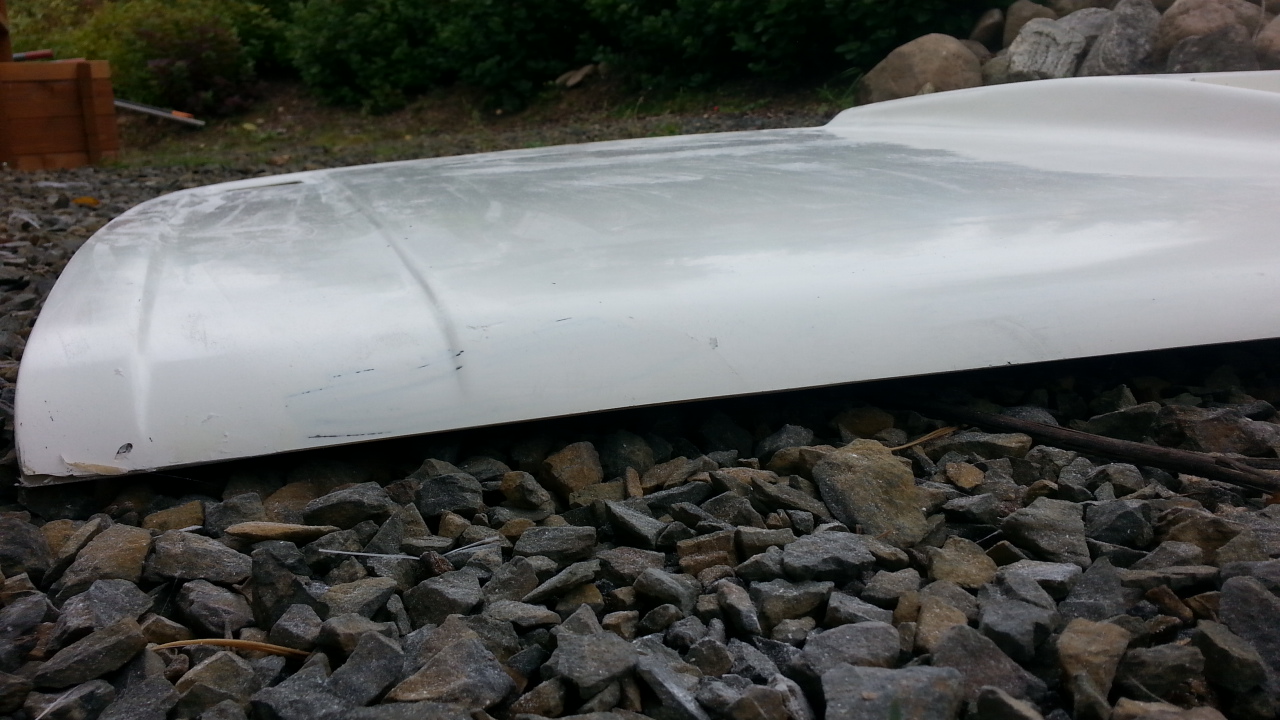
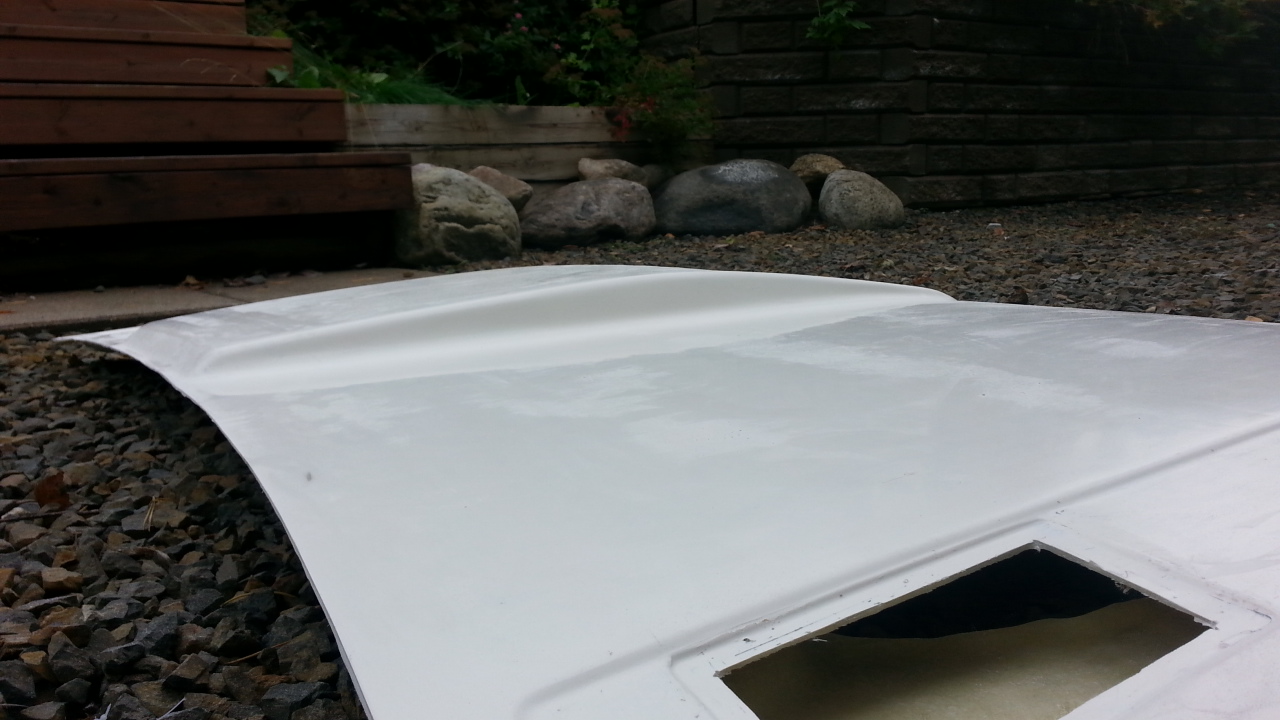
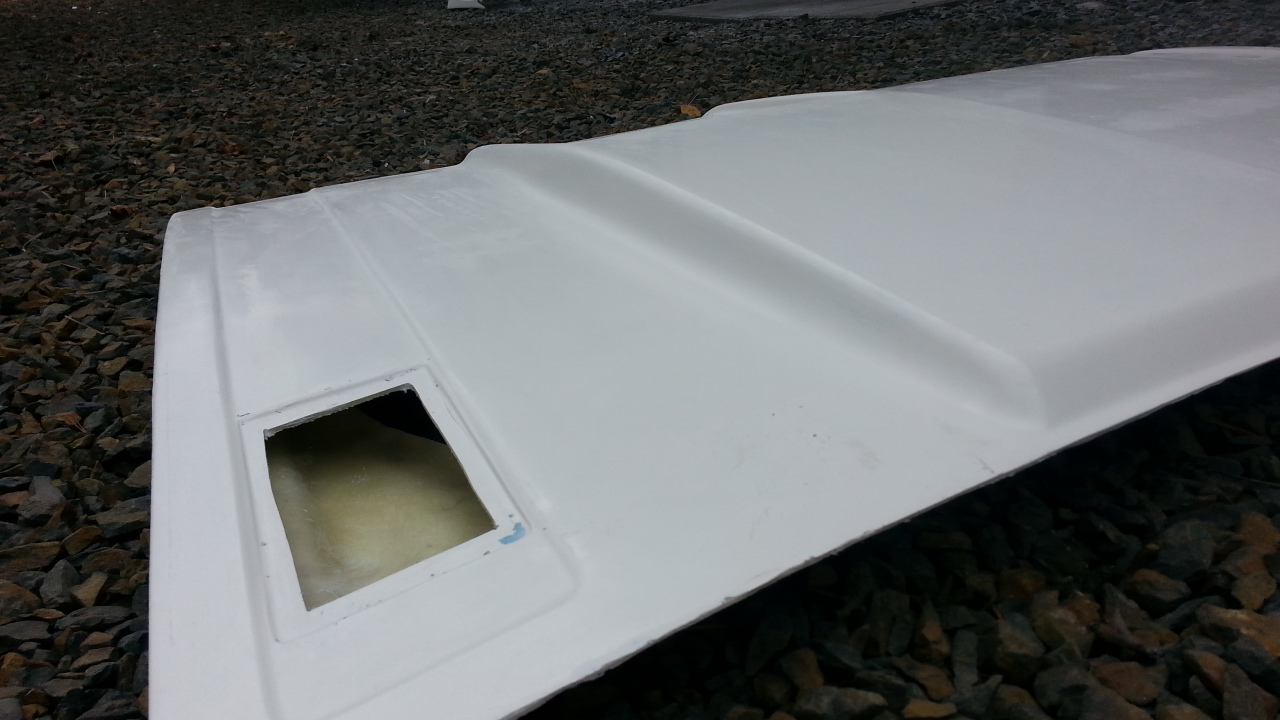
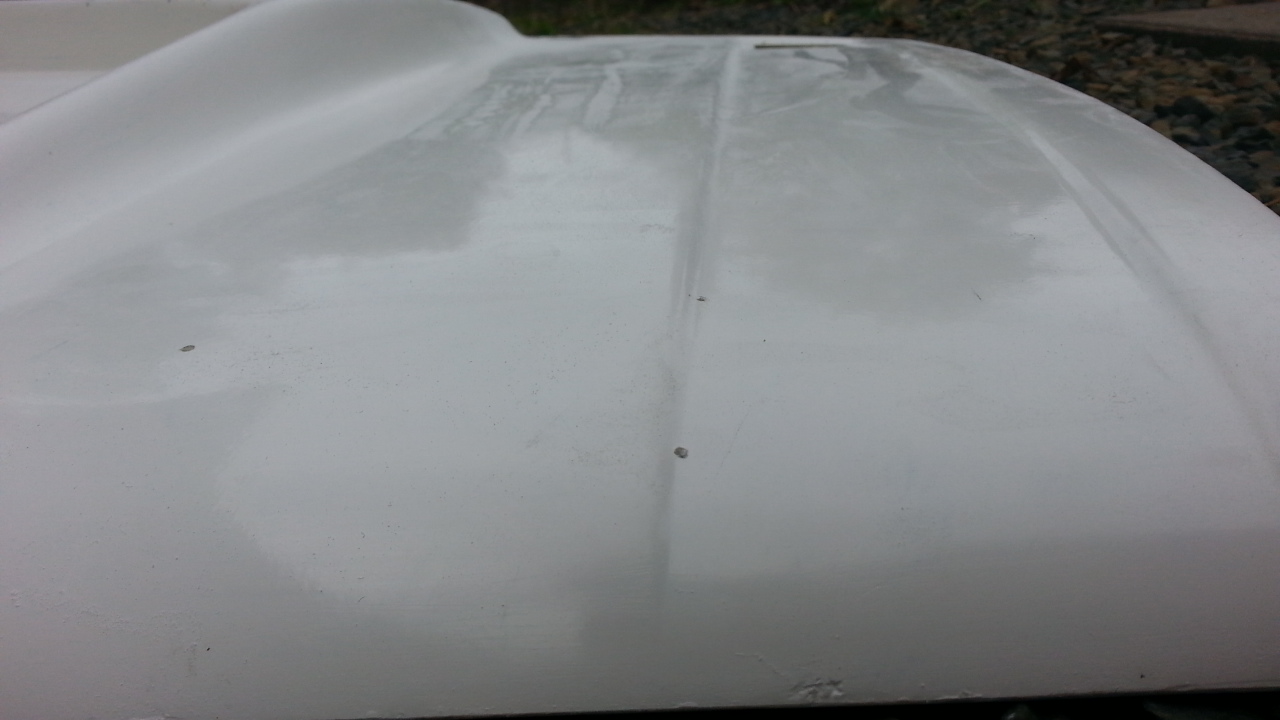
Its one of the best I have ever seen, but could be better. So, I made some modifications to the inner part mold. Its now ready and I will make next version soon.
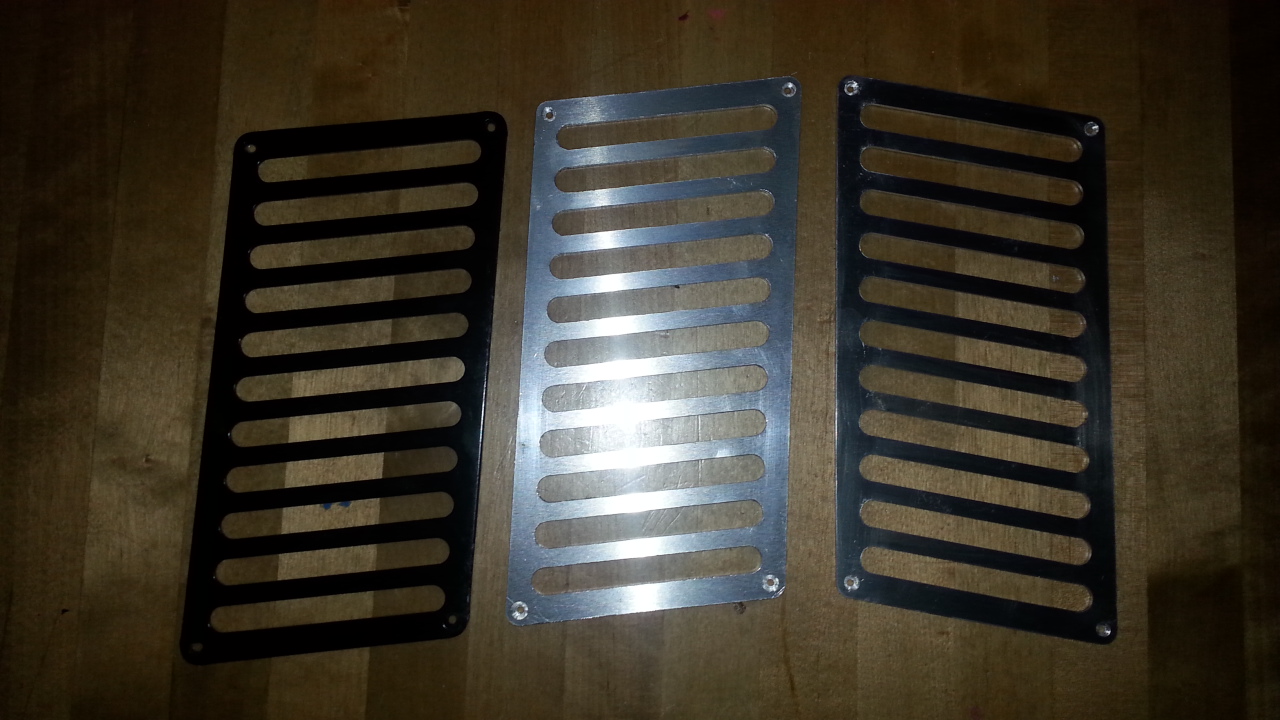


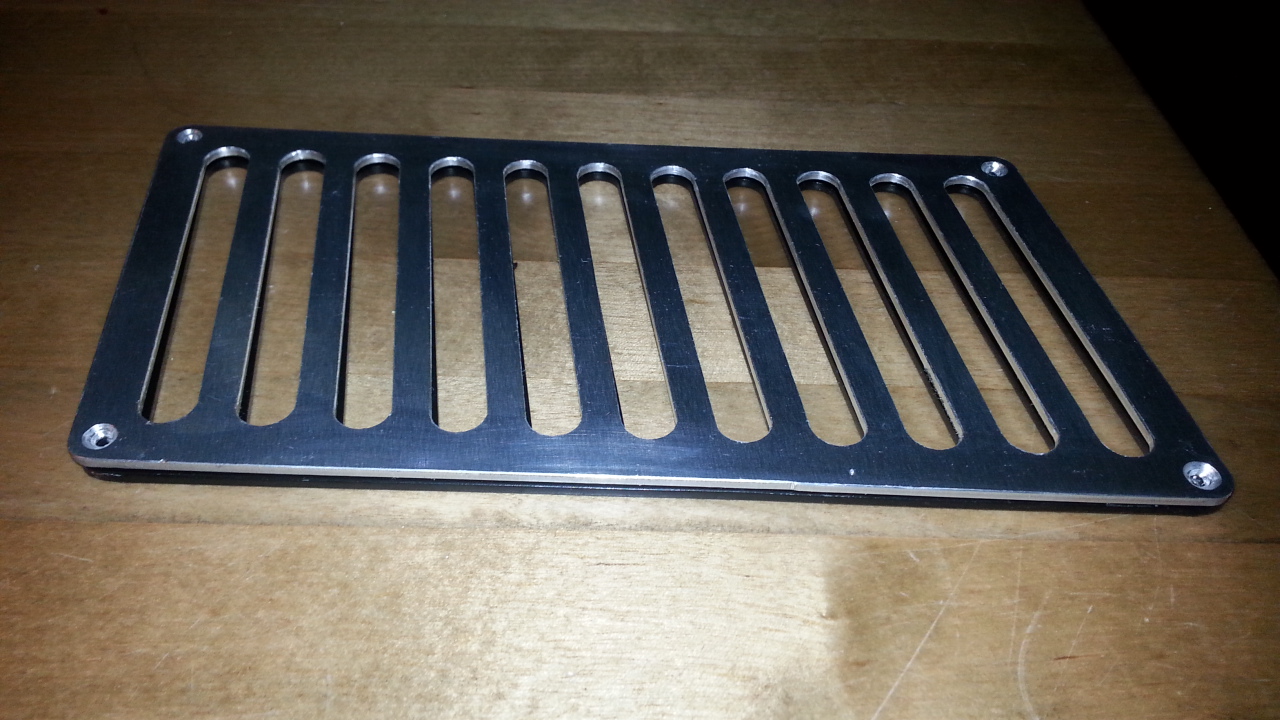
The bonnet grilles are also ready. Only bodypart still missing is the rear bumper hole cover. I need to study the rear mudguard grille making again, its really pain in the a**


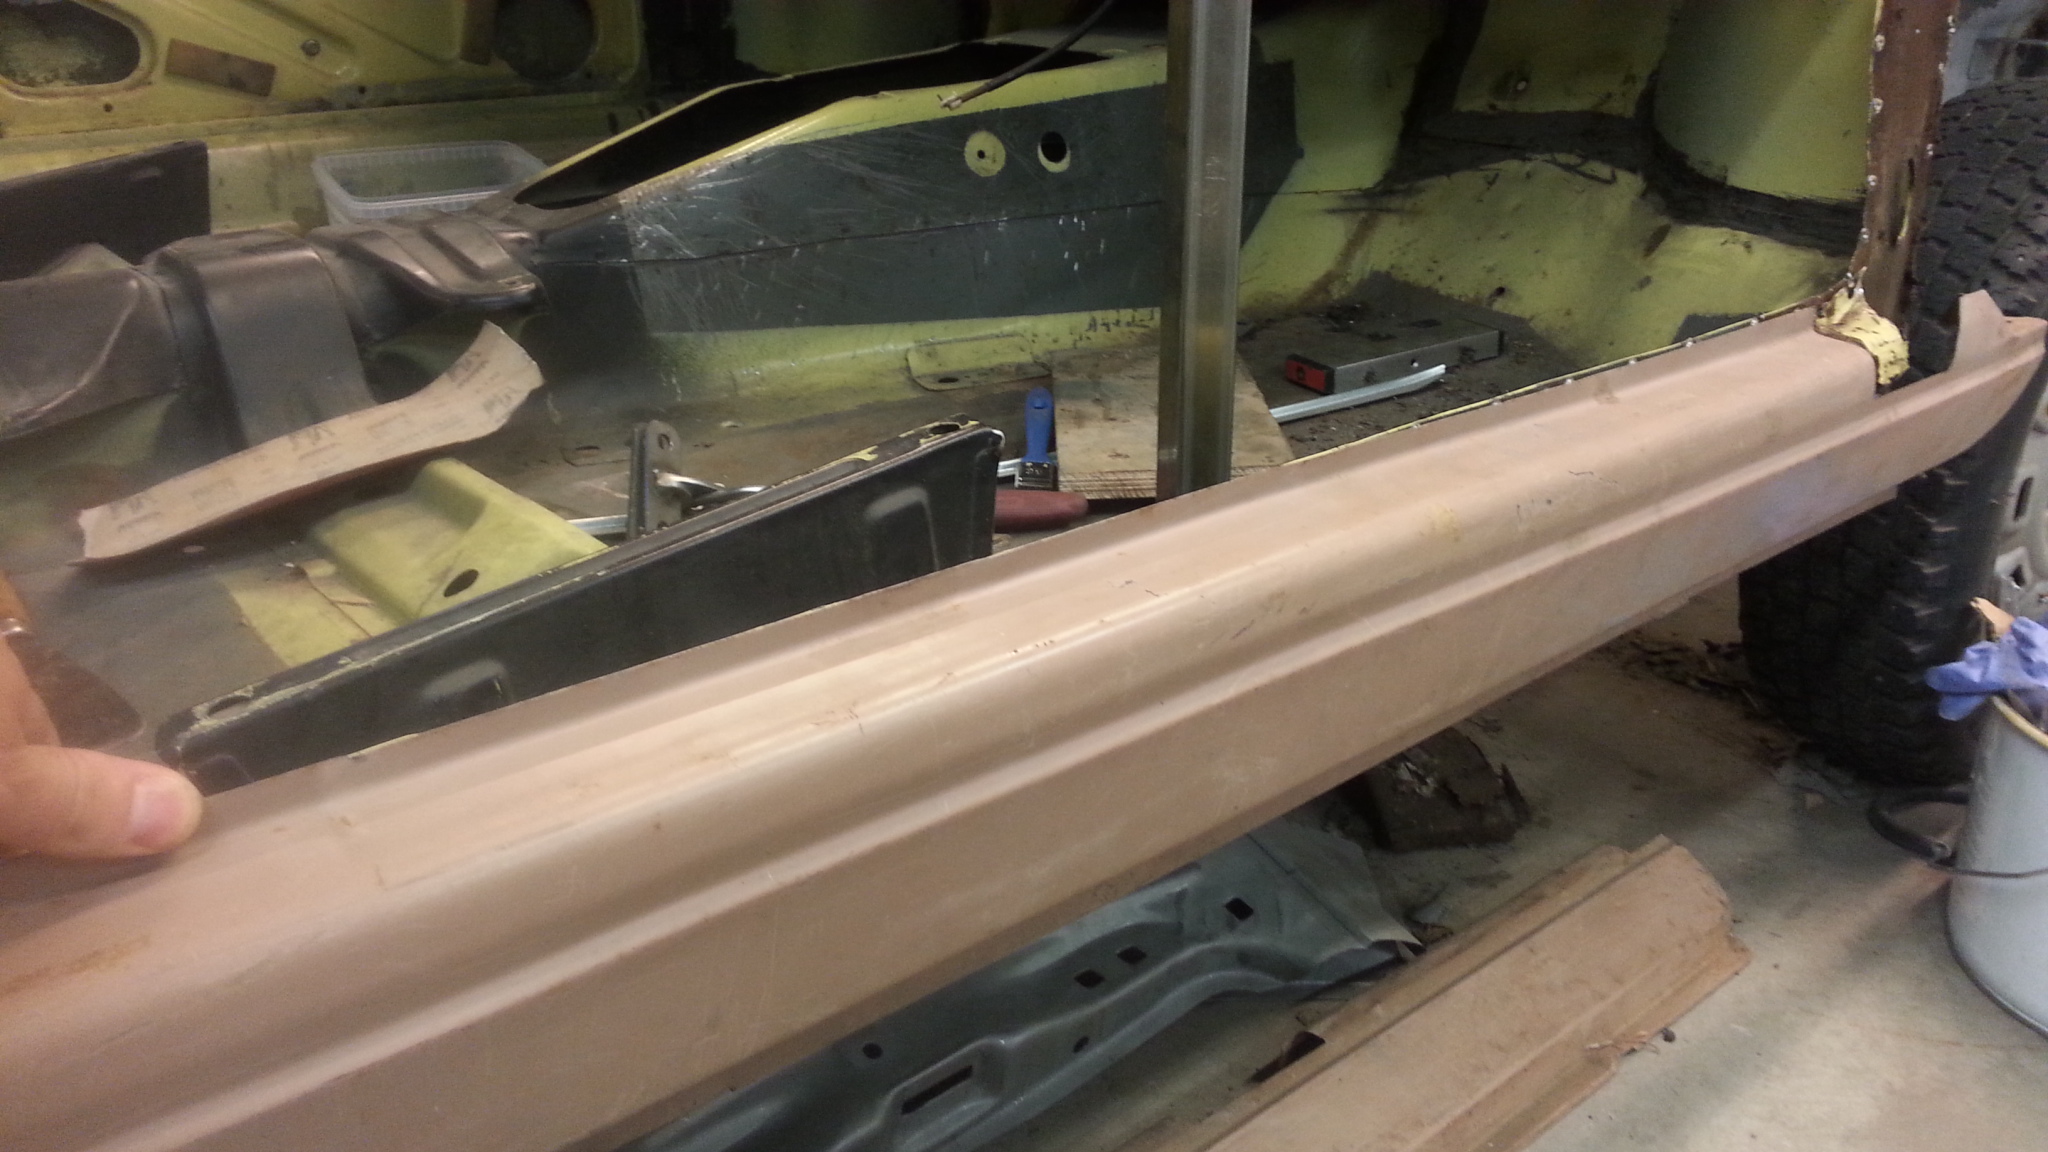
The inside sillpanel panel is now ready. I made new pressing tools to make the hole exactly right. Its pretty nice, huh?
6.7.2014
The 2nd version of the trunk lid, I think this is pretty nice. Next step is to test how to make them in black inside. Originals were always black inside. I bought 100kg of fiberglass stuff last week, including black gelcoat. Before I start making the black test pieces I will finish the front bonnet testings, the front bonnet gel is drying. The inside piece is still rough and need some sanding.


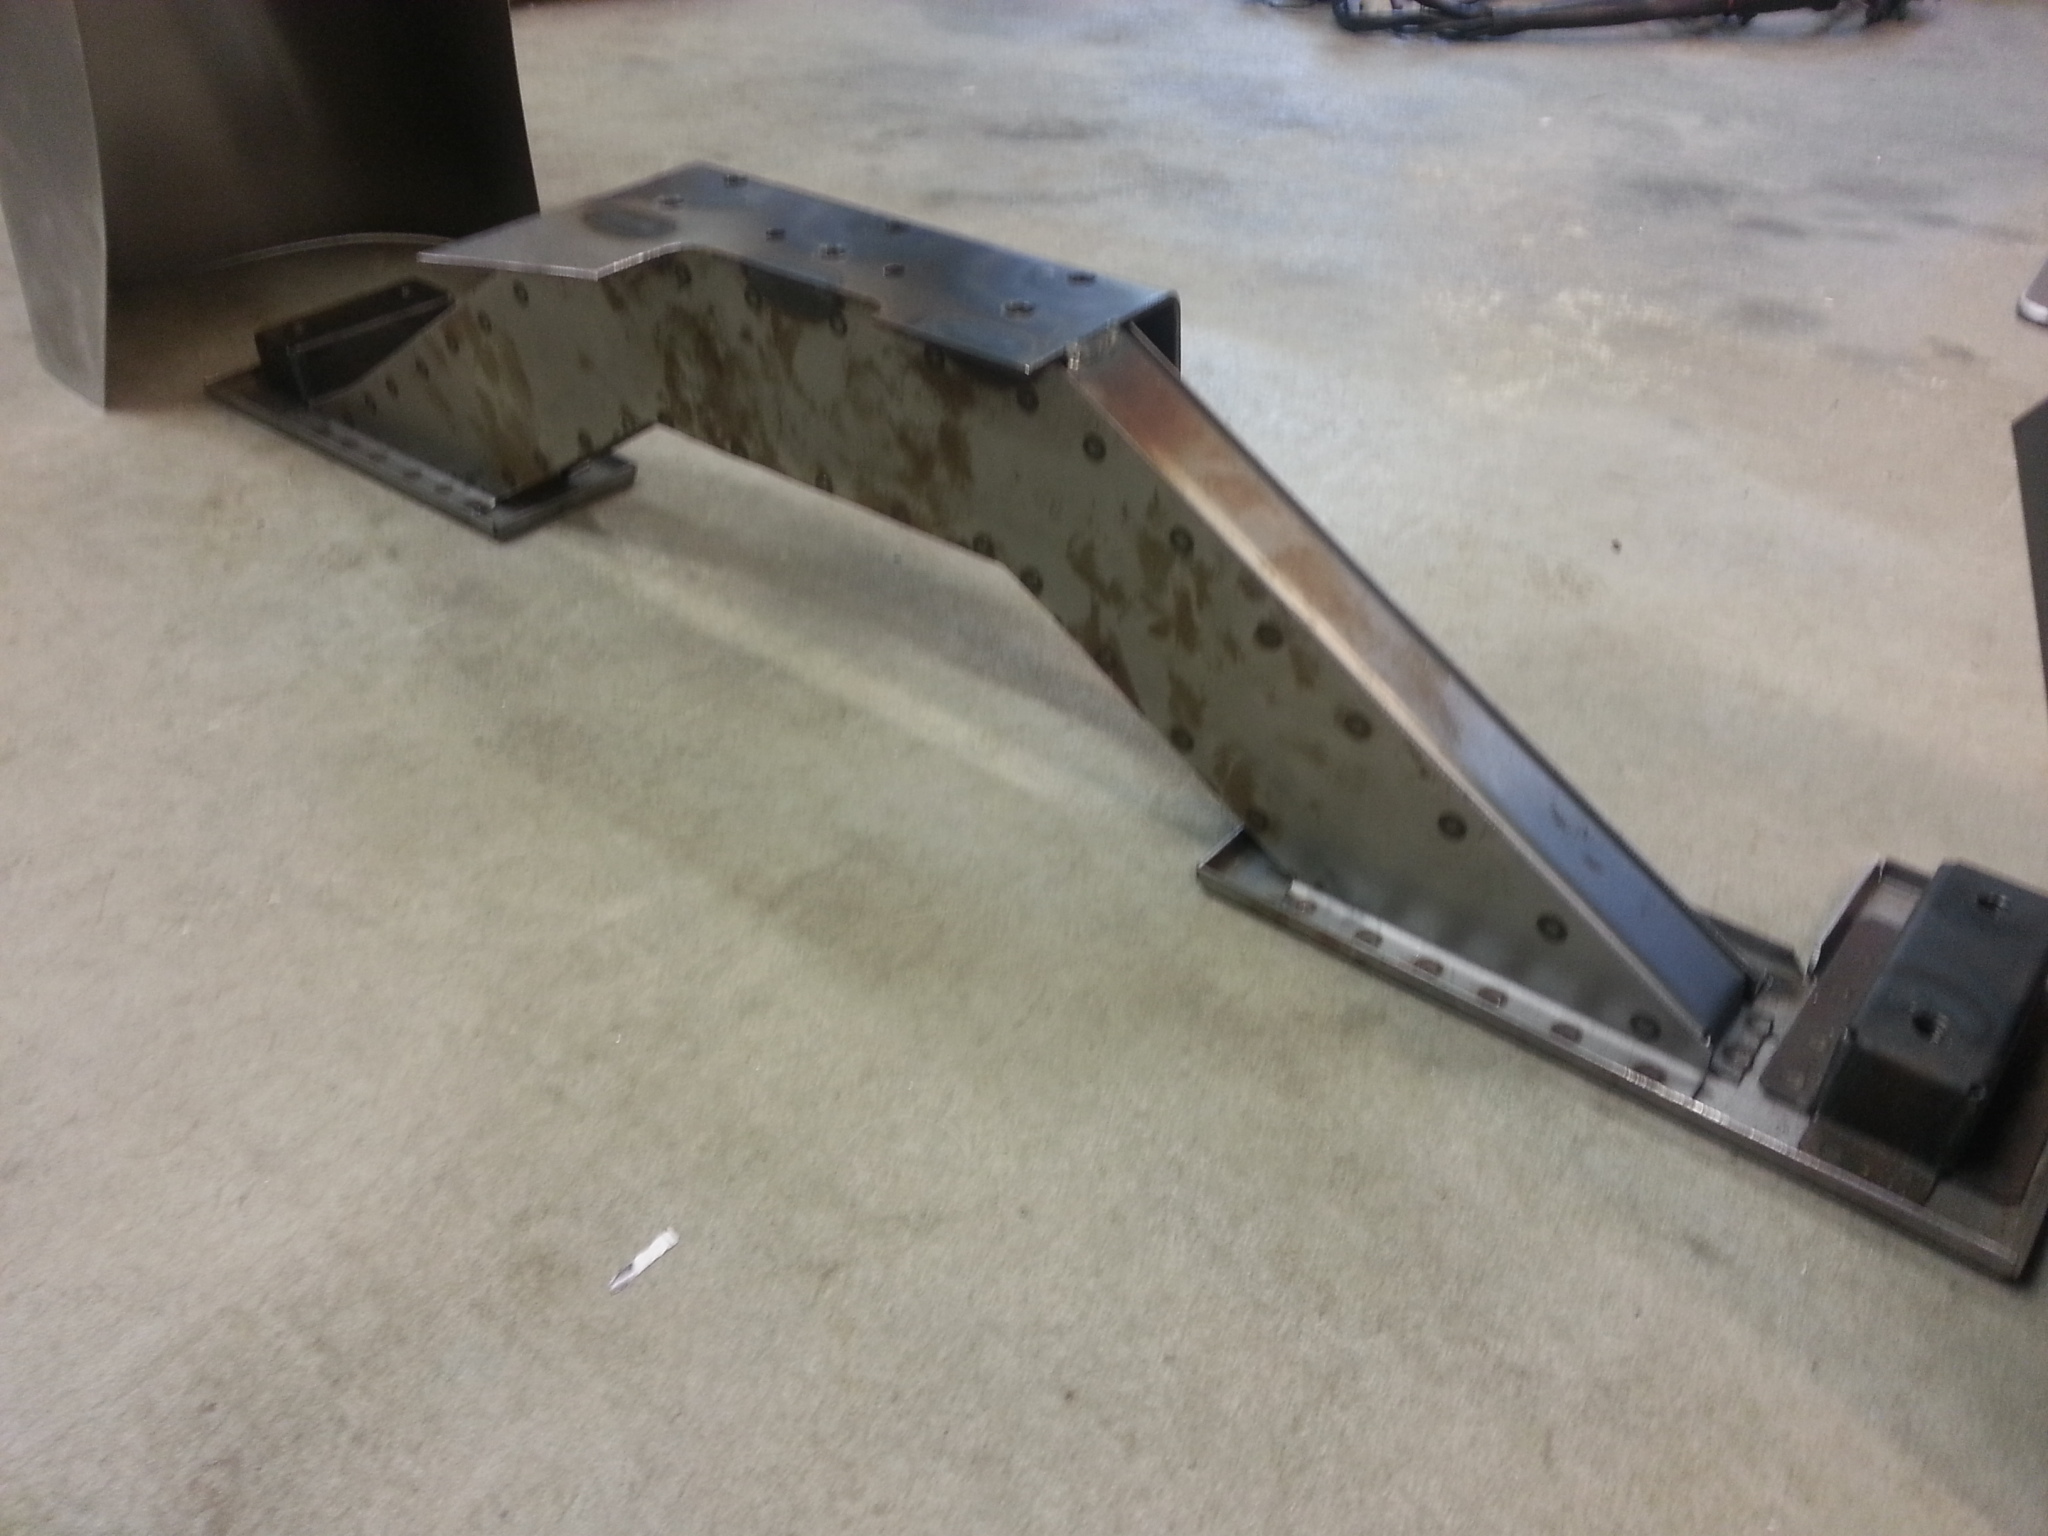
The car was out from the garage week ago. It visited rollcage maker who made the g.4 style cage. First I made rollcage legs, which became pretty nice fit.


Then the car on the trailer and to the rollcage maker.

Rollcage is now in place. The doorbars are not done yet. I will have the original style boltable brackets to be made to them.

And then back to own garage.

Before I will weld all the abarth brackets to the chassis, I made a jig for the welding. I made several of those, if you need one, send me a message.
Got the new sillpanels from Croatia.
22.6.2014
Ive been finally working with the chassis.
 The first trunk lid prototype, fits quite nice, but not good enough. I fixed the mold and second version is drying.


Pretty nice fit?
Then we started to exhange the rusty parts.


There seem to be some differences in the early -75 version to later versions. So, I drew the new parts in cad and ordered them lasercut, so I will have exactly correcct parts.

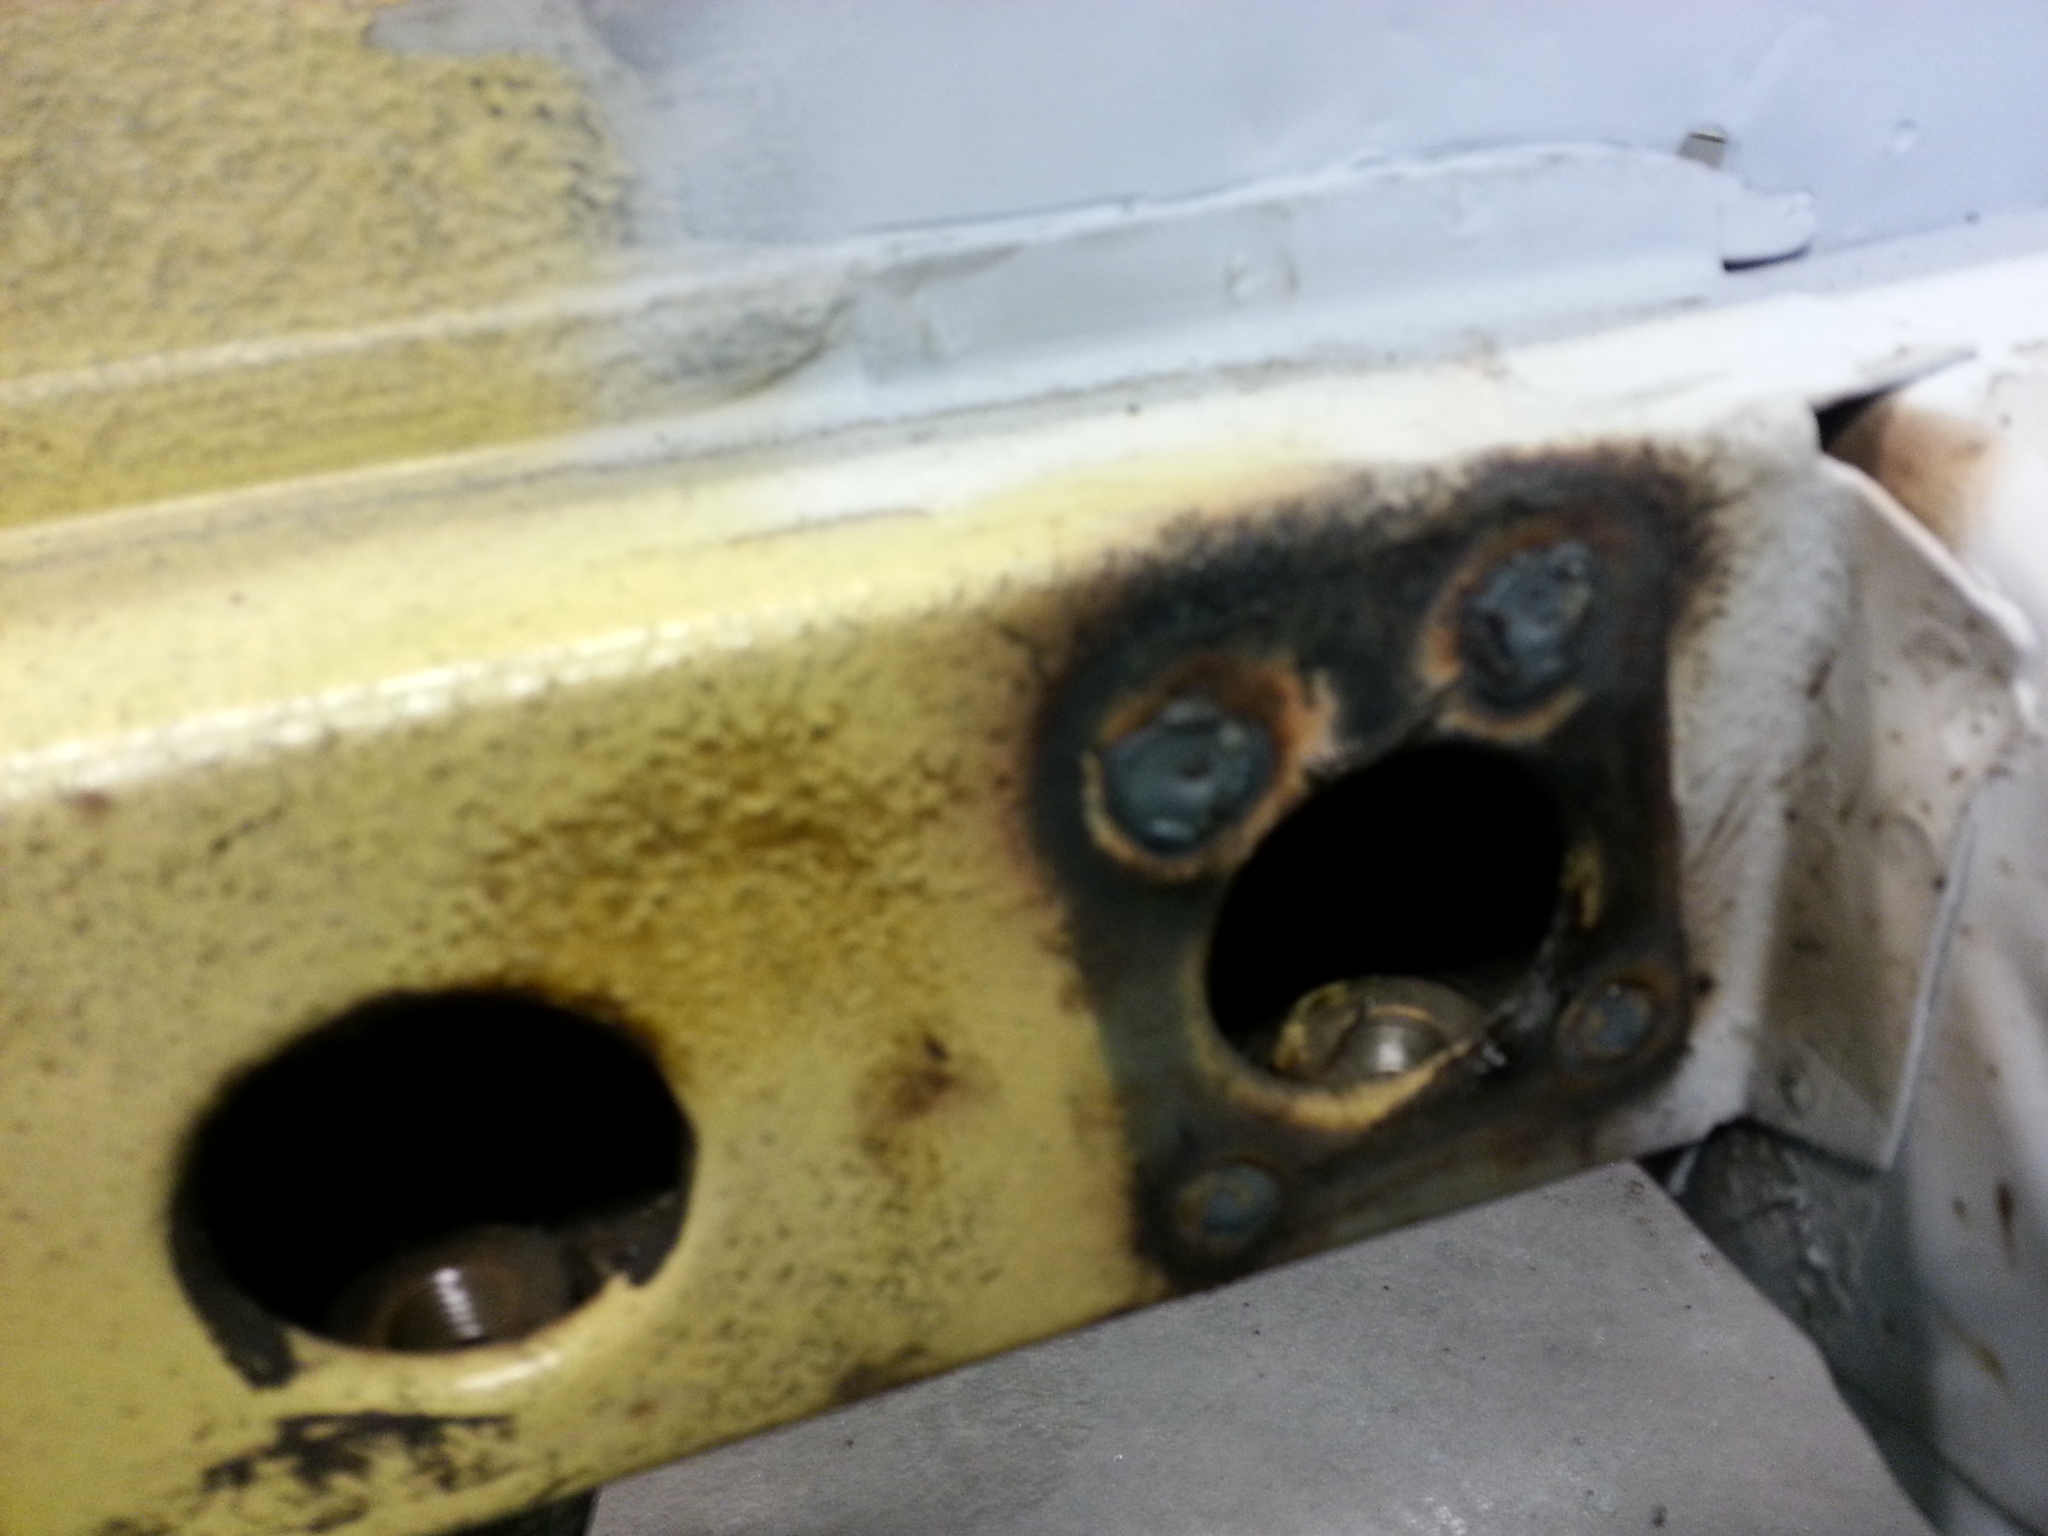
Terrible sight under the sillpanels.

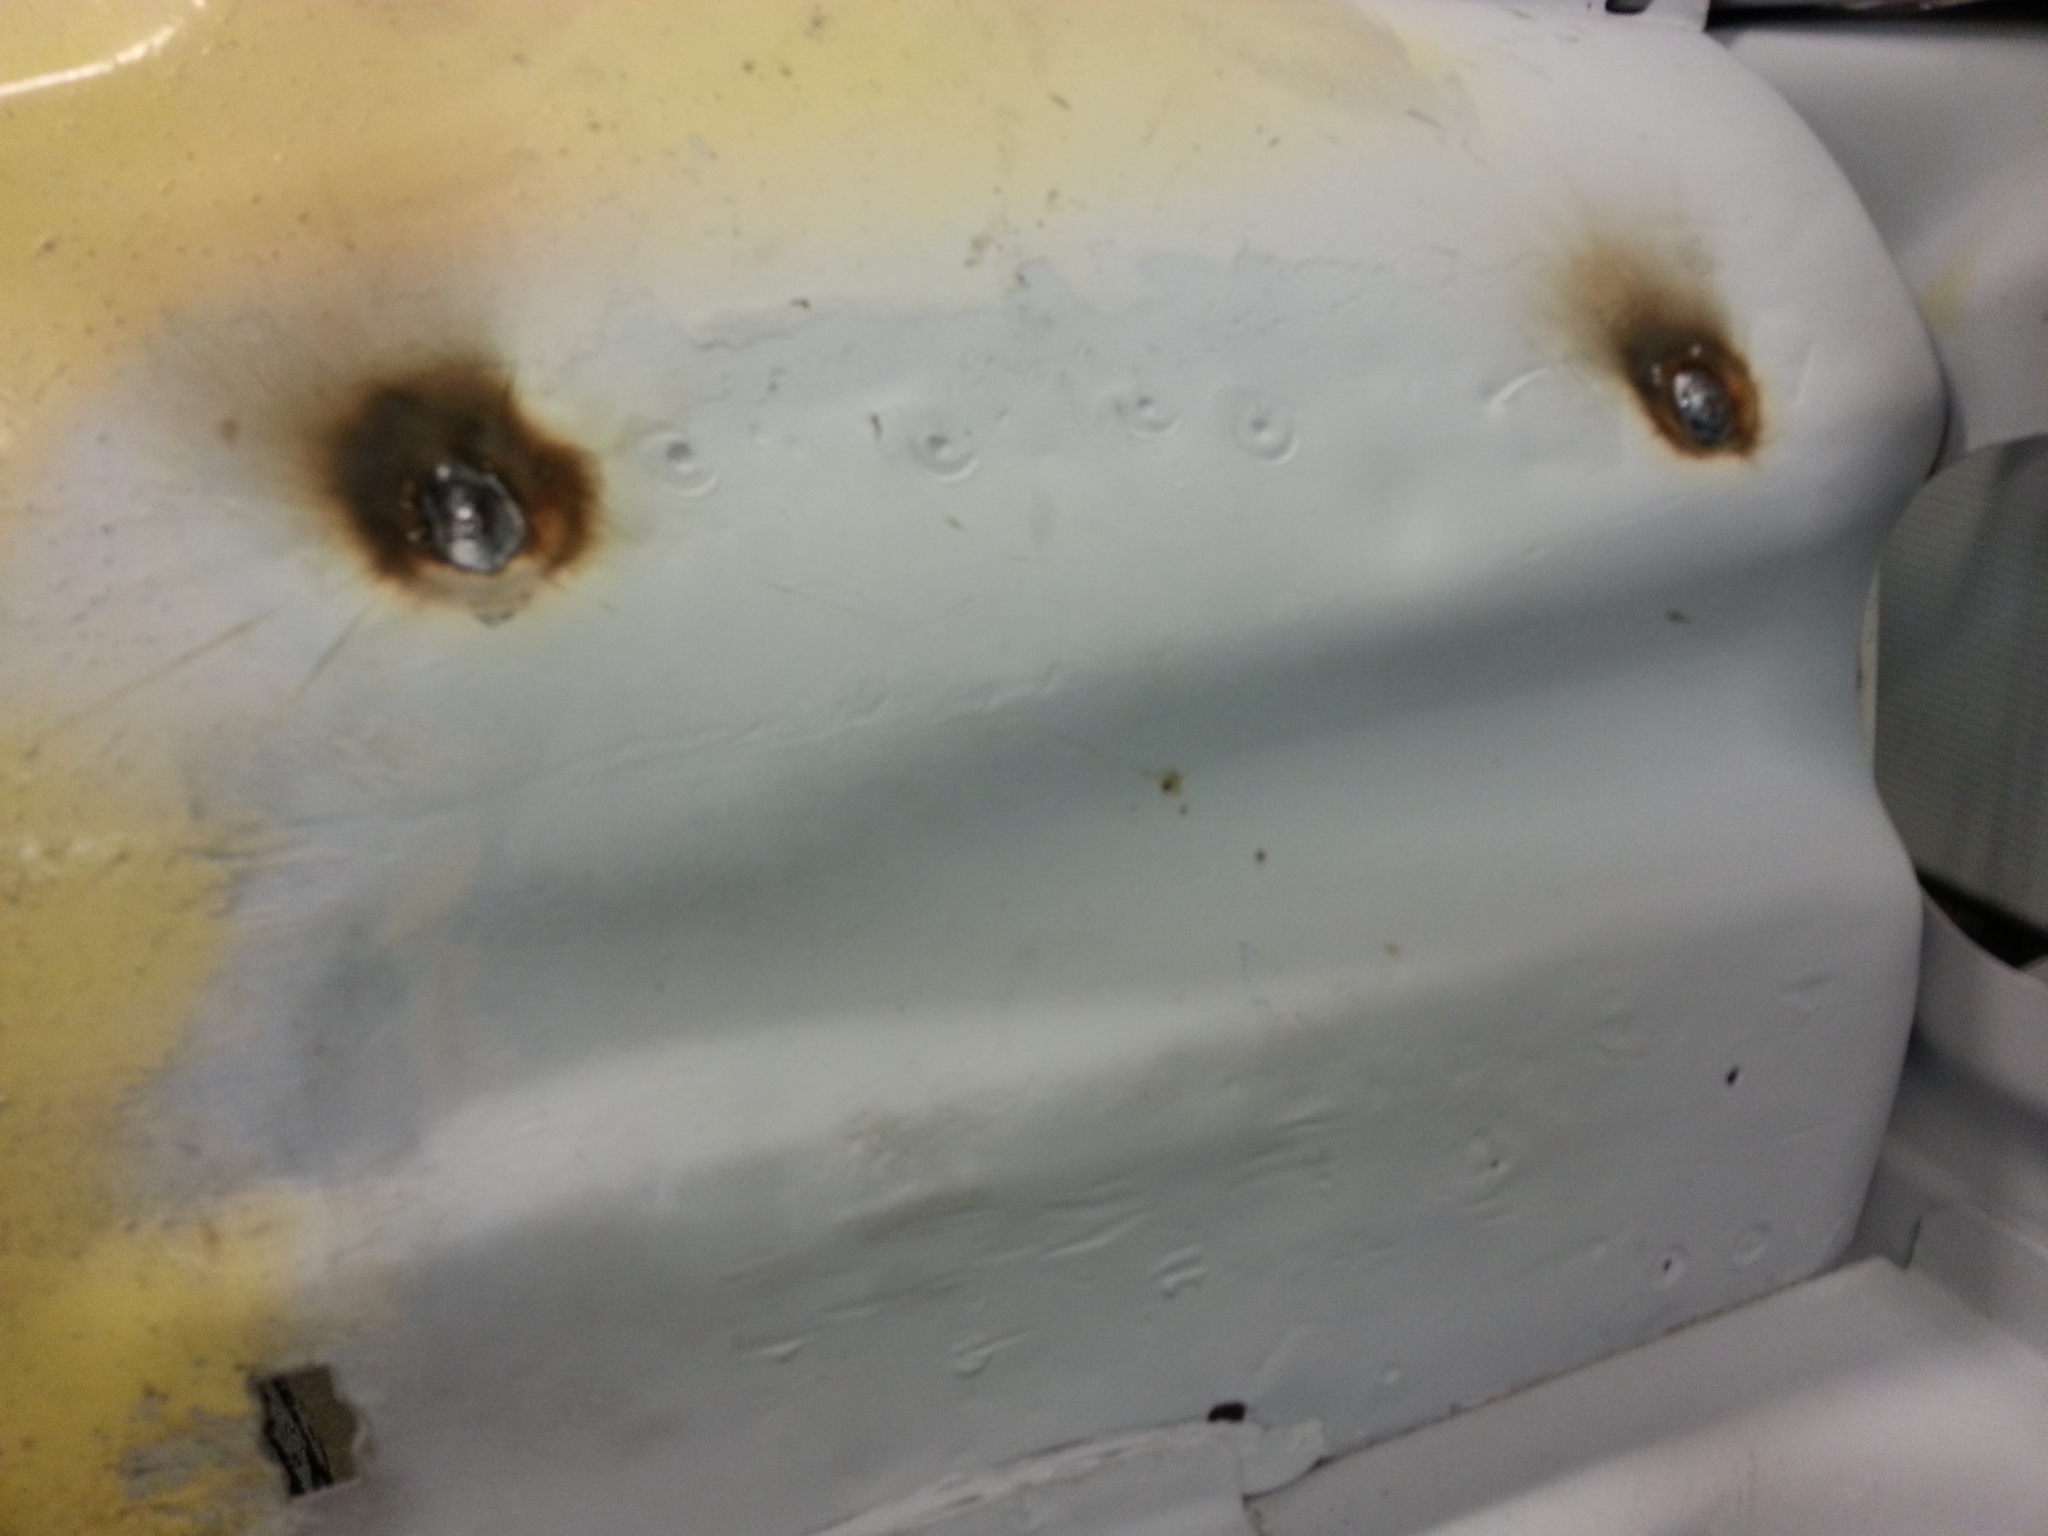
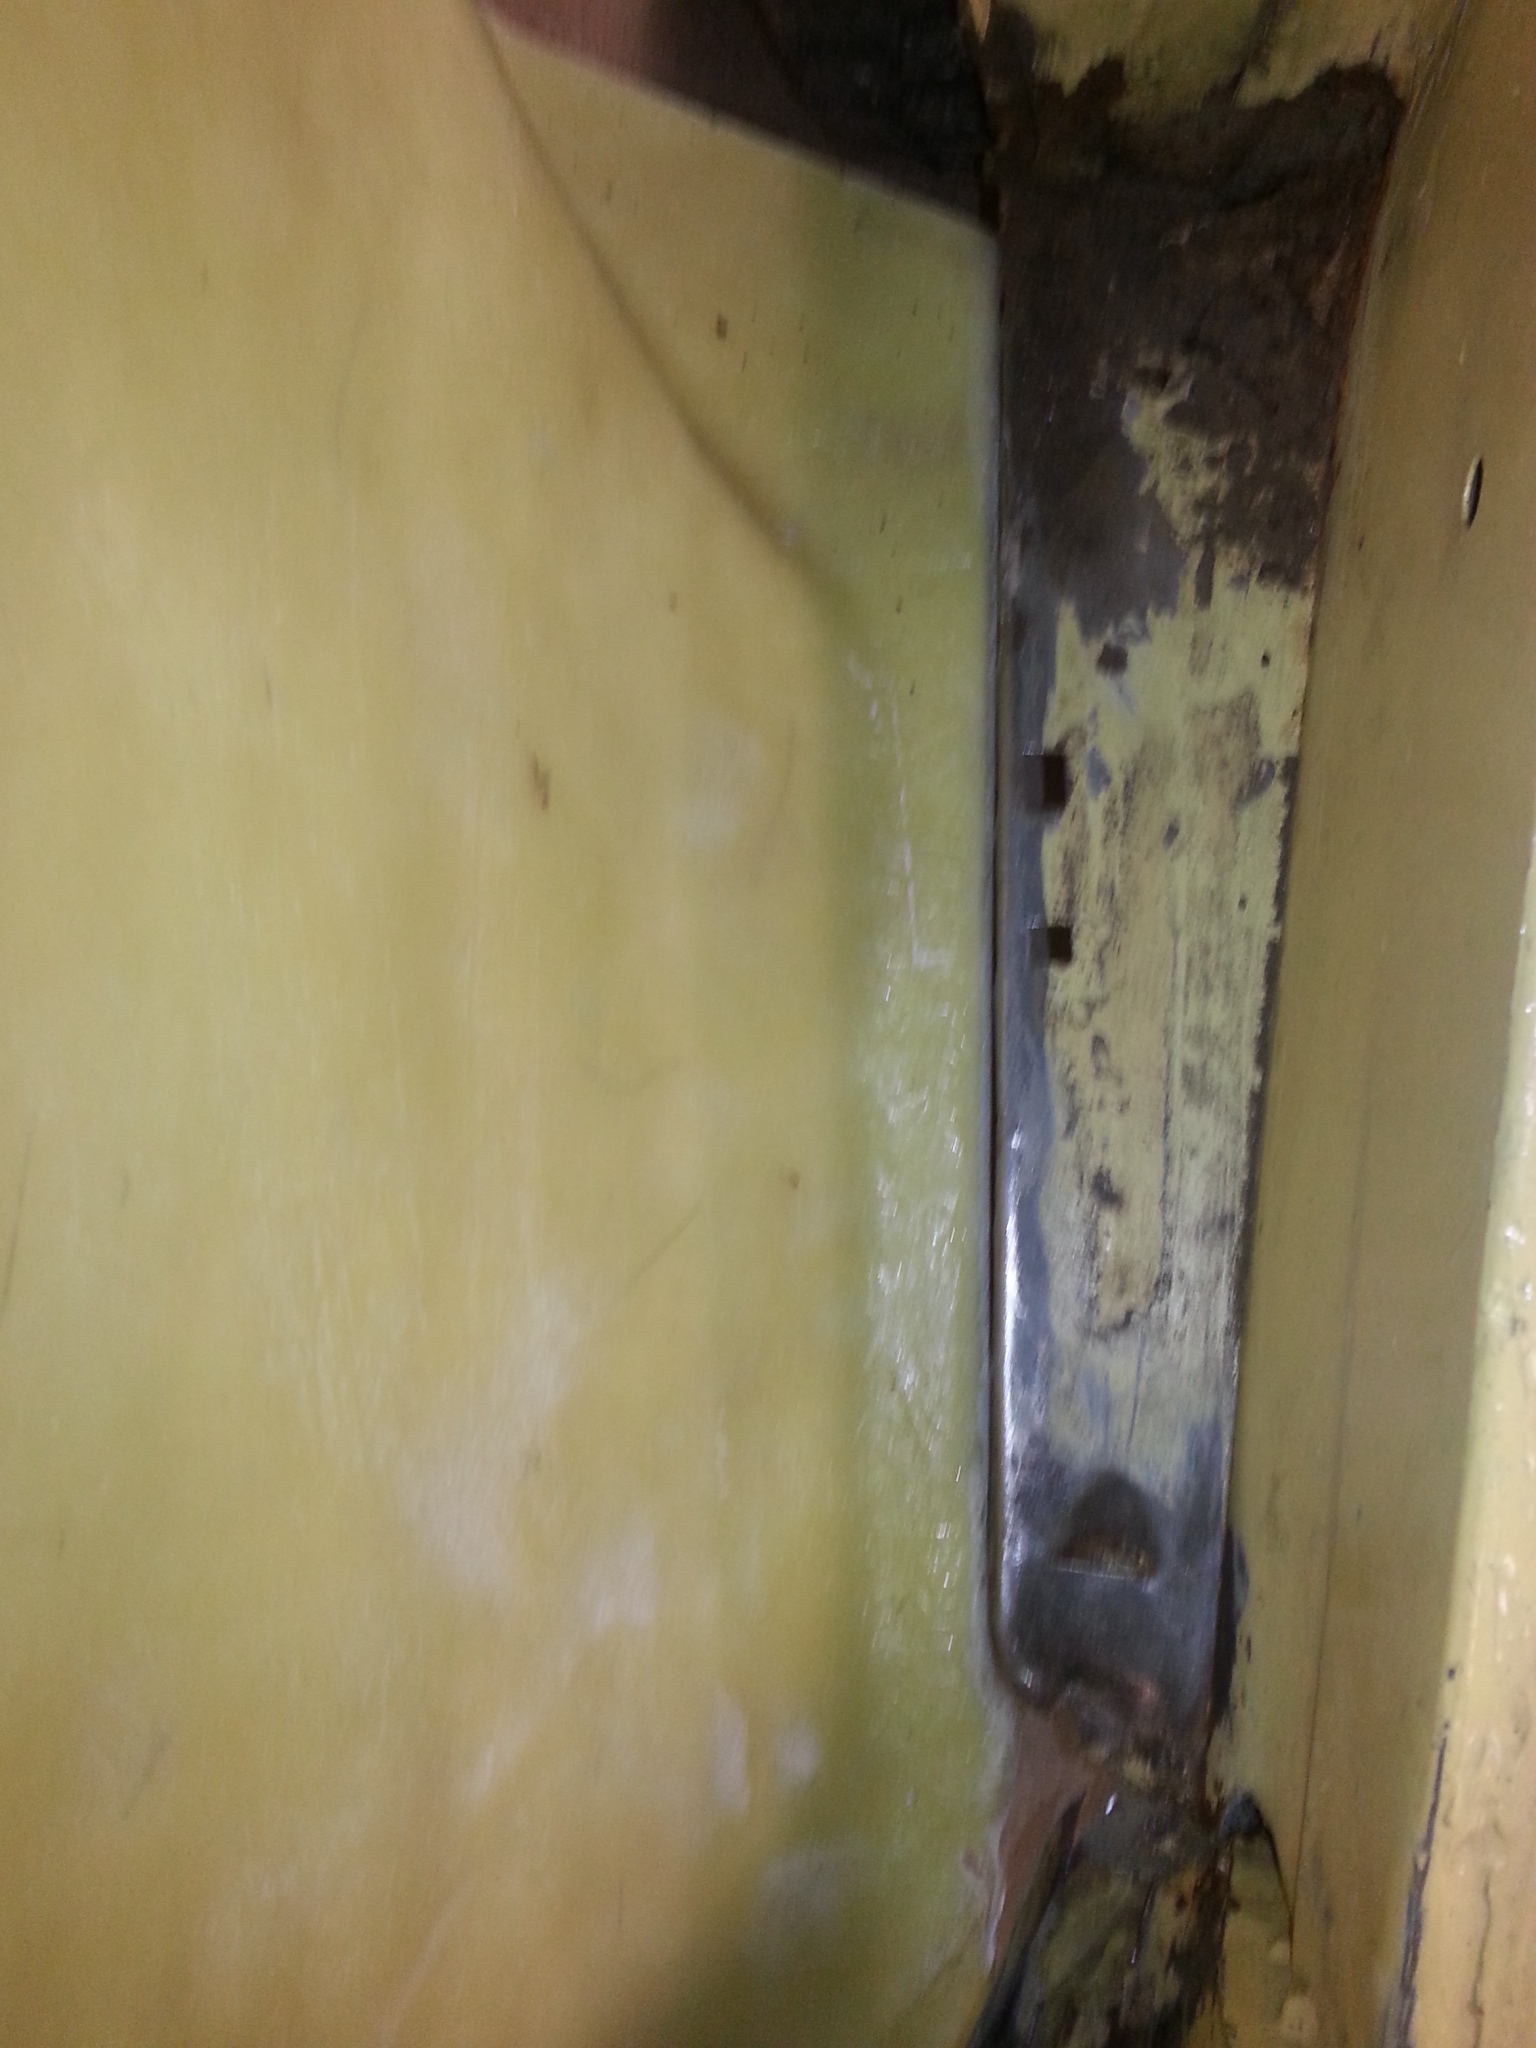
Nothing good beneath rear window rubber seal panel…


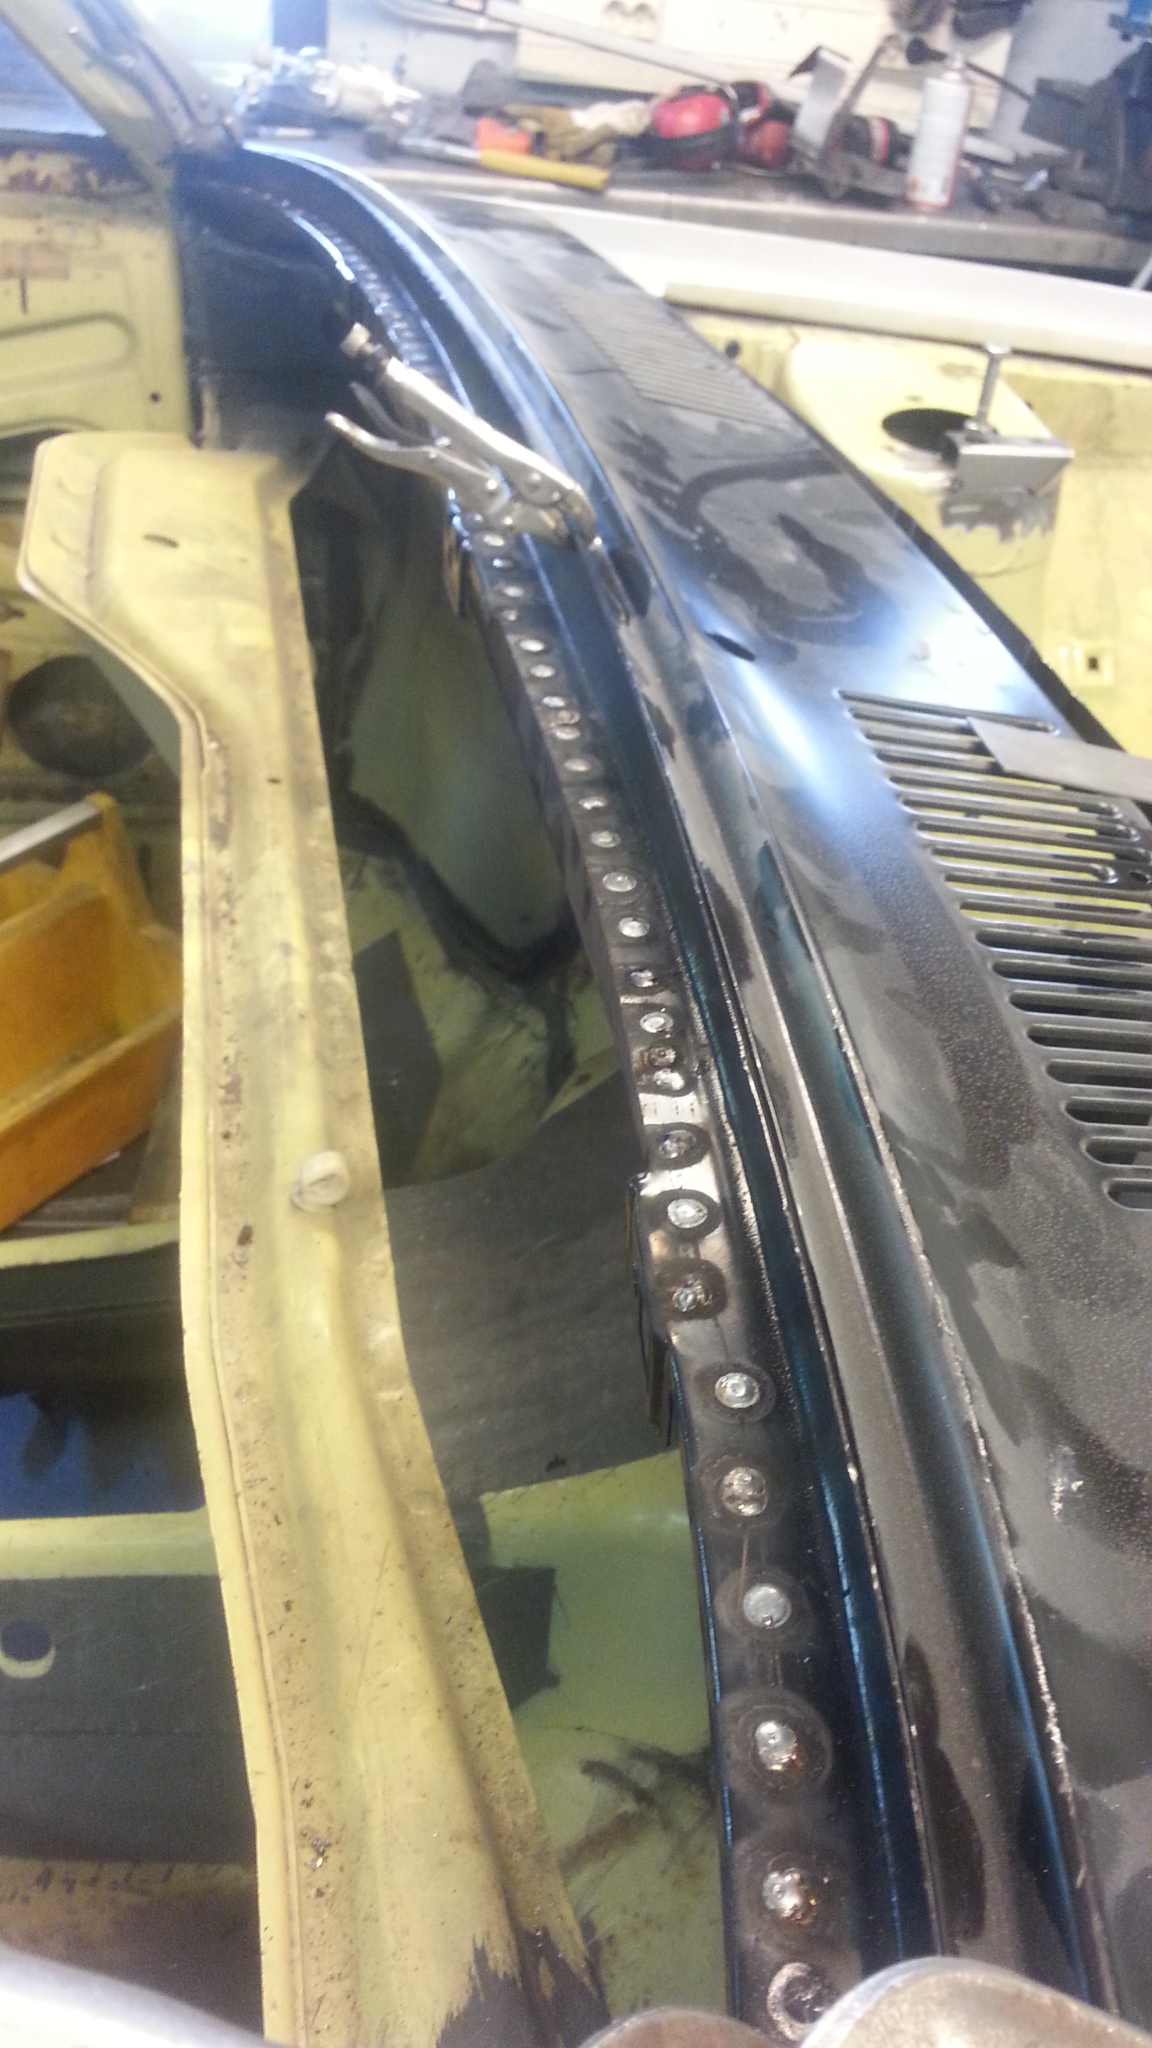
Pieces away and new steel in place. The right side water channel was totally rotten…

Some spotwelding holes.

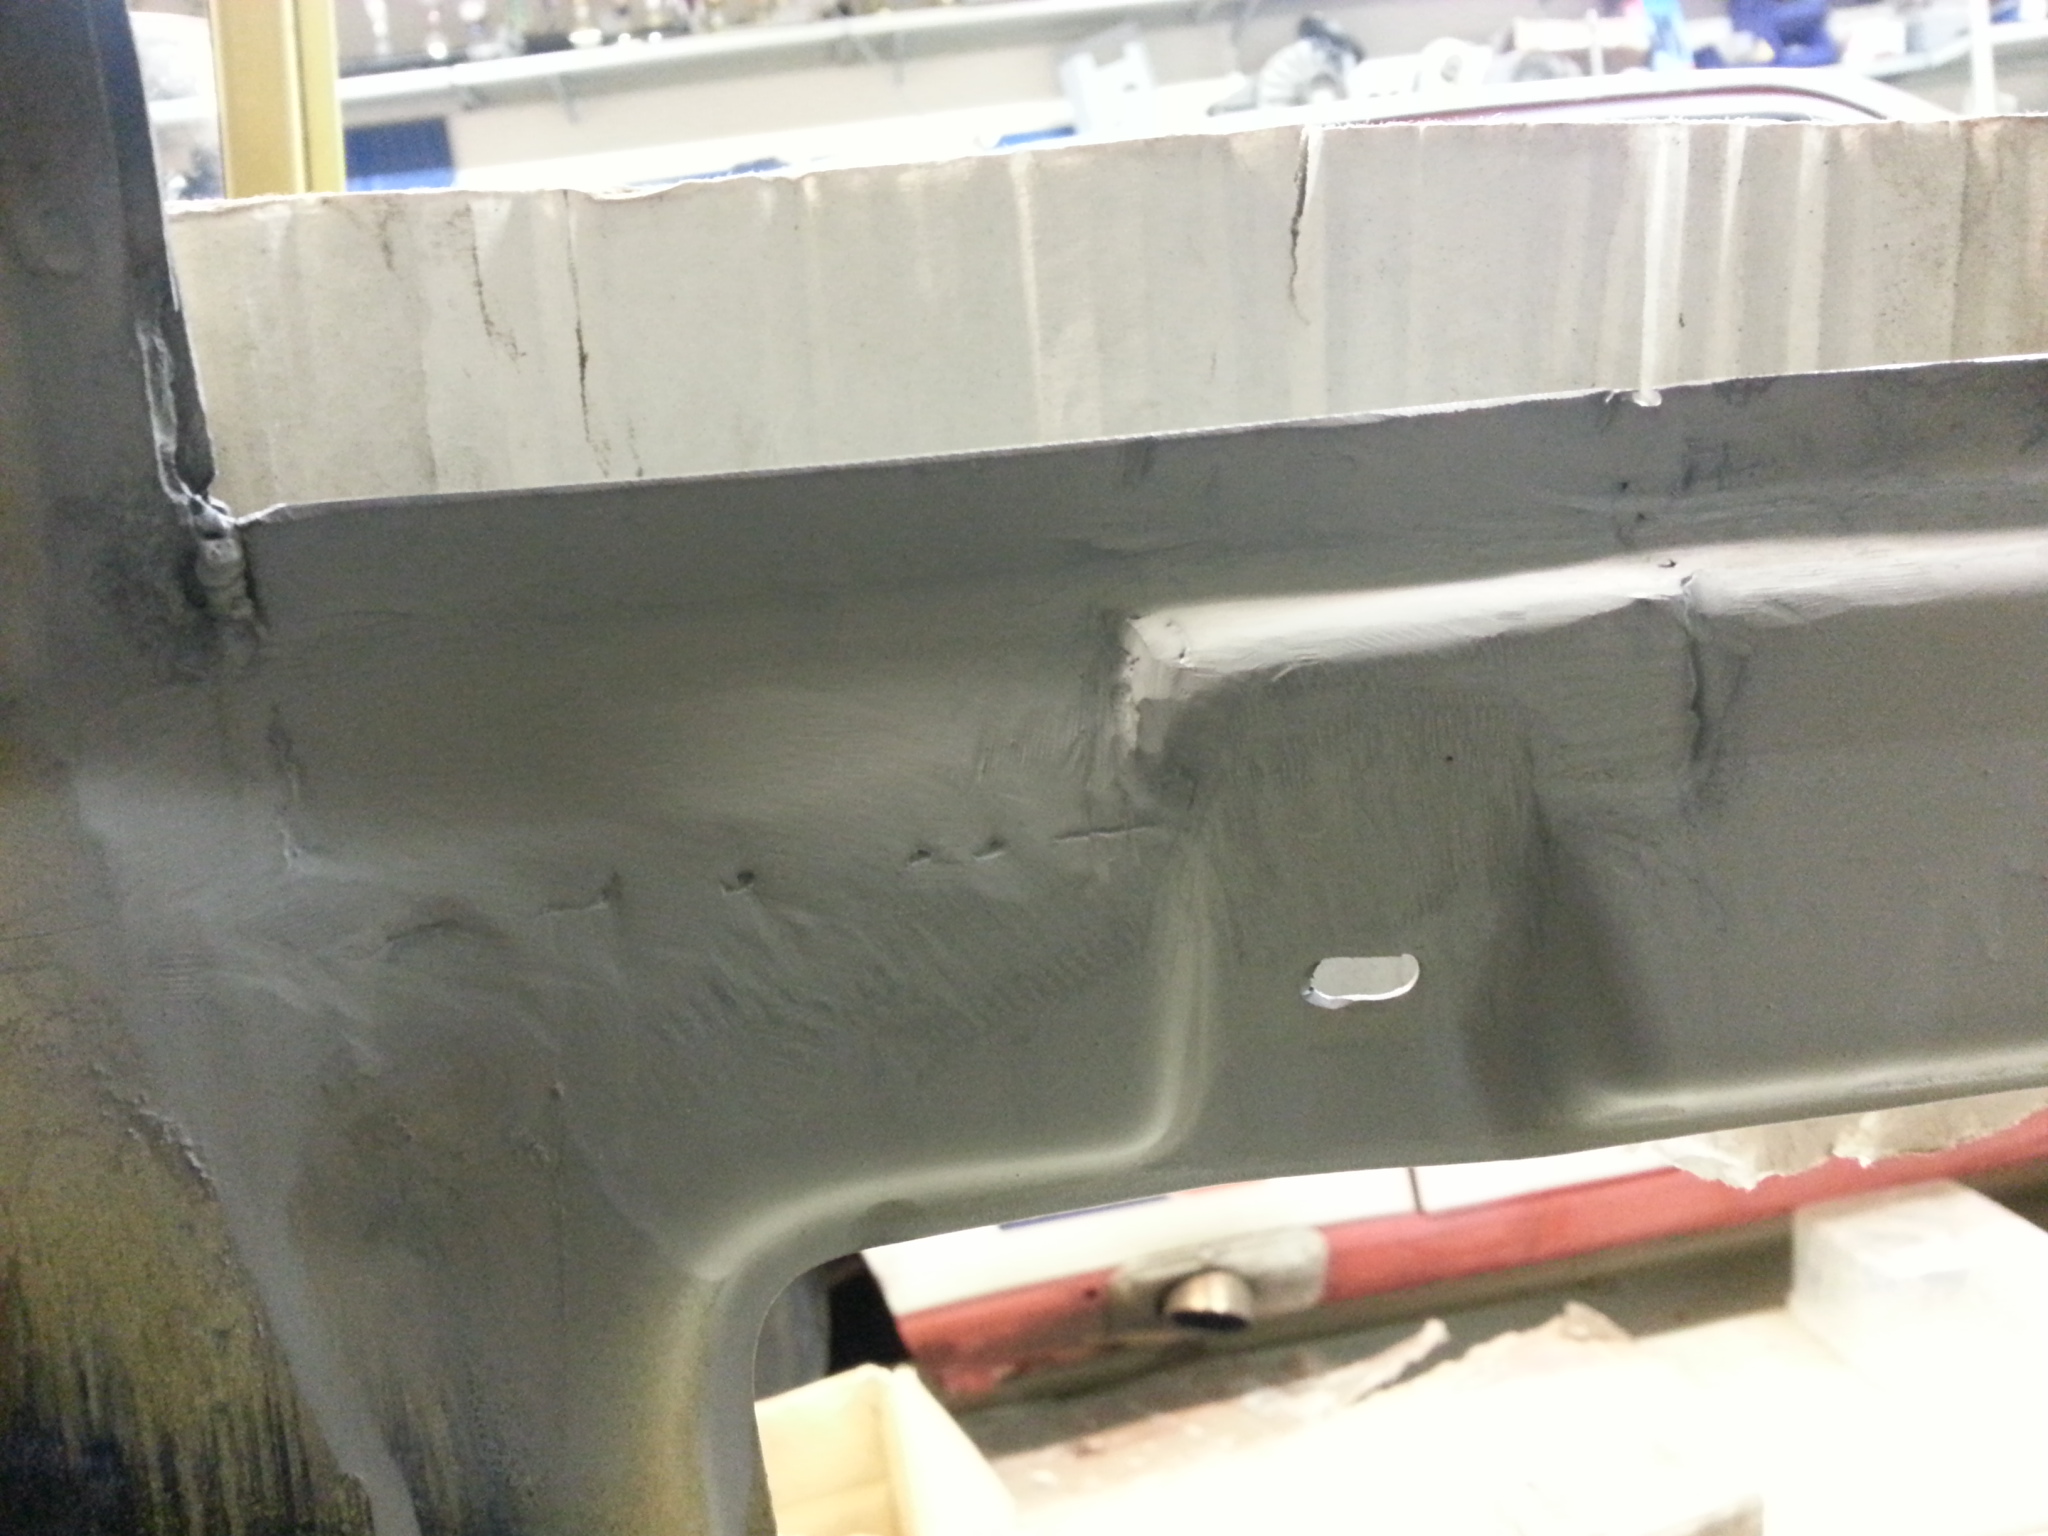
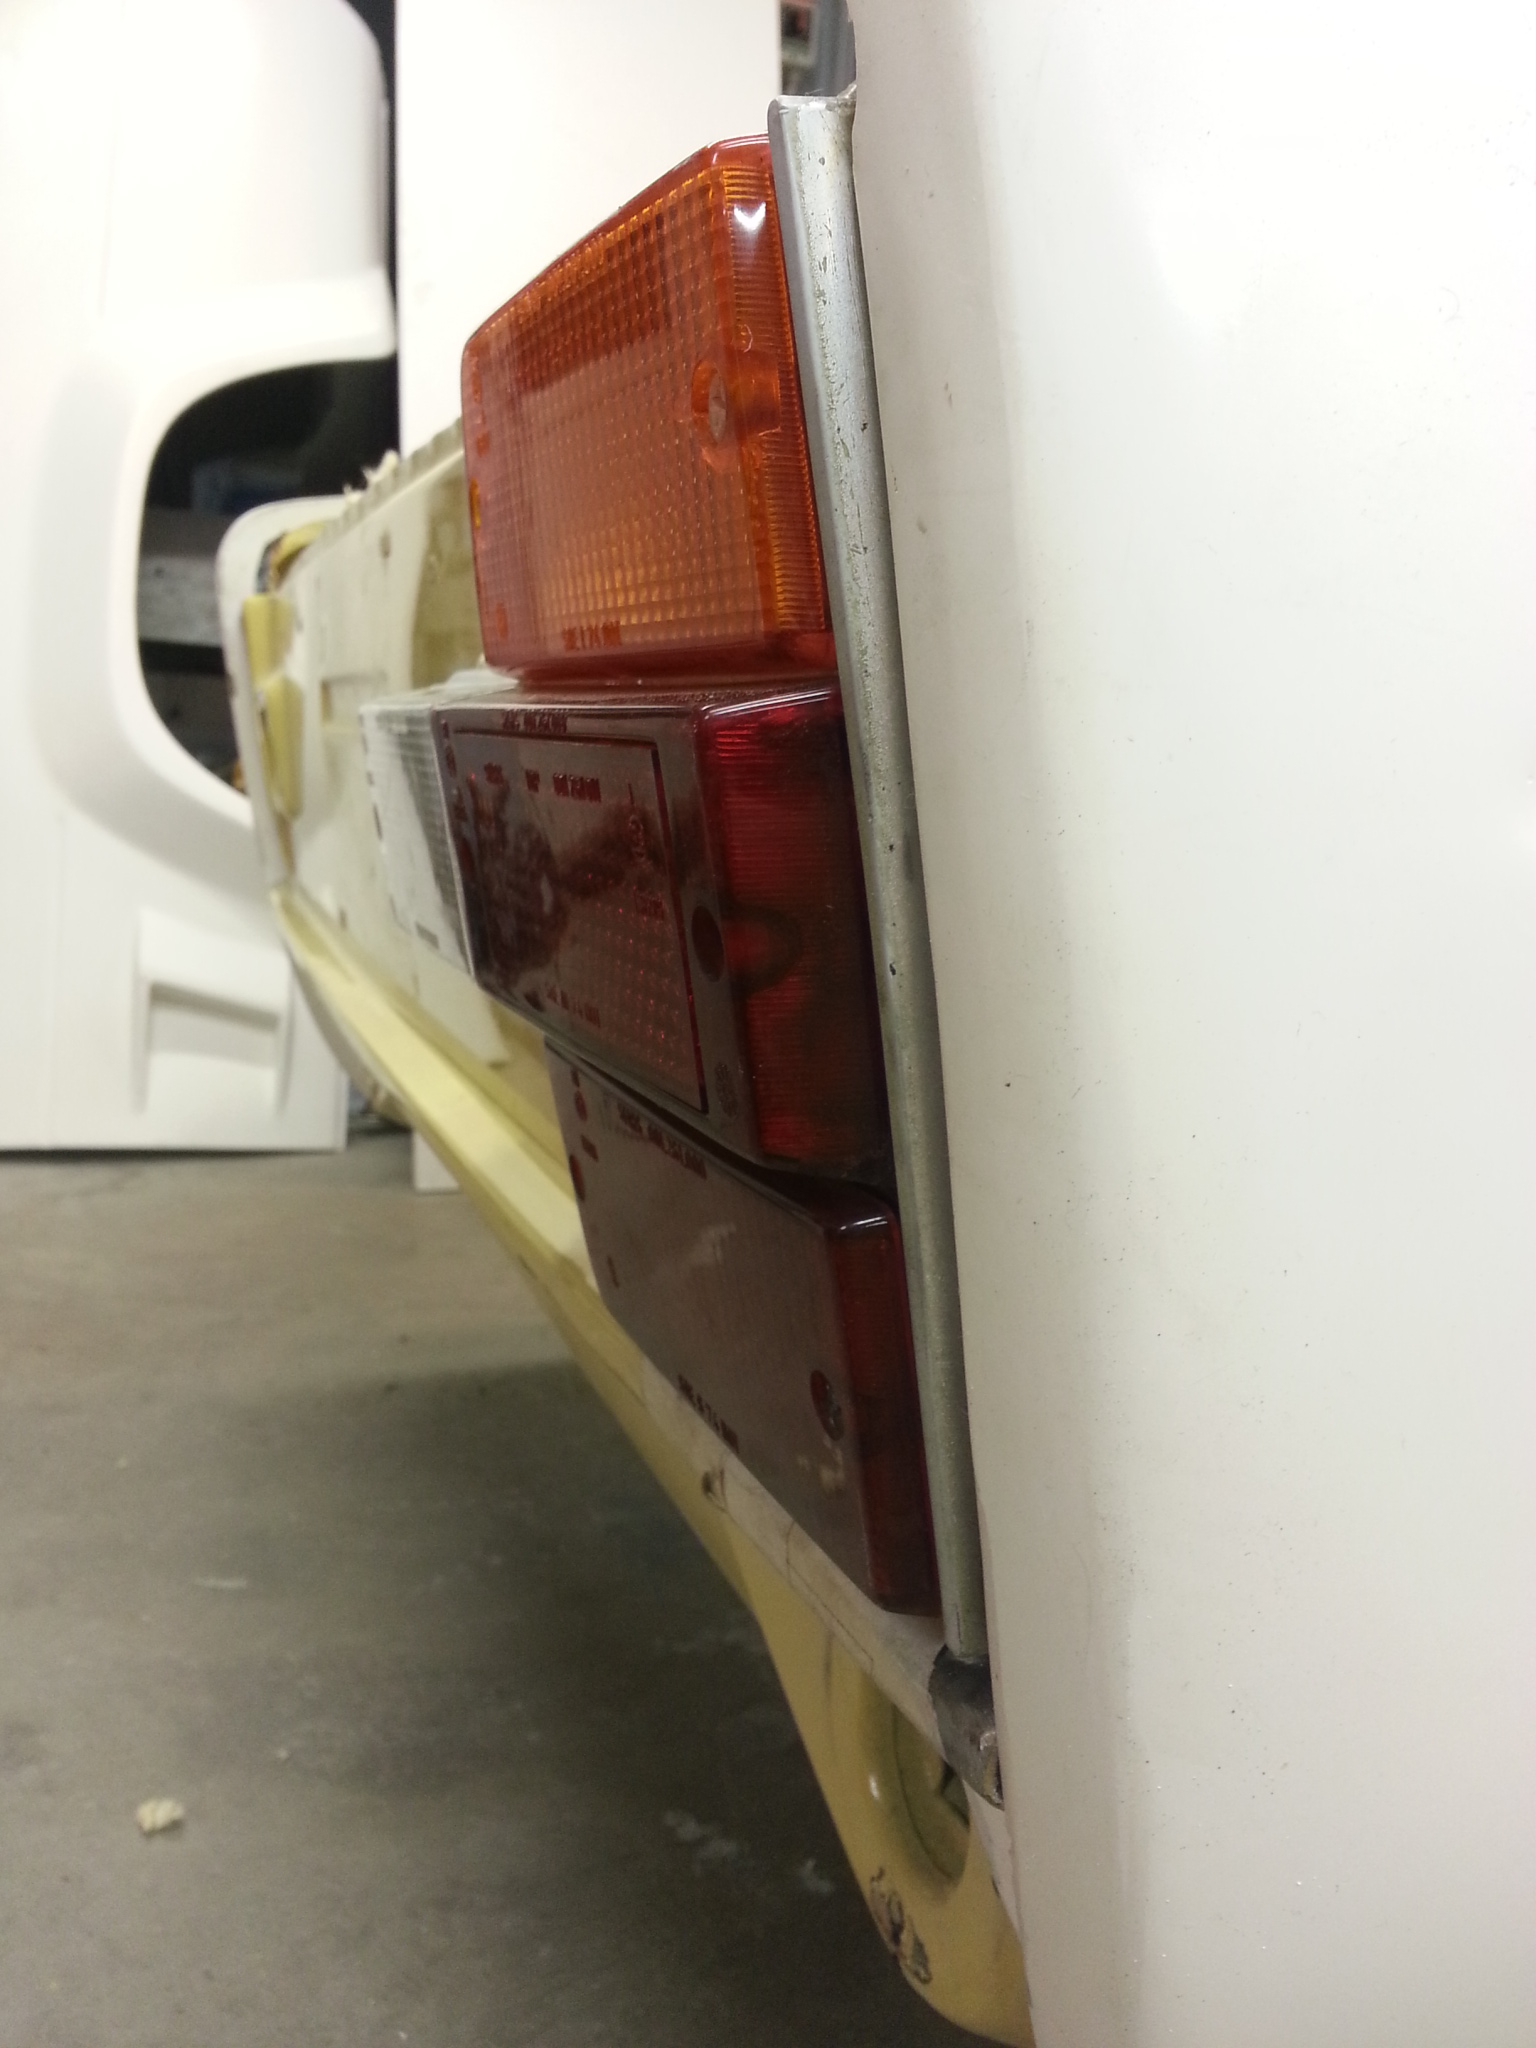
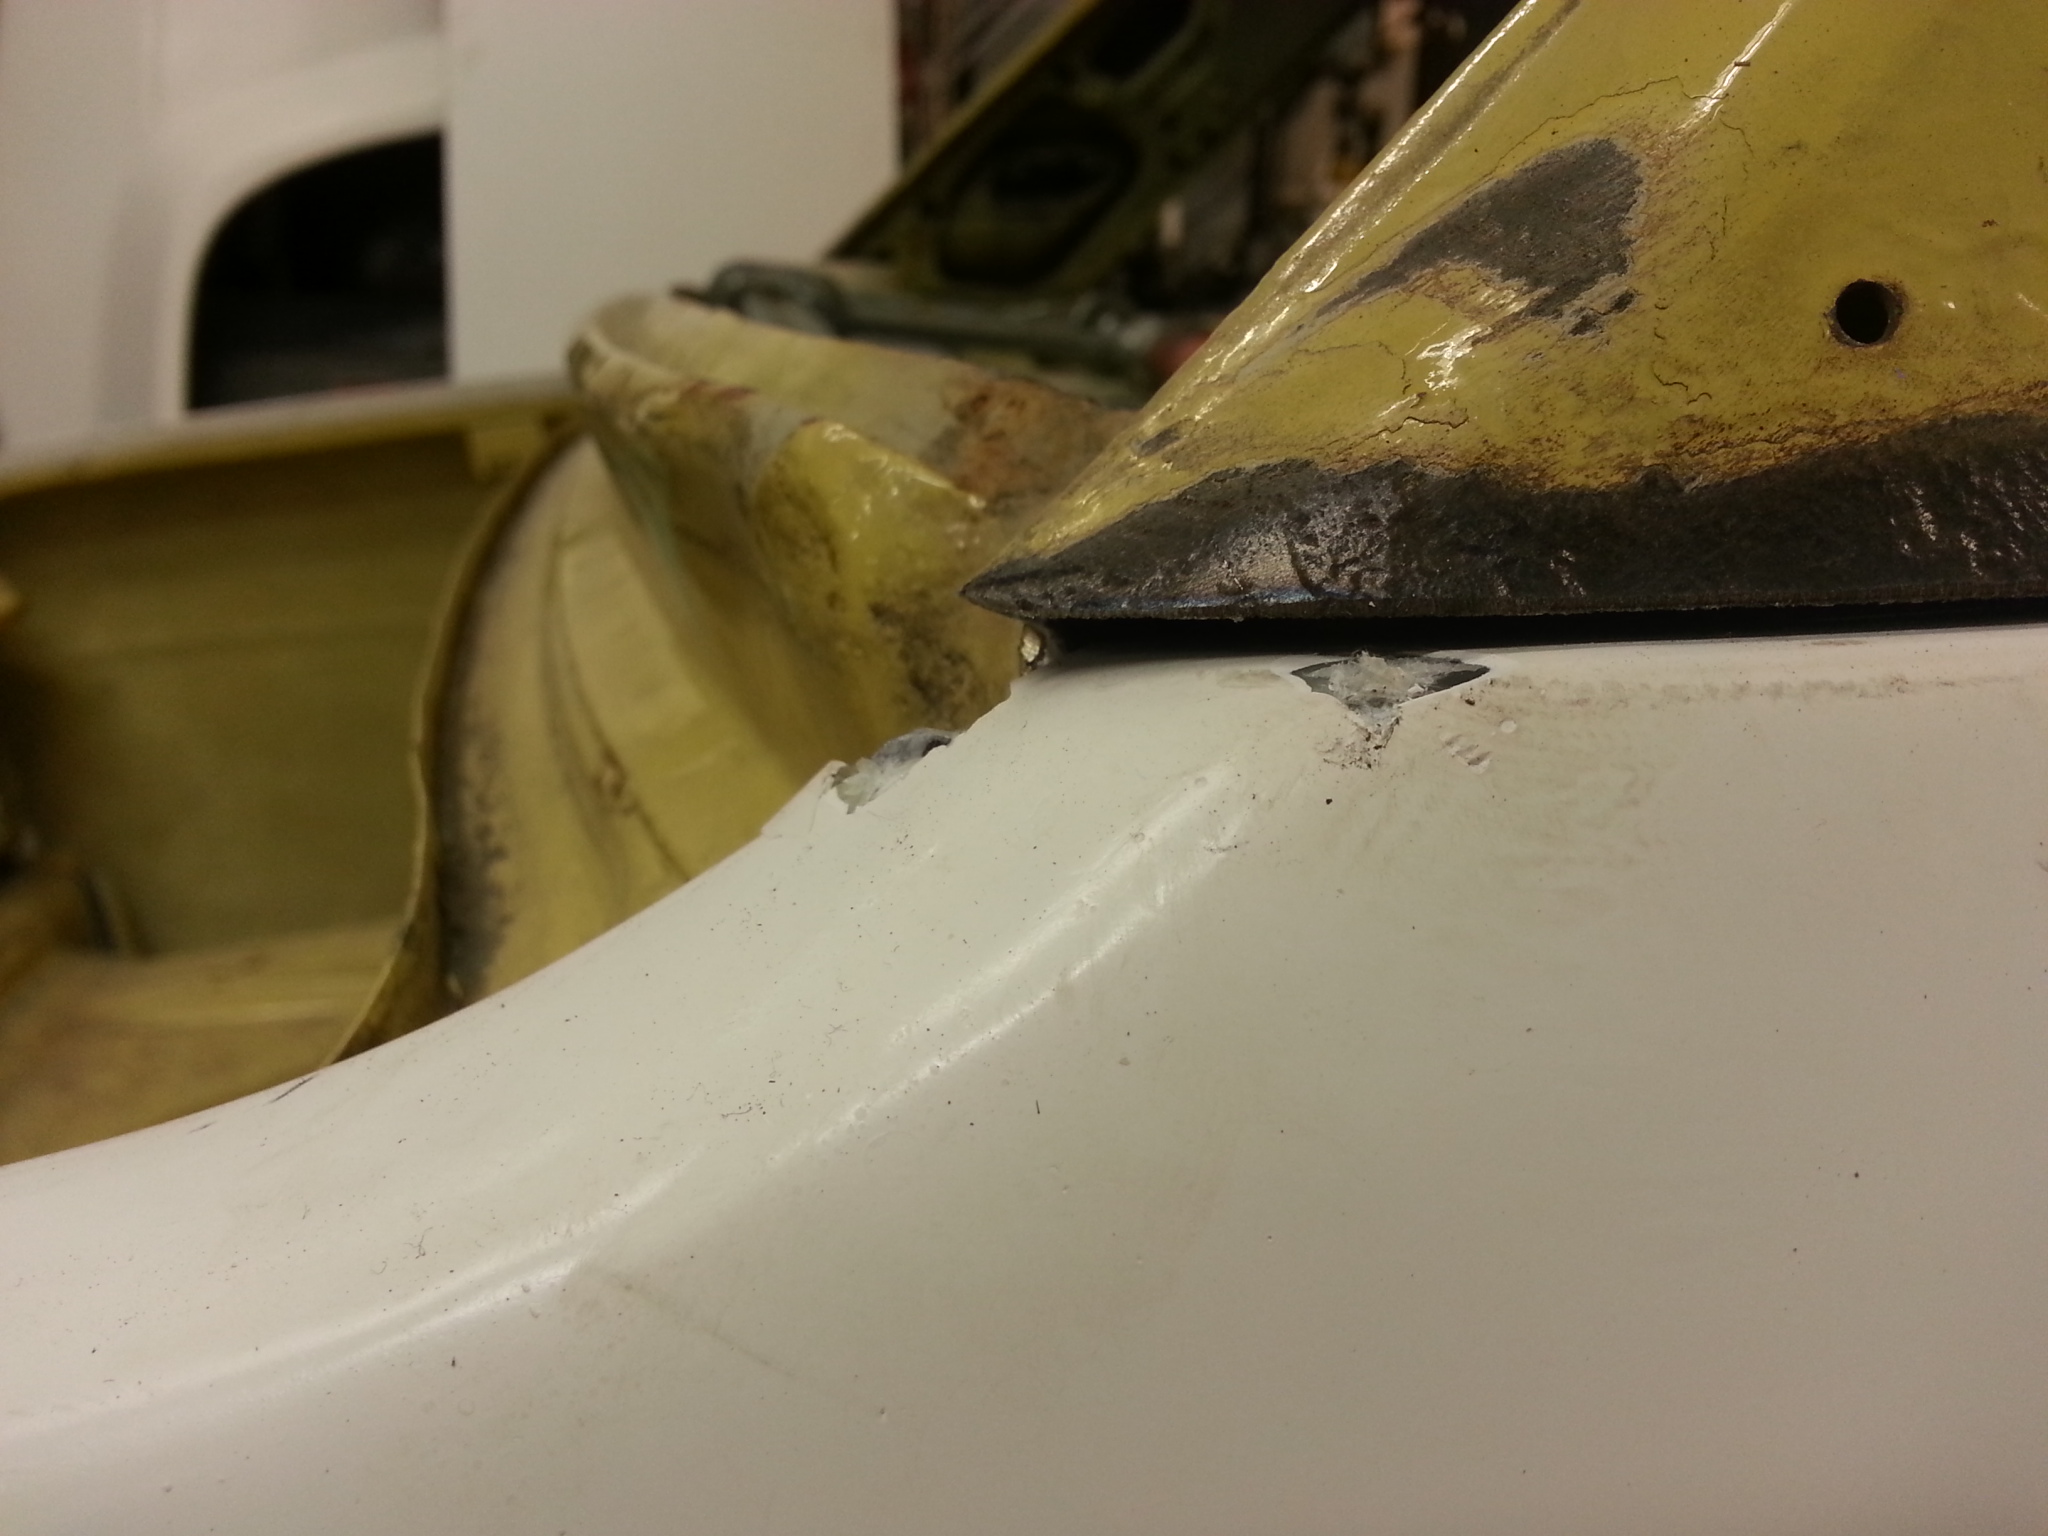
The lights panel was too high, I med a tool to pull it in right place.

The underside of window is now repaired and has zincspray on it.


27.5.2014
I have been heavily working with the molds. The bonnet mold is ready, as is the front spoiler mold. I made first spoiler yesterday, need to cut it to shape still. The trunk lid mold has gel in, needs to laminate the actual part still. The trunk lid inside piece is under sanding, will get it done today. Then I can start waxing it and making the first trunk lid. The bonnet mold is at paint shop still, they havent got time to fix it, I hope I can get it in this week.
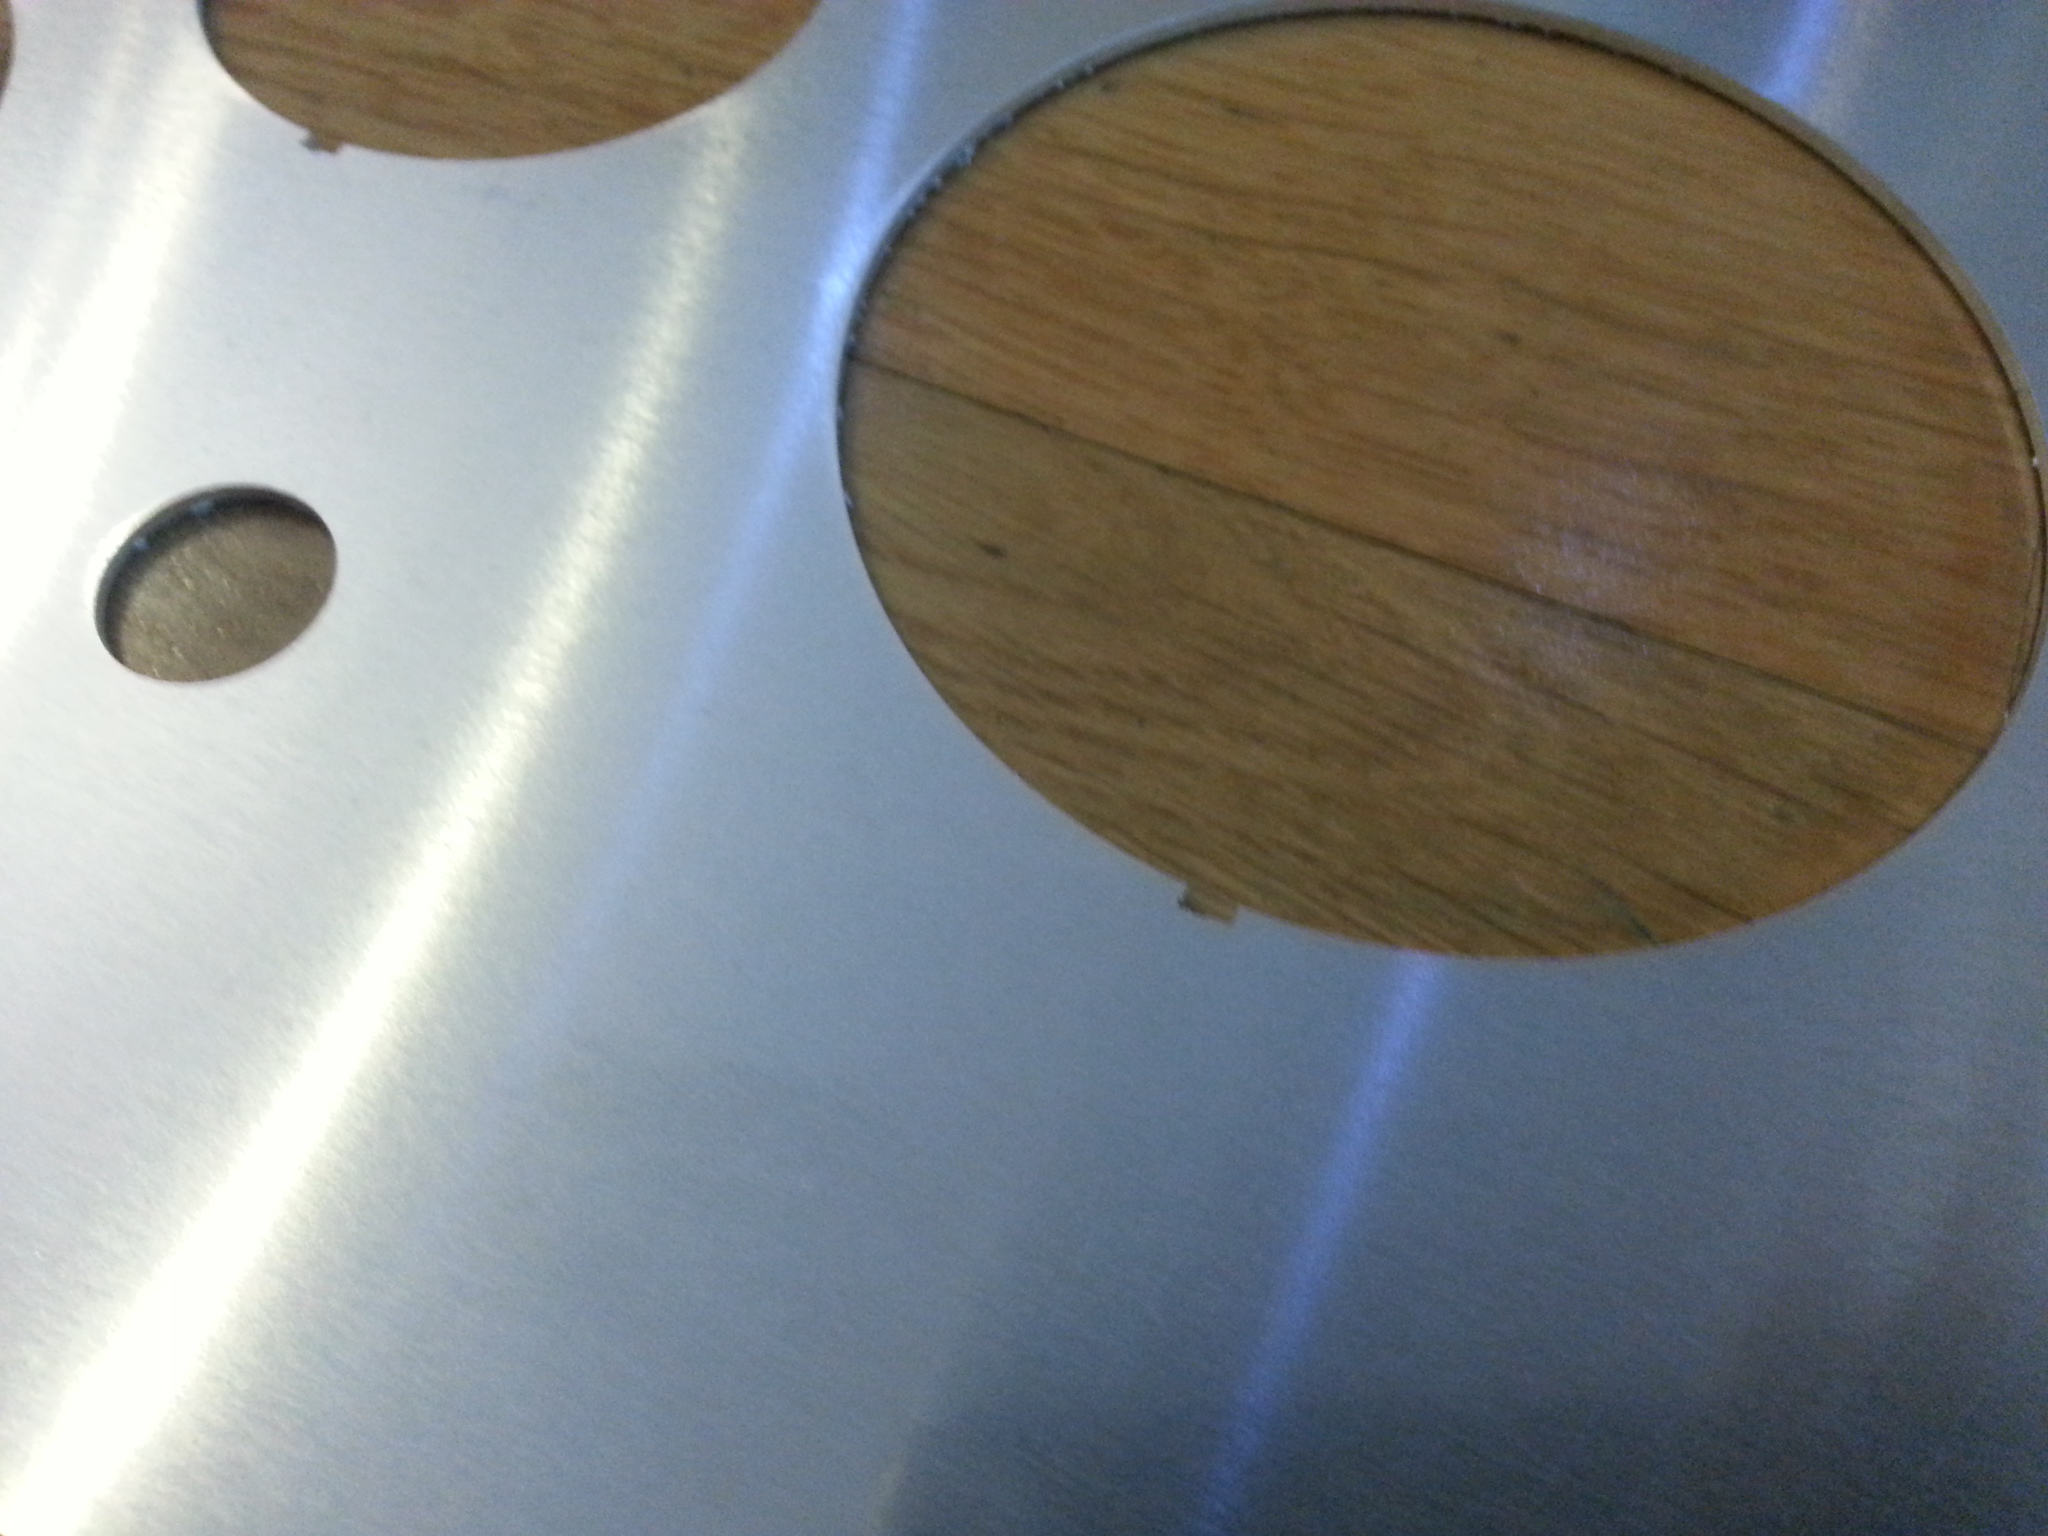
 Trunk lid inside piece had rough holes made in to it. I laminated it to smooth surface, its difficult to make parts with many holes in the middle.
I made yet another clock shade.
17.5.2014

Some new headlights. Stradale style. But these were also used in g.4 till -77 so its ok for racing too.
30.4.2014
I have been building a spotwelding tools for my floor standing spotwelder. I hope I can get it done in few days. After that I will start changing rusty parts and installing g.4 reinforcing parts. I dont want to seamweld if original didnt have seamwelding. Ofcourse I cannot spotweld everything, some parts are soo large. But I will try to do as many as possible.
The fiberglass molds are going through a restoration. They are old so they have small cracks and other small problems. Mudguard molds are now ready, front spoiler is almost done. Front bonnet needs attention more. I reinforced it, repaired all the cracks and took it to a paintshop. They will make it perfectly straight. I dont want to make crappy parts.. The inside piece of bonnet need also small updates. The mold maker has dropped off some small details and I need to make them again.
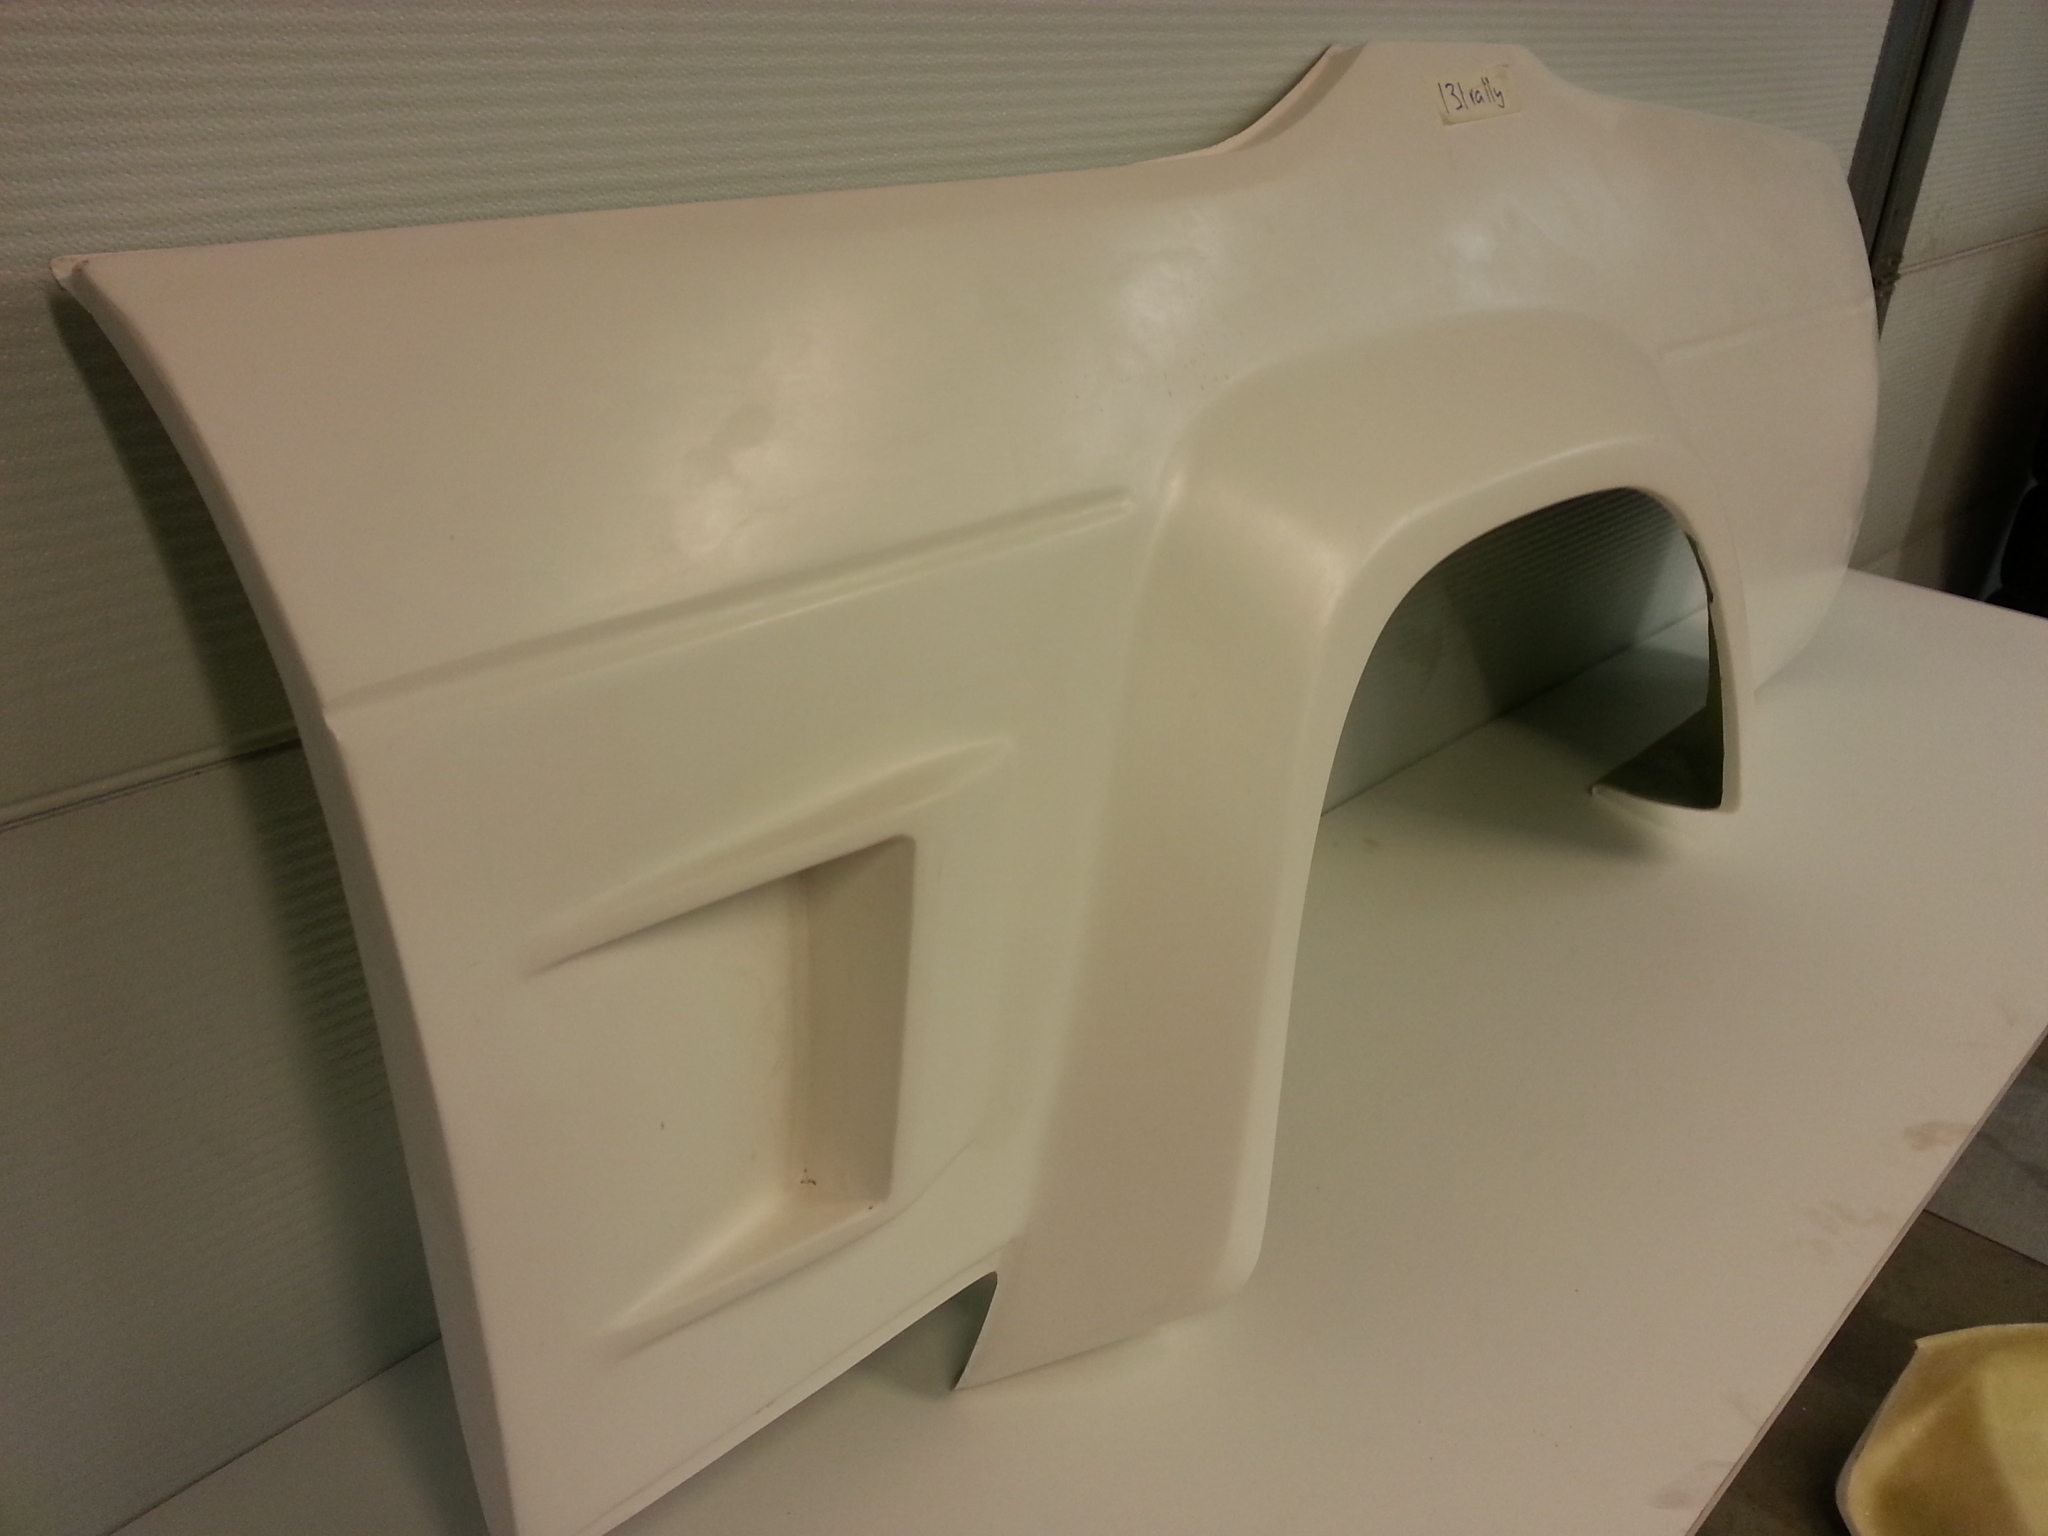
I have my new mudguards. They really are superb quality. Or what you would say about the pictures?


I made molds from the 2d doors. Theyr pretty good, I made them for making the door skins for a friend.

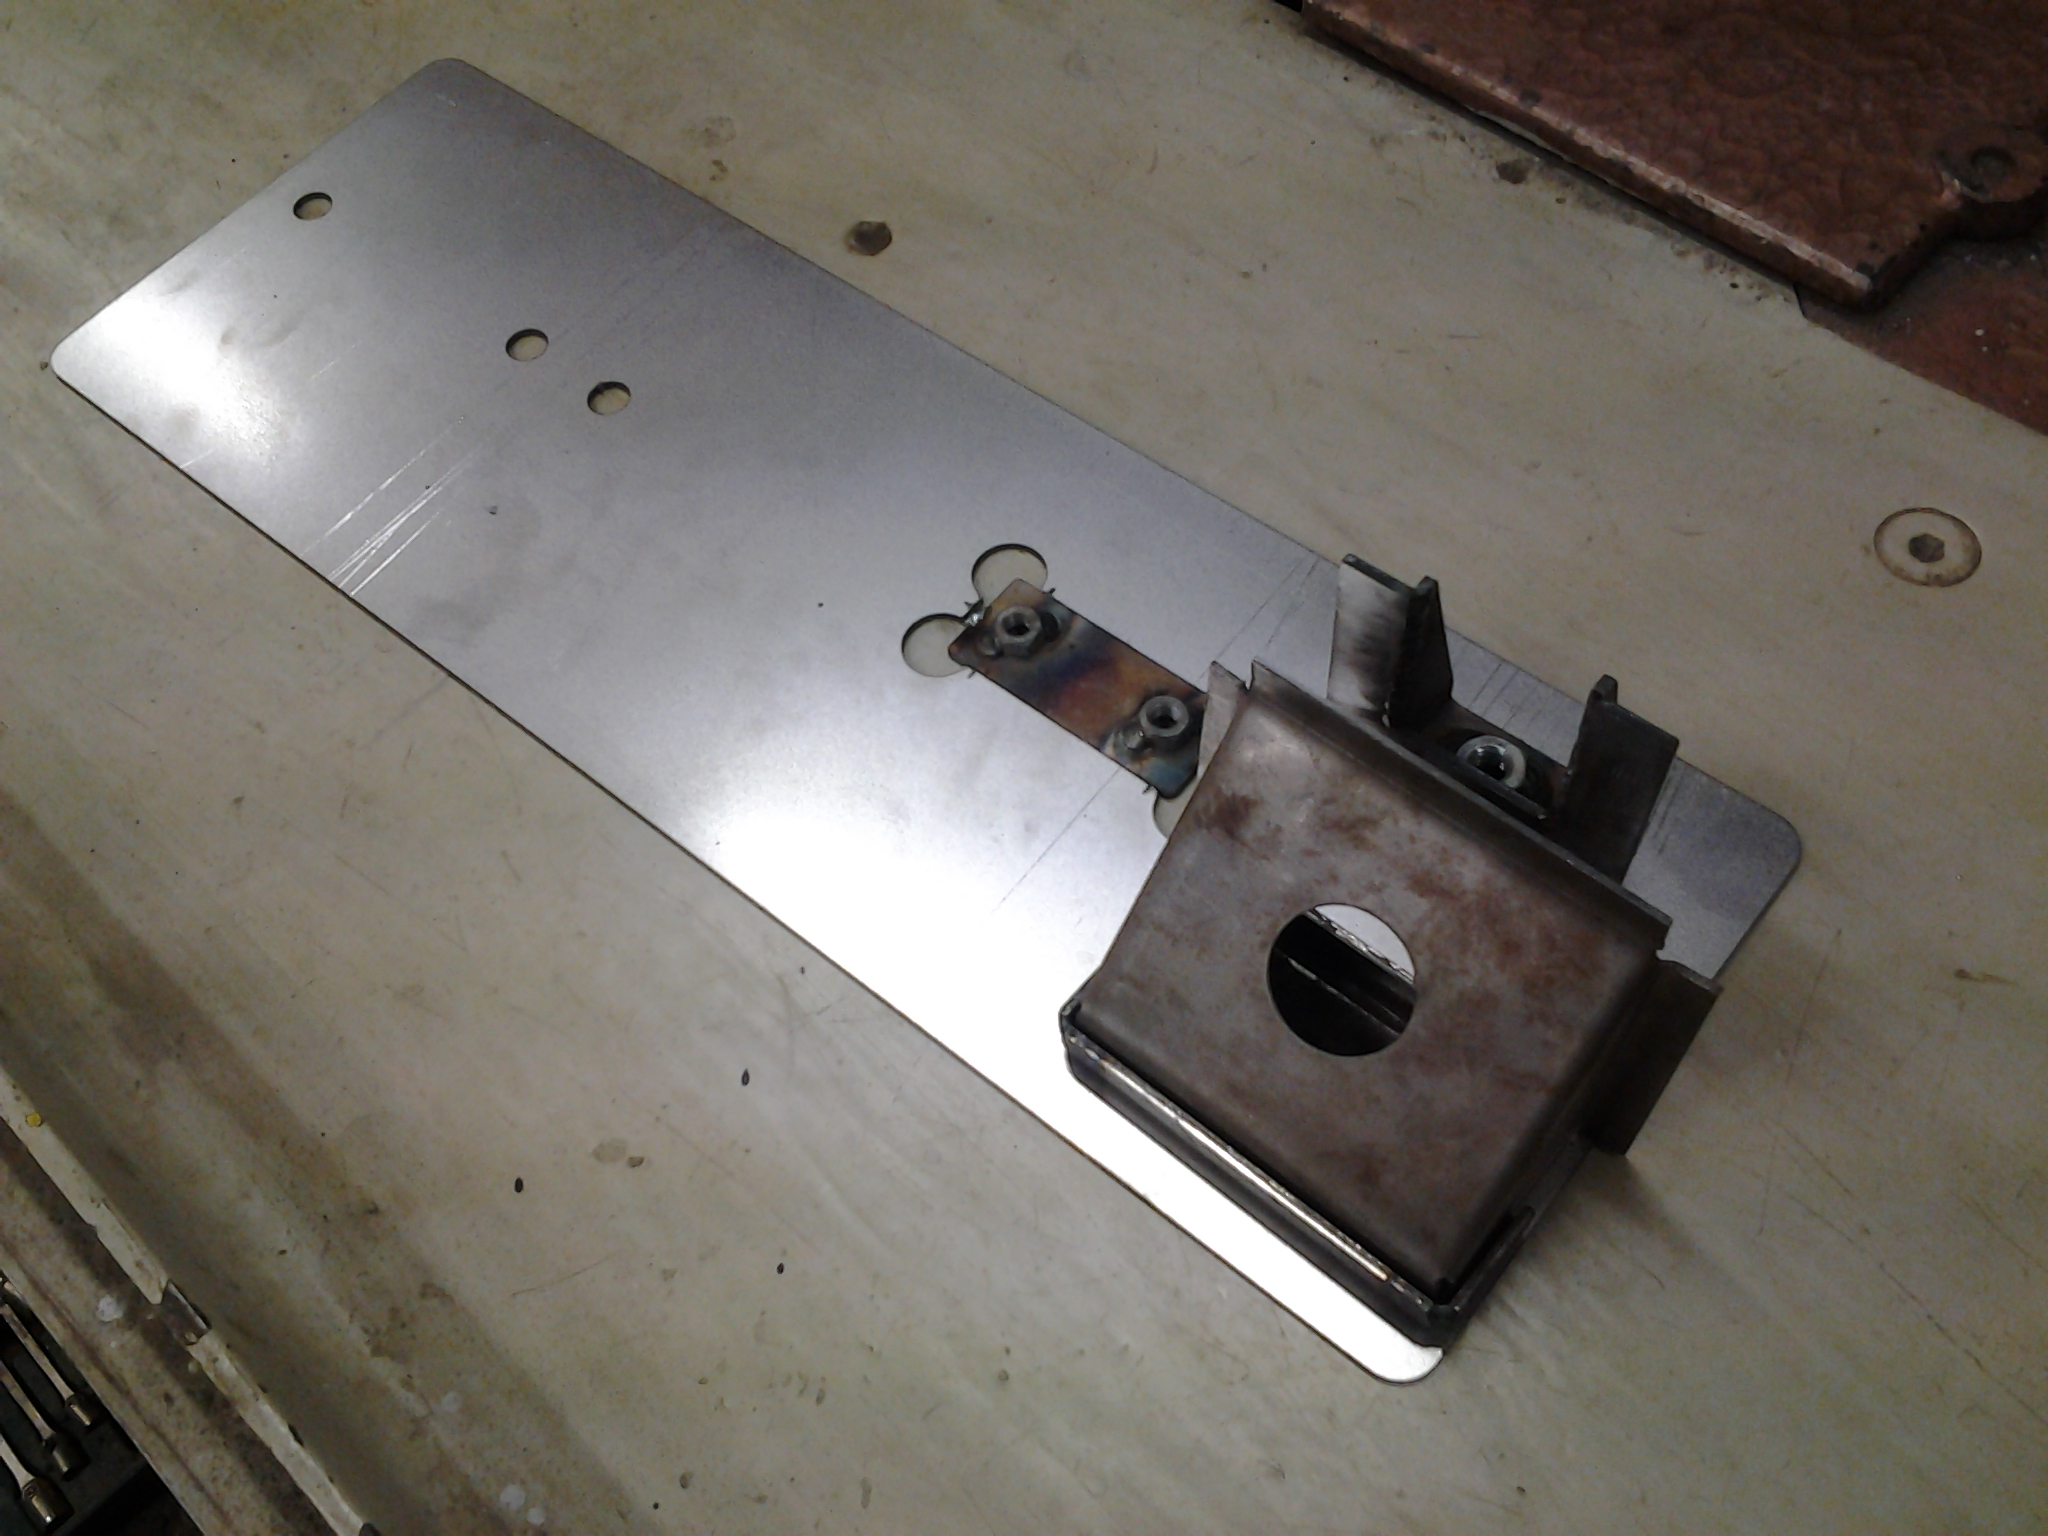
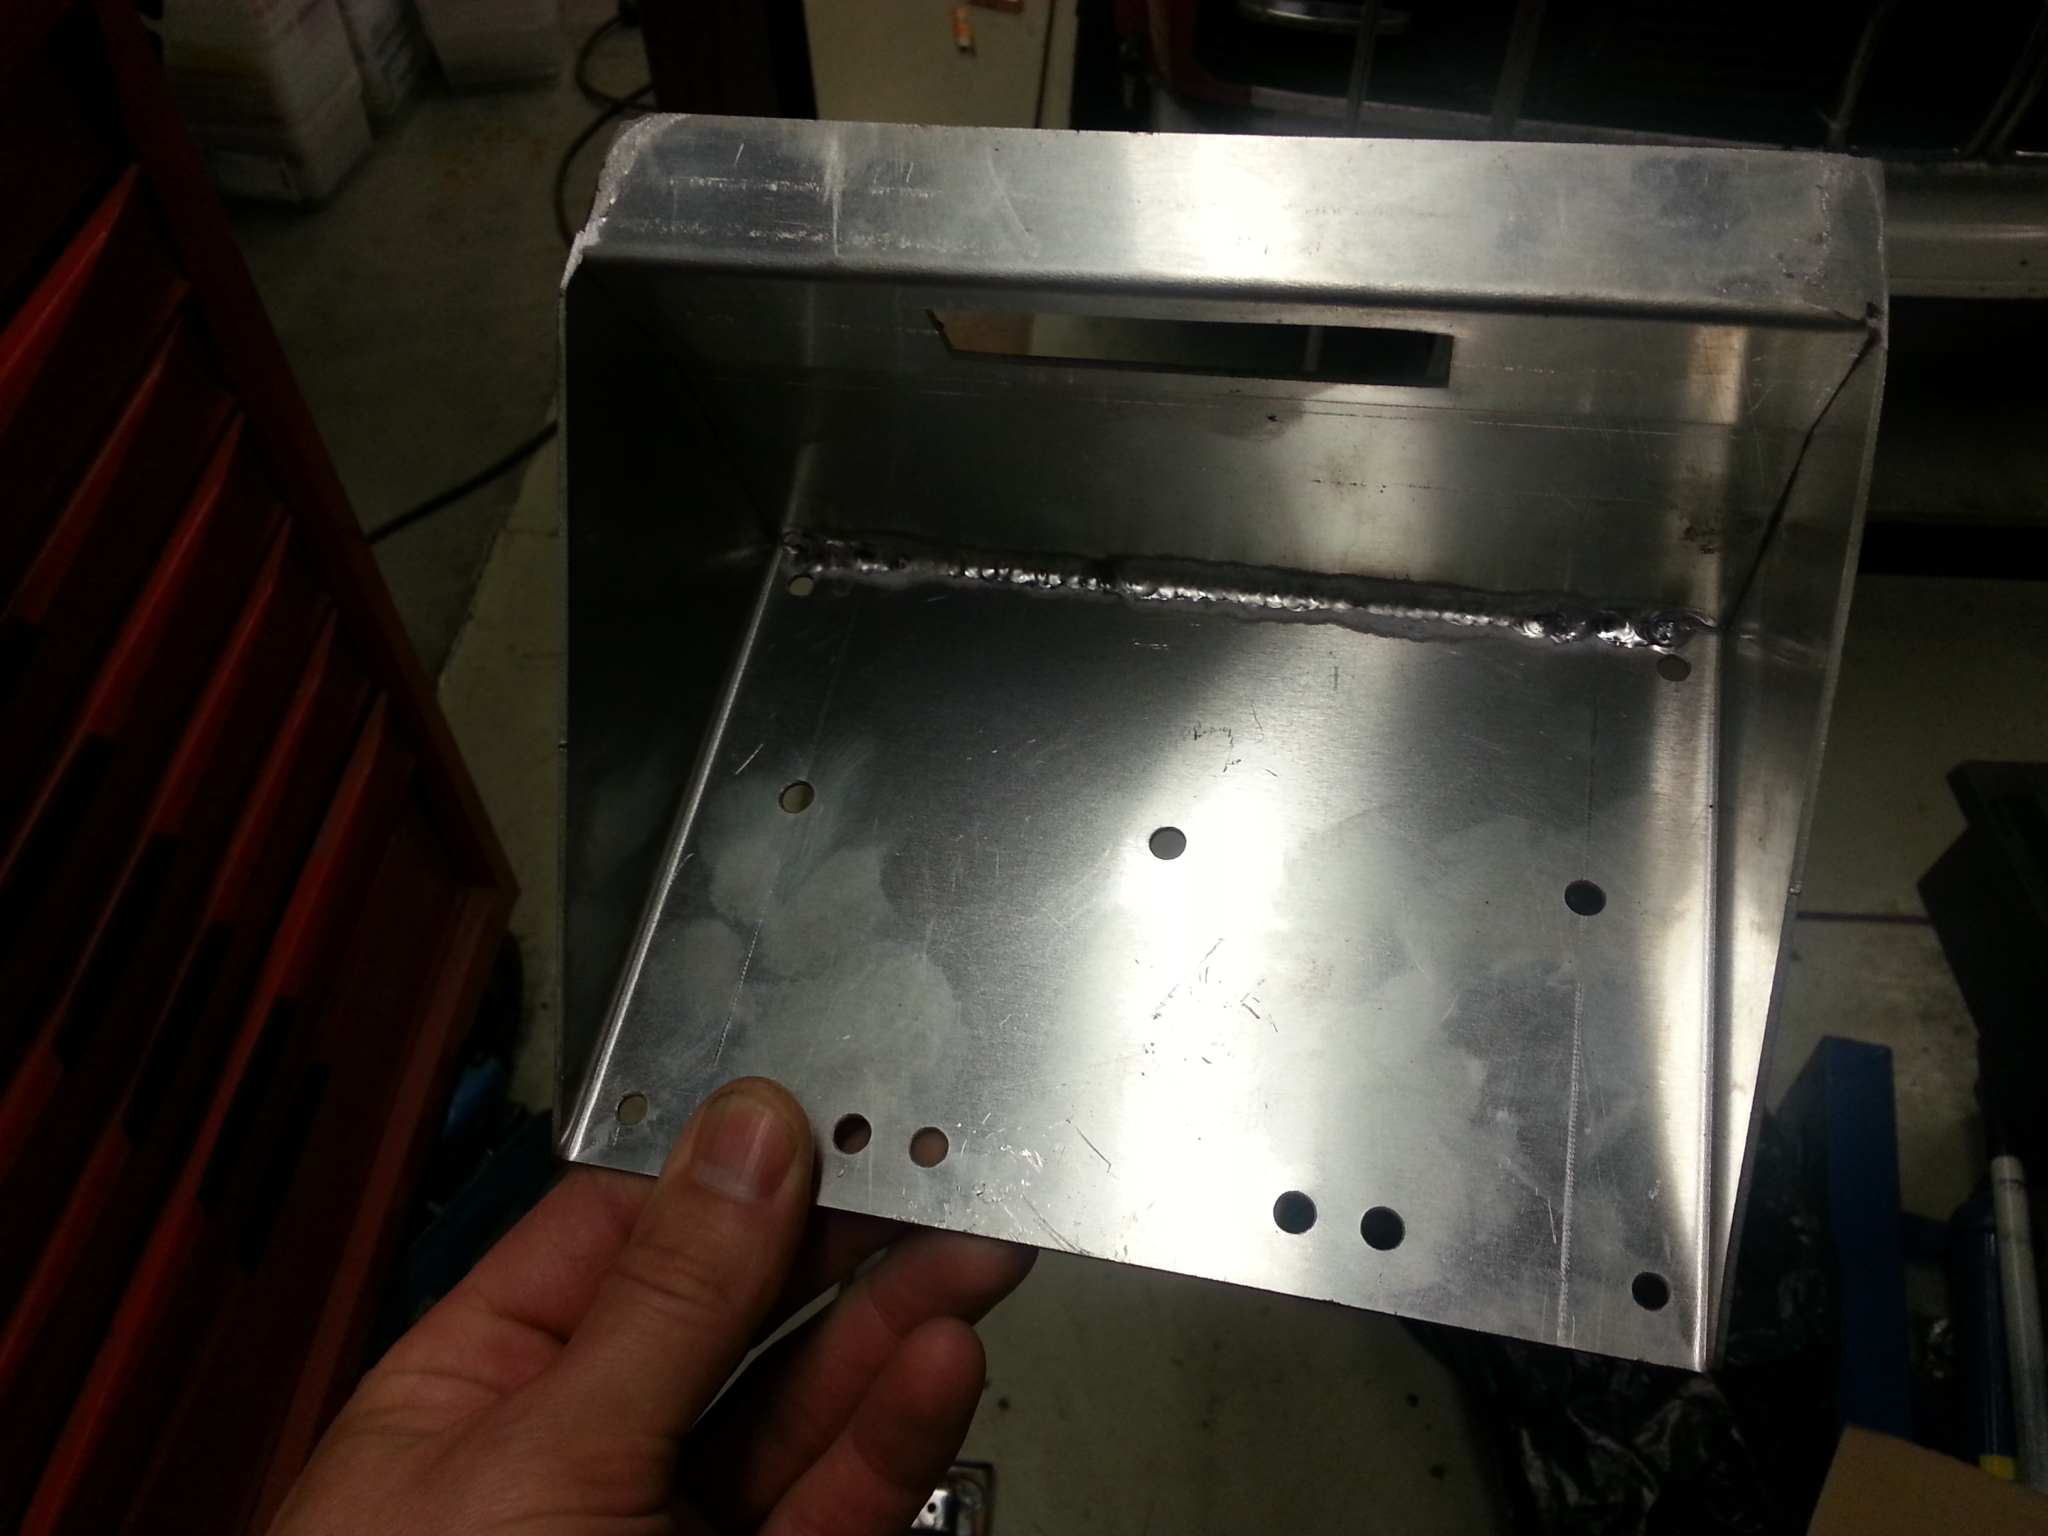
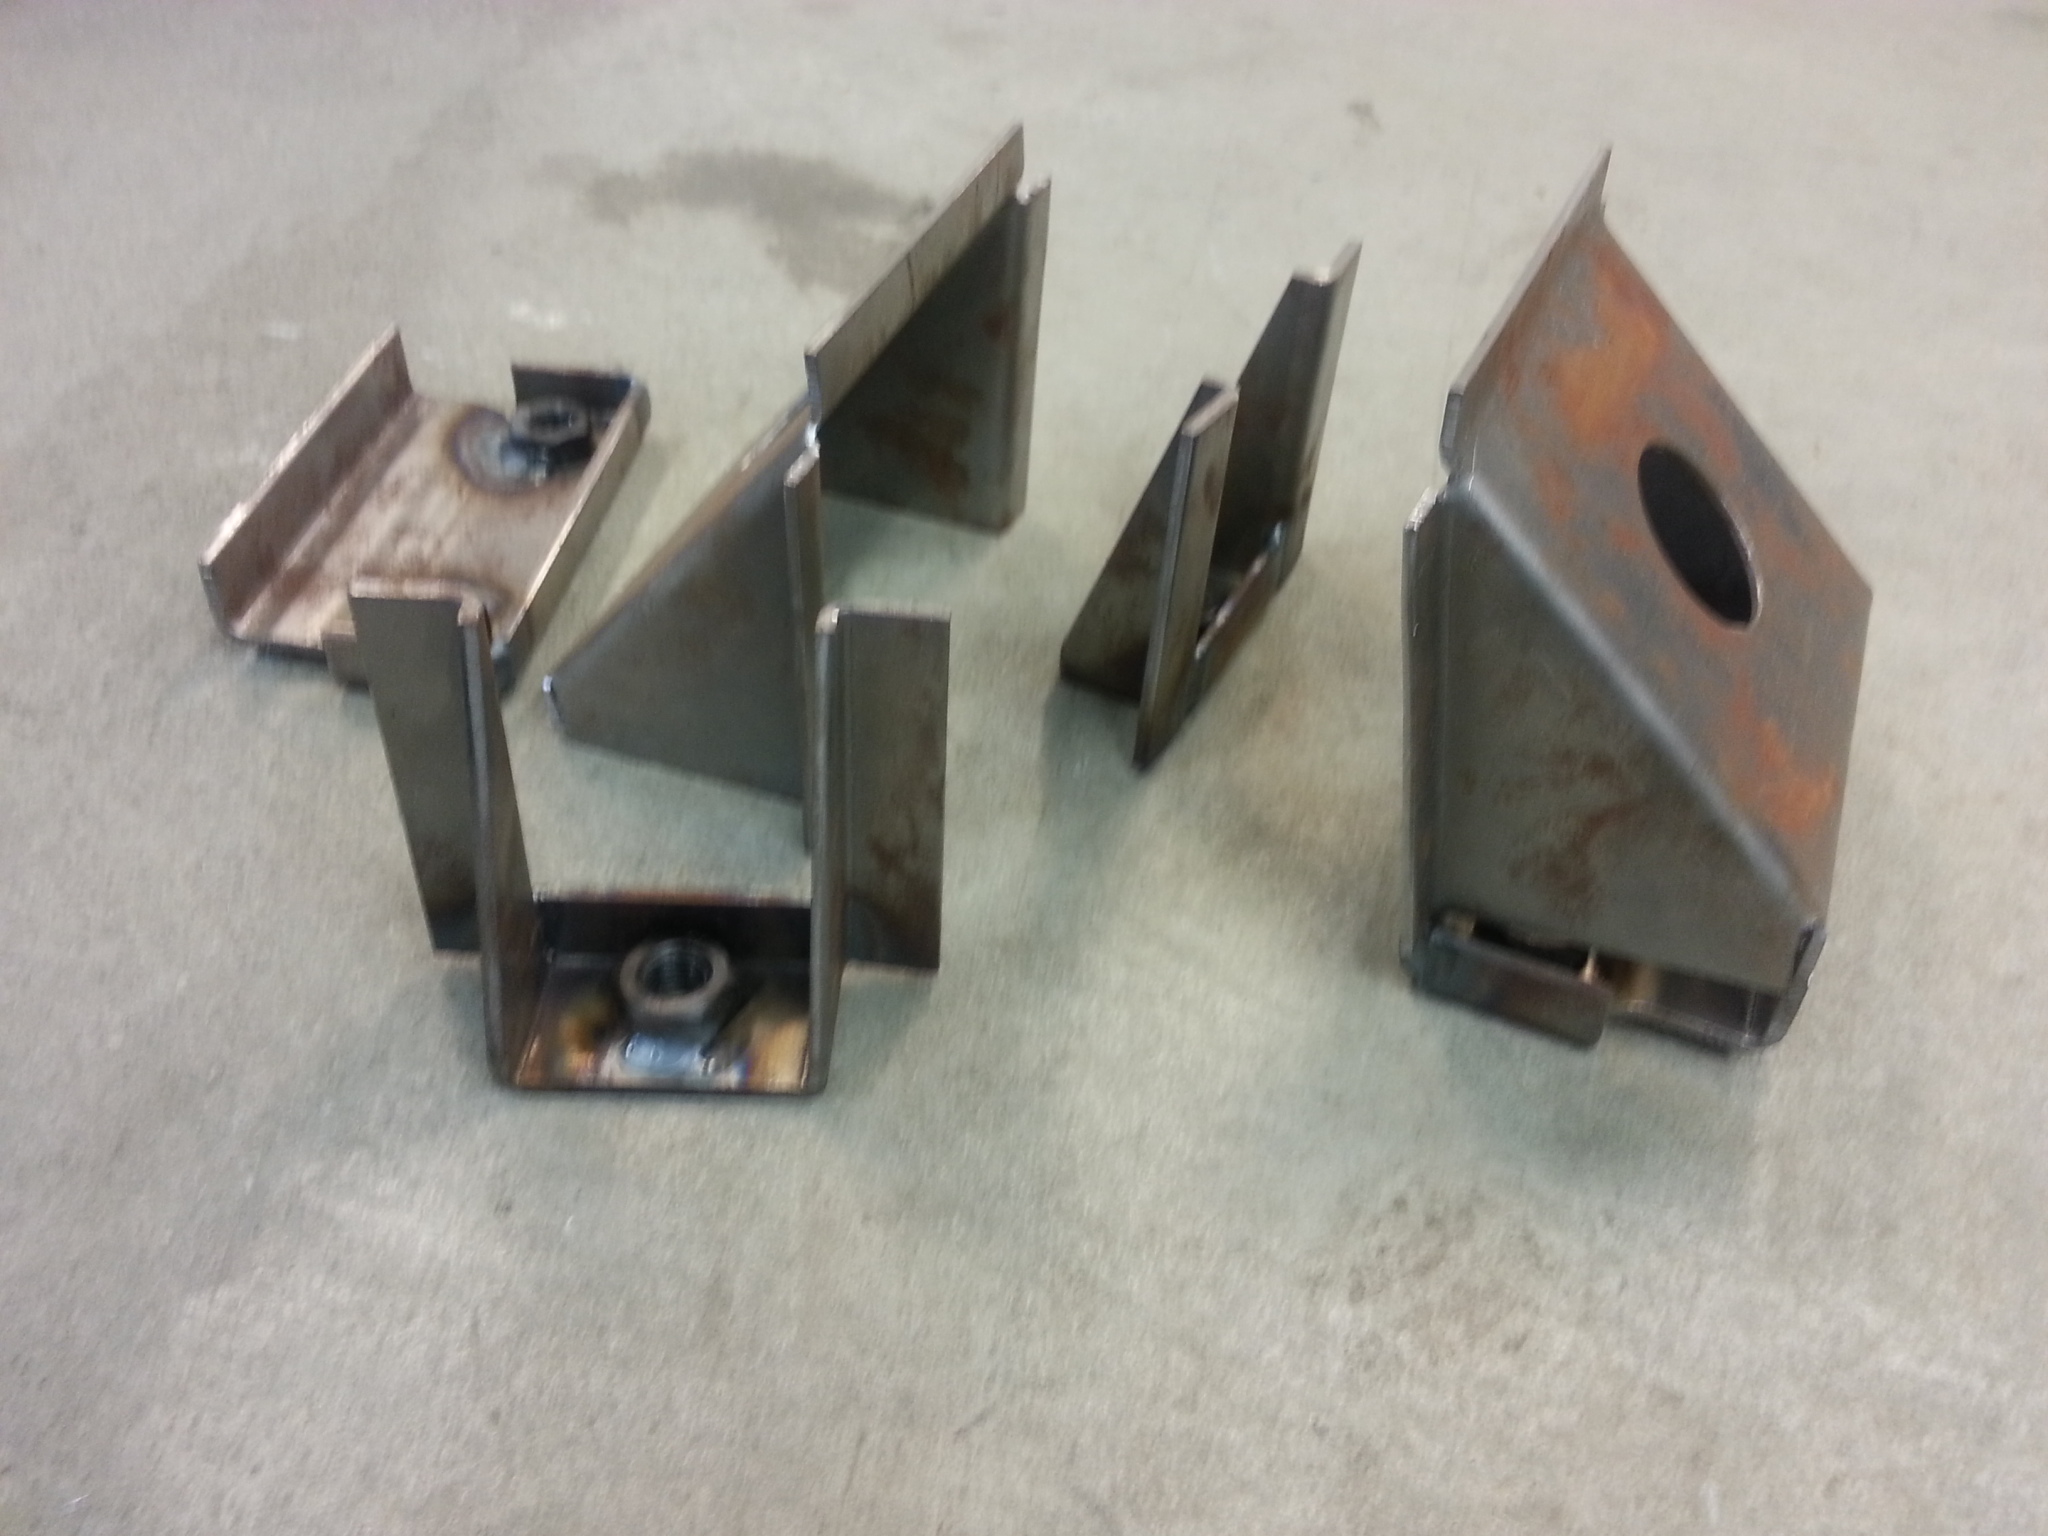
Here are fuel pump brackets g.4 style. Left is the main pump brackets, the right is lifting pump bracket.


18.2.2014
Long time no update. But it dont mean I havent done anything. Some pics.

I drilled the other box away too, and drew it to CAD and ordered new from lasercut.


I drilled rear shock tower away and tested how the new goes in to see how it is.
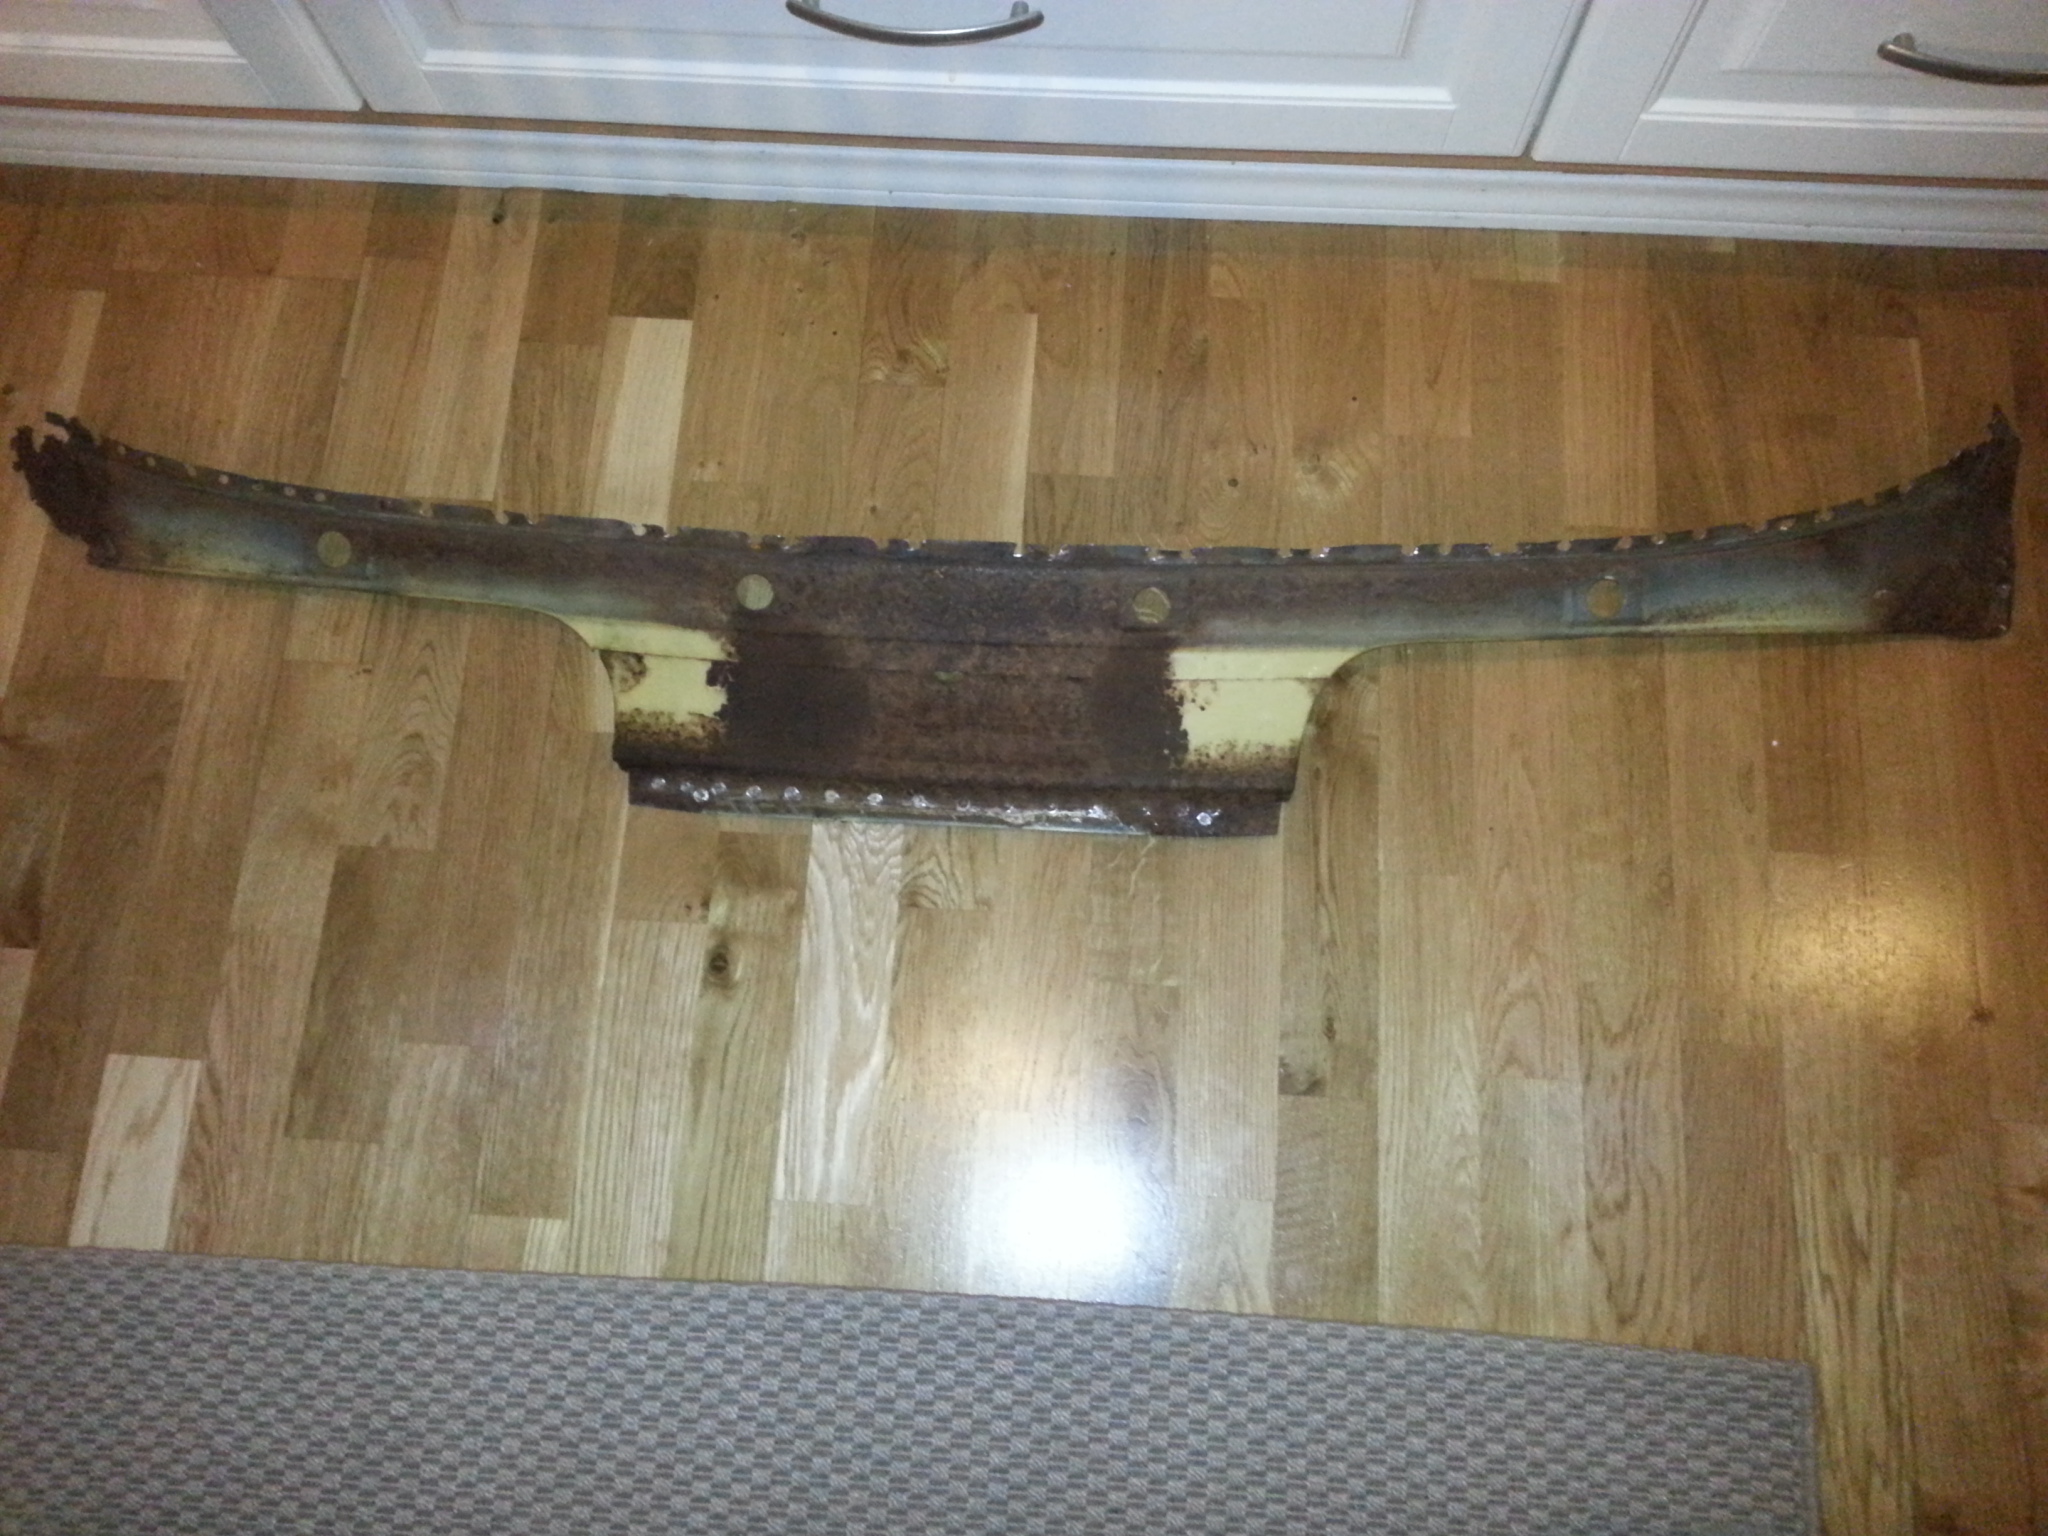

I also drew CAD picture of this sheet metal which is between windscreen wiper panel and heater panel. I will make new ones. Today I got a bead roller which I can use to make the grooves.

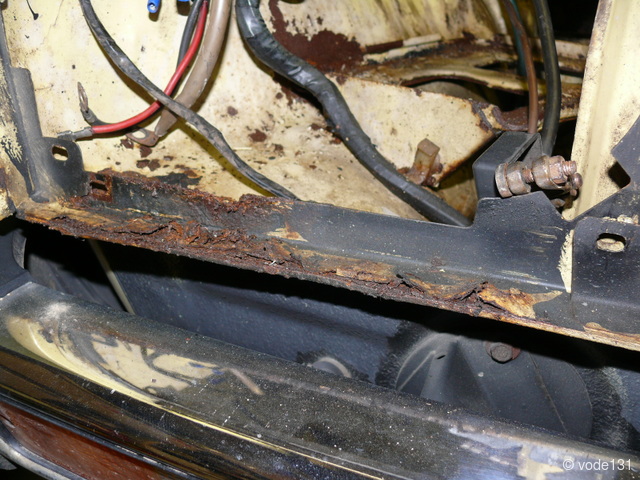
The other end of this panel is quite rusty.


First test assembly of the dashboard. Goes in quite nicely, I will need to make a small adjustment bracket to bottom mount.
15.1.2014
I noticed my rear mudguard bottom boxes had some rust. Instead of replacing the small piece, I drilled the whole part away and start drawing a cad pics from it. Then I can have it done exactly like factory had it by lasercutting it to shape.


1.14.2014
I have one original g.4 x-member/x-brace. I have a friend who needs one, so I drew the parts to CAD and had them done. Here you can see how its done. I made more at once, so if you need these, contact me.
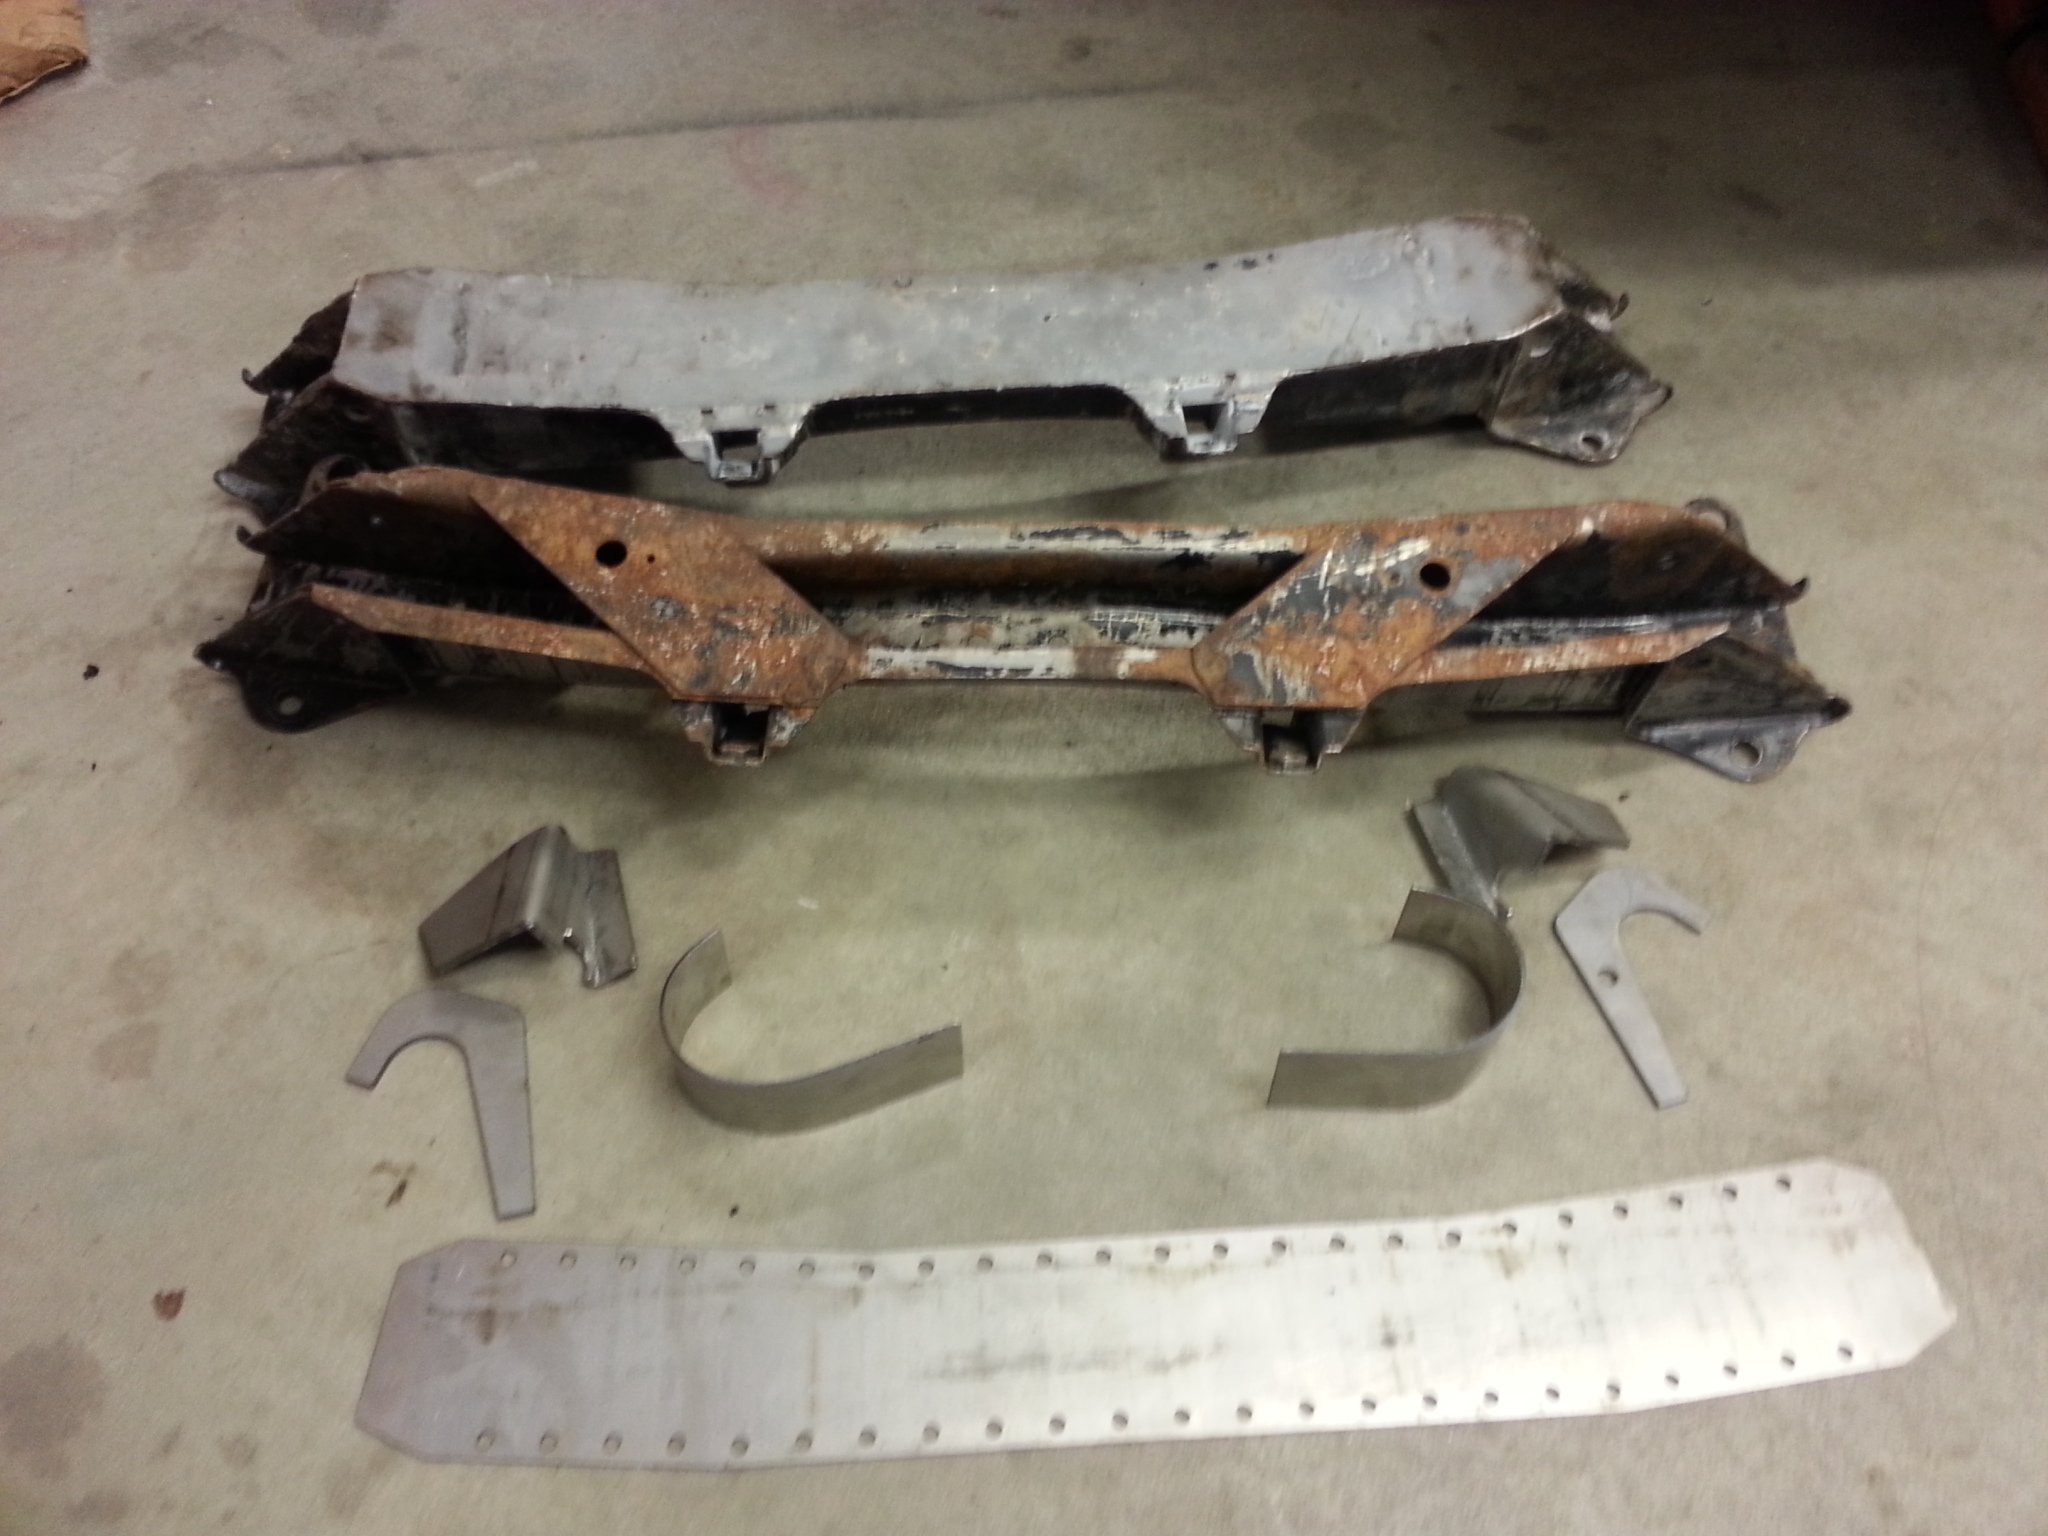

On top is g.4 piece, in middle Racing/Sport and under them are the parts you need for modification.
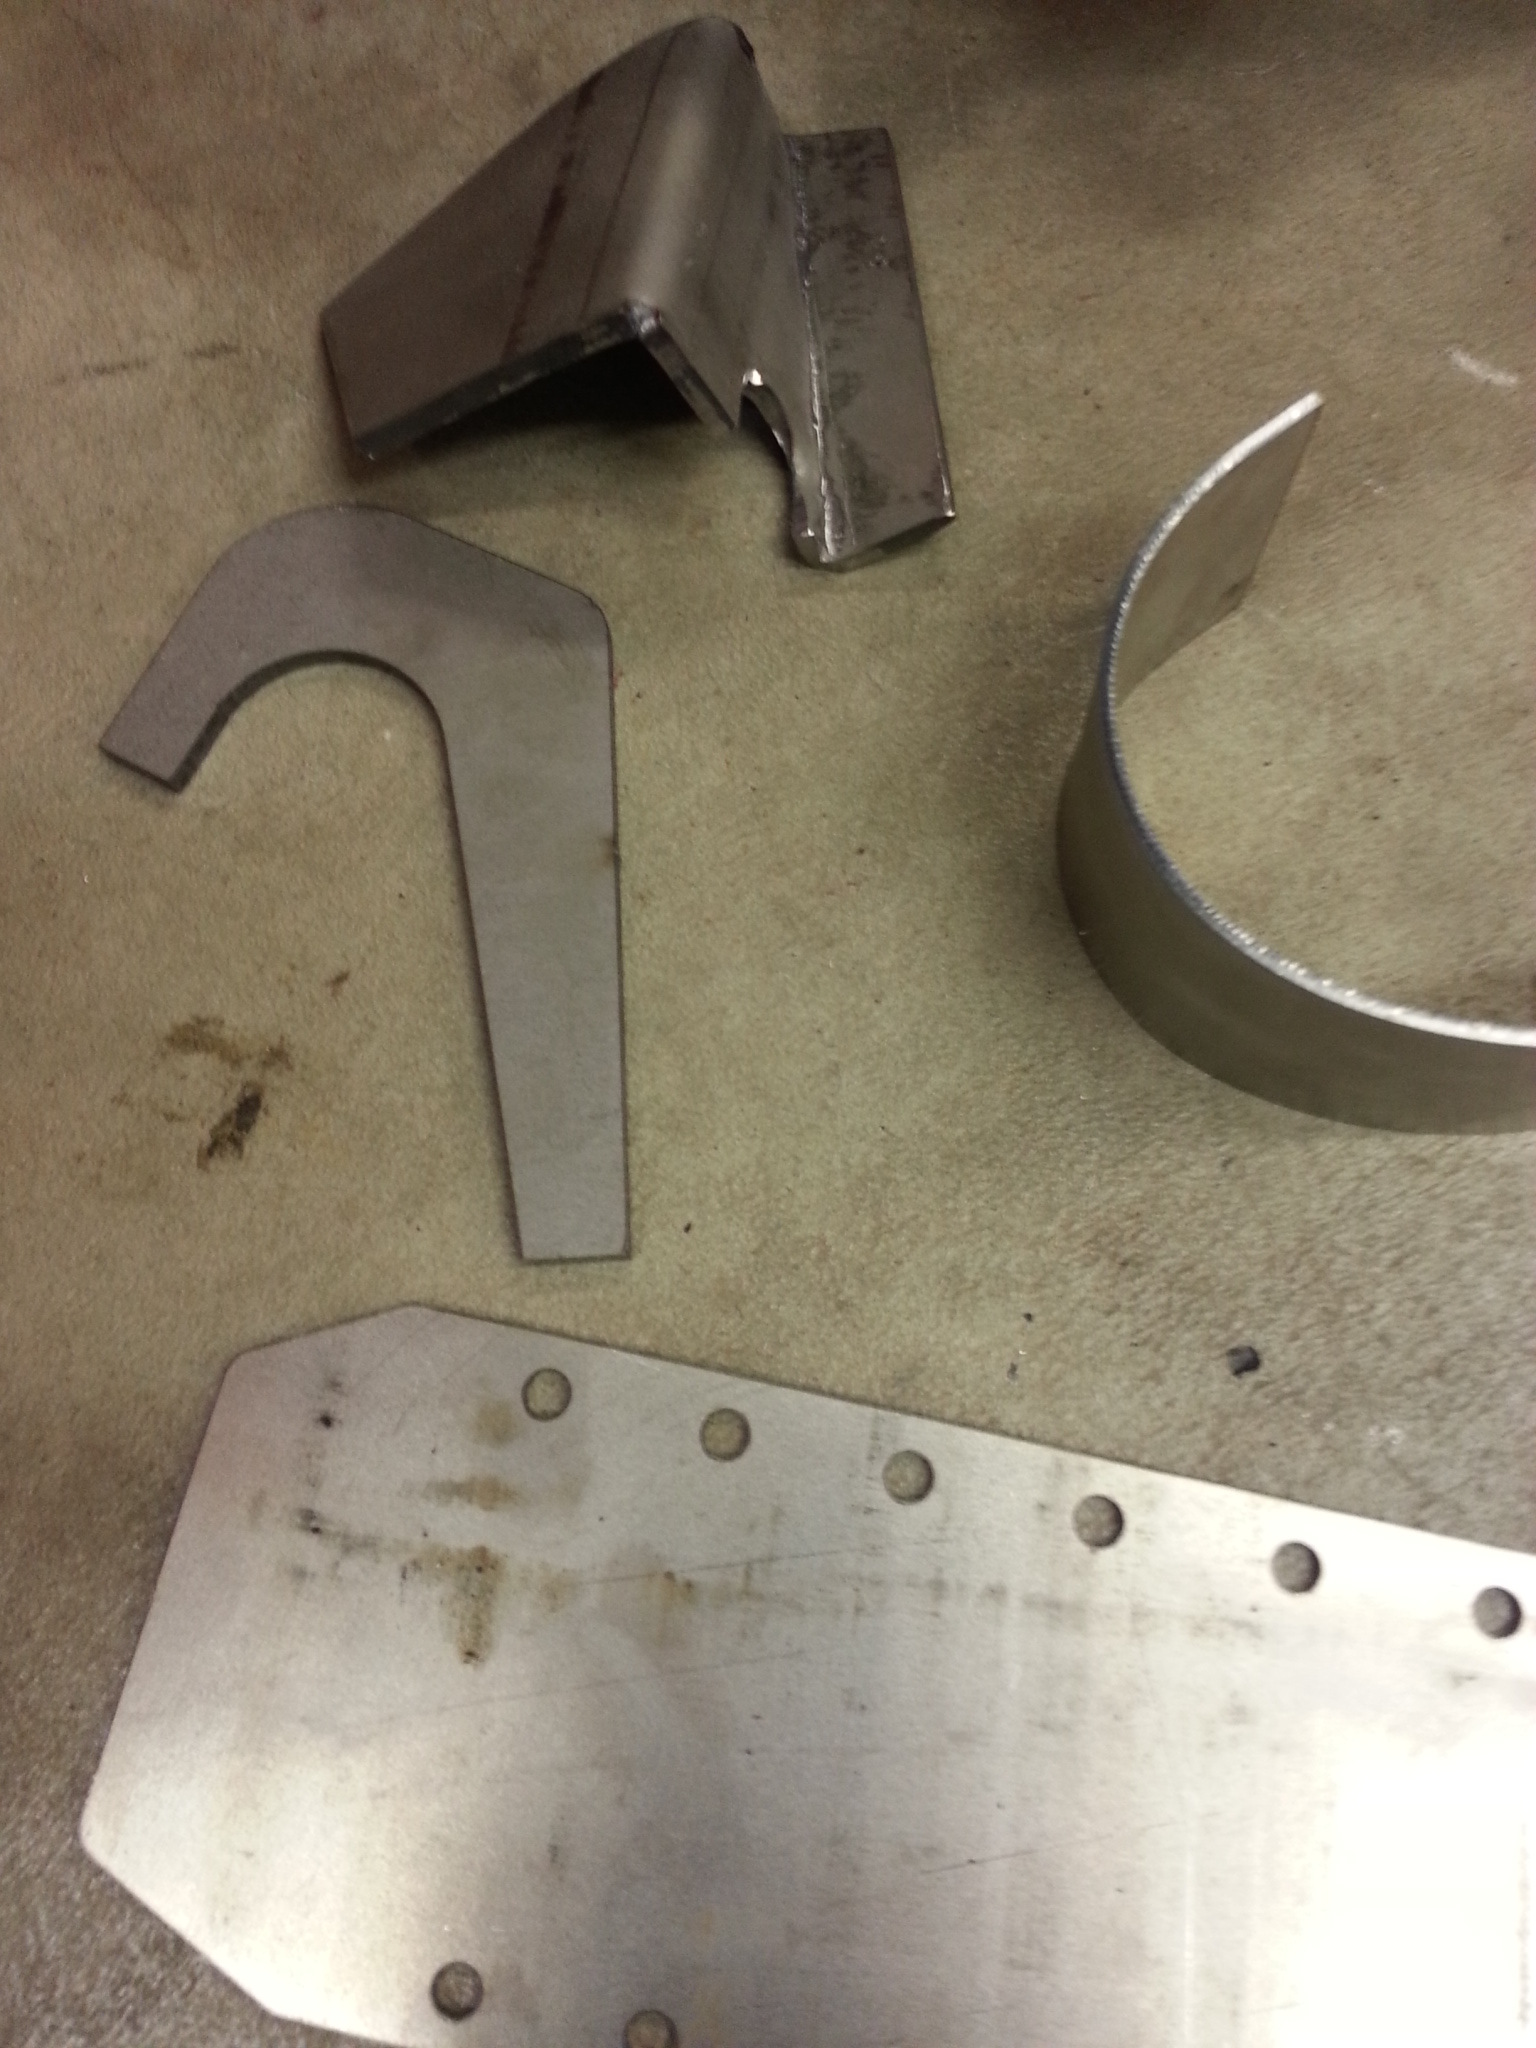

On left, the other side is a bit different, on right there is one extra hole.


Here you can see how they will be assembled.


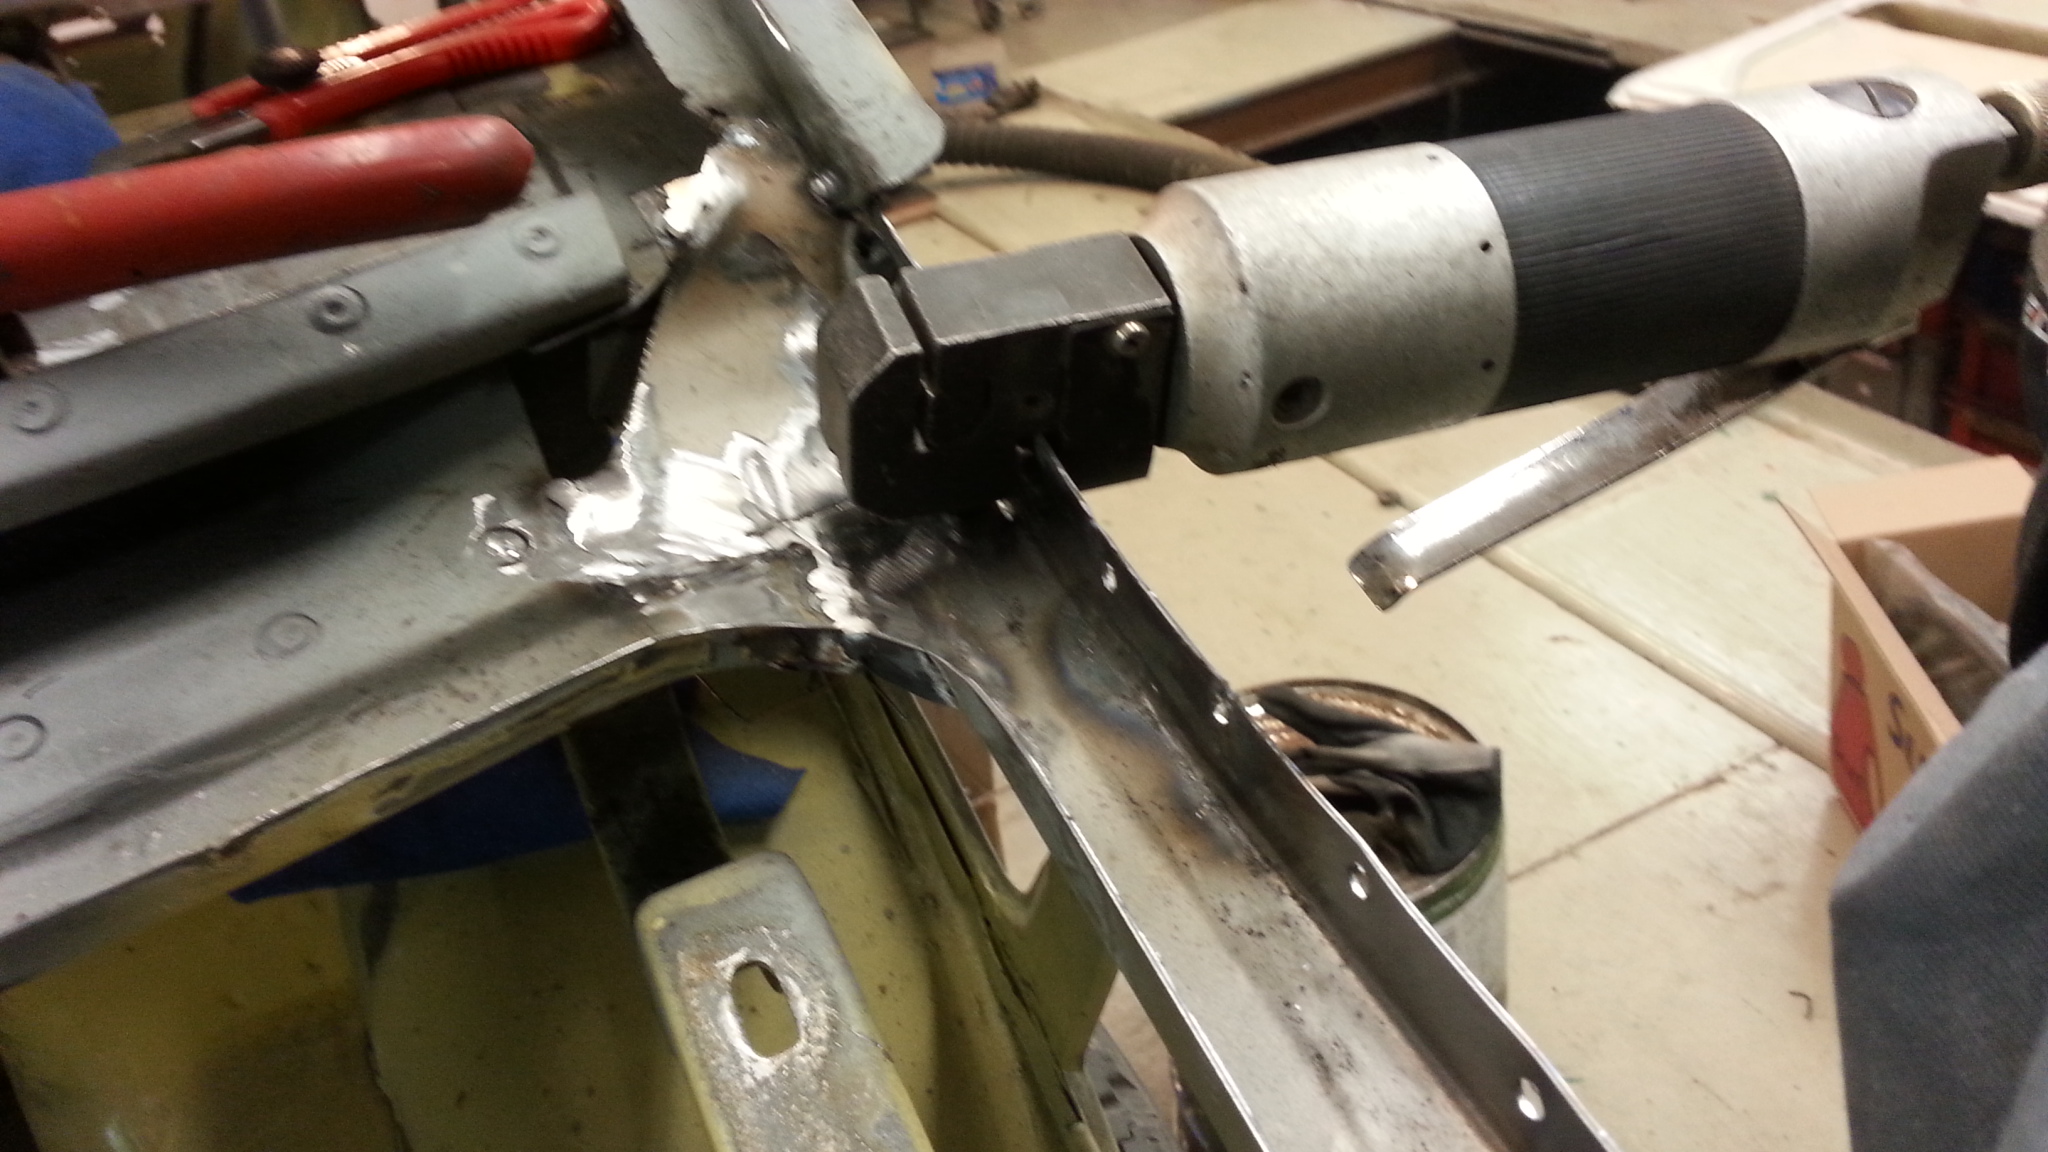
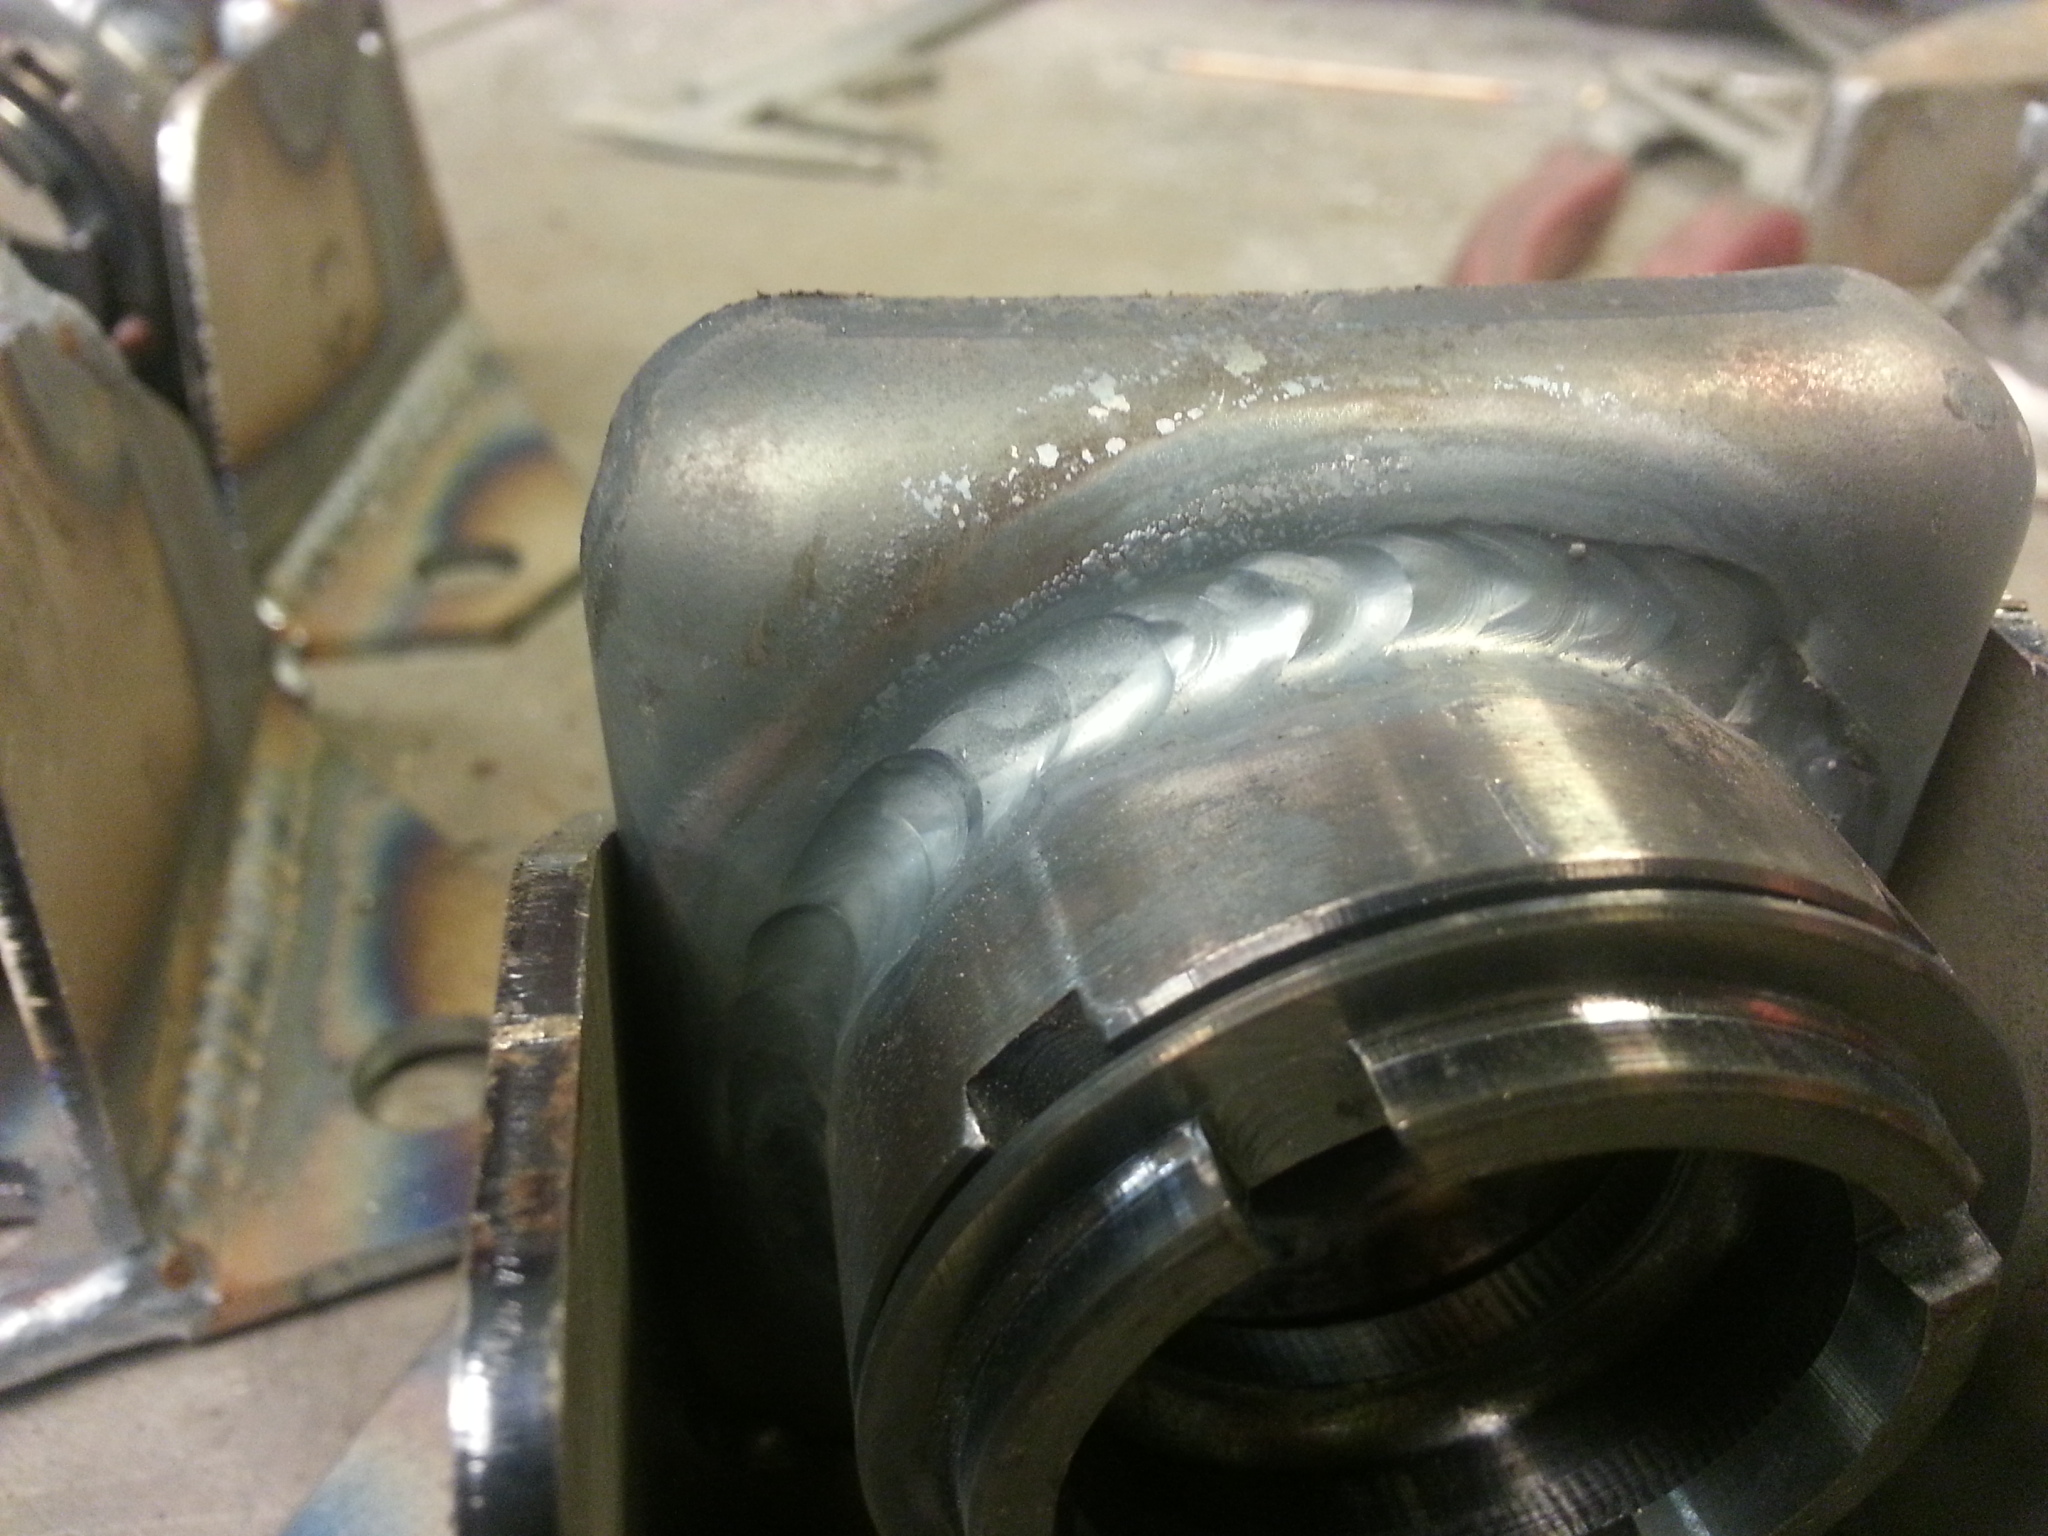
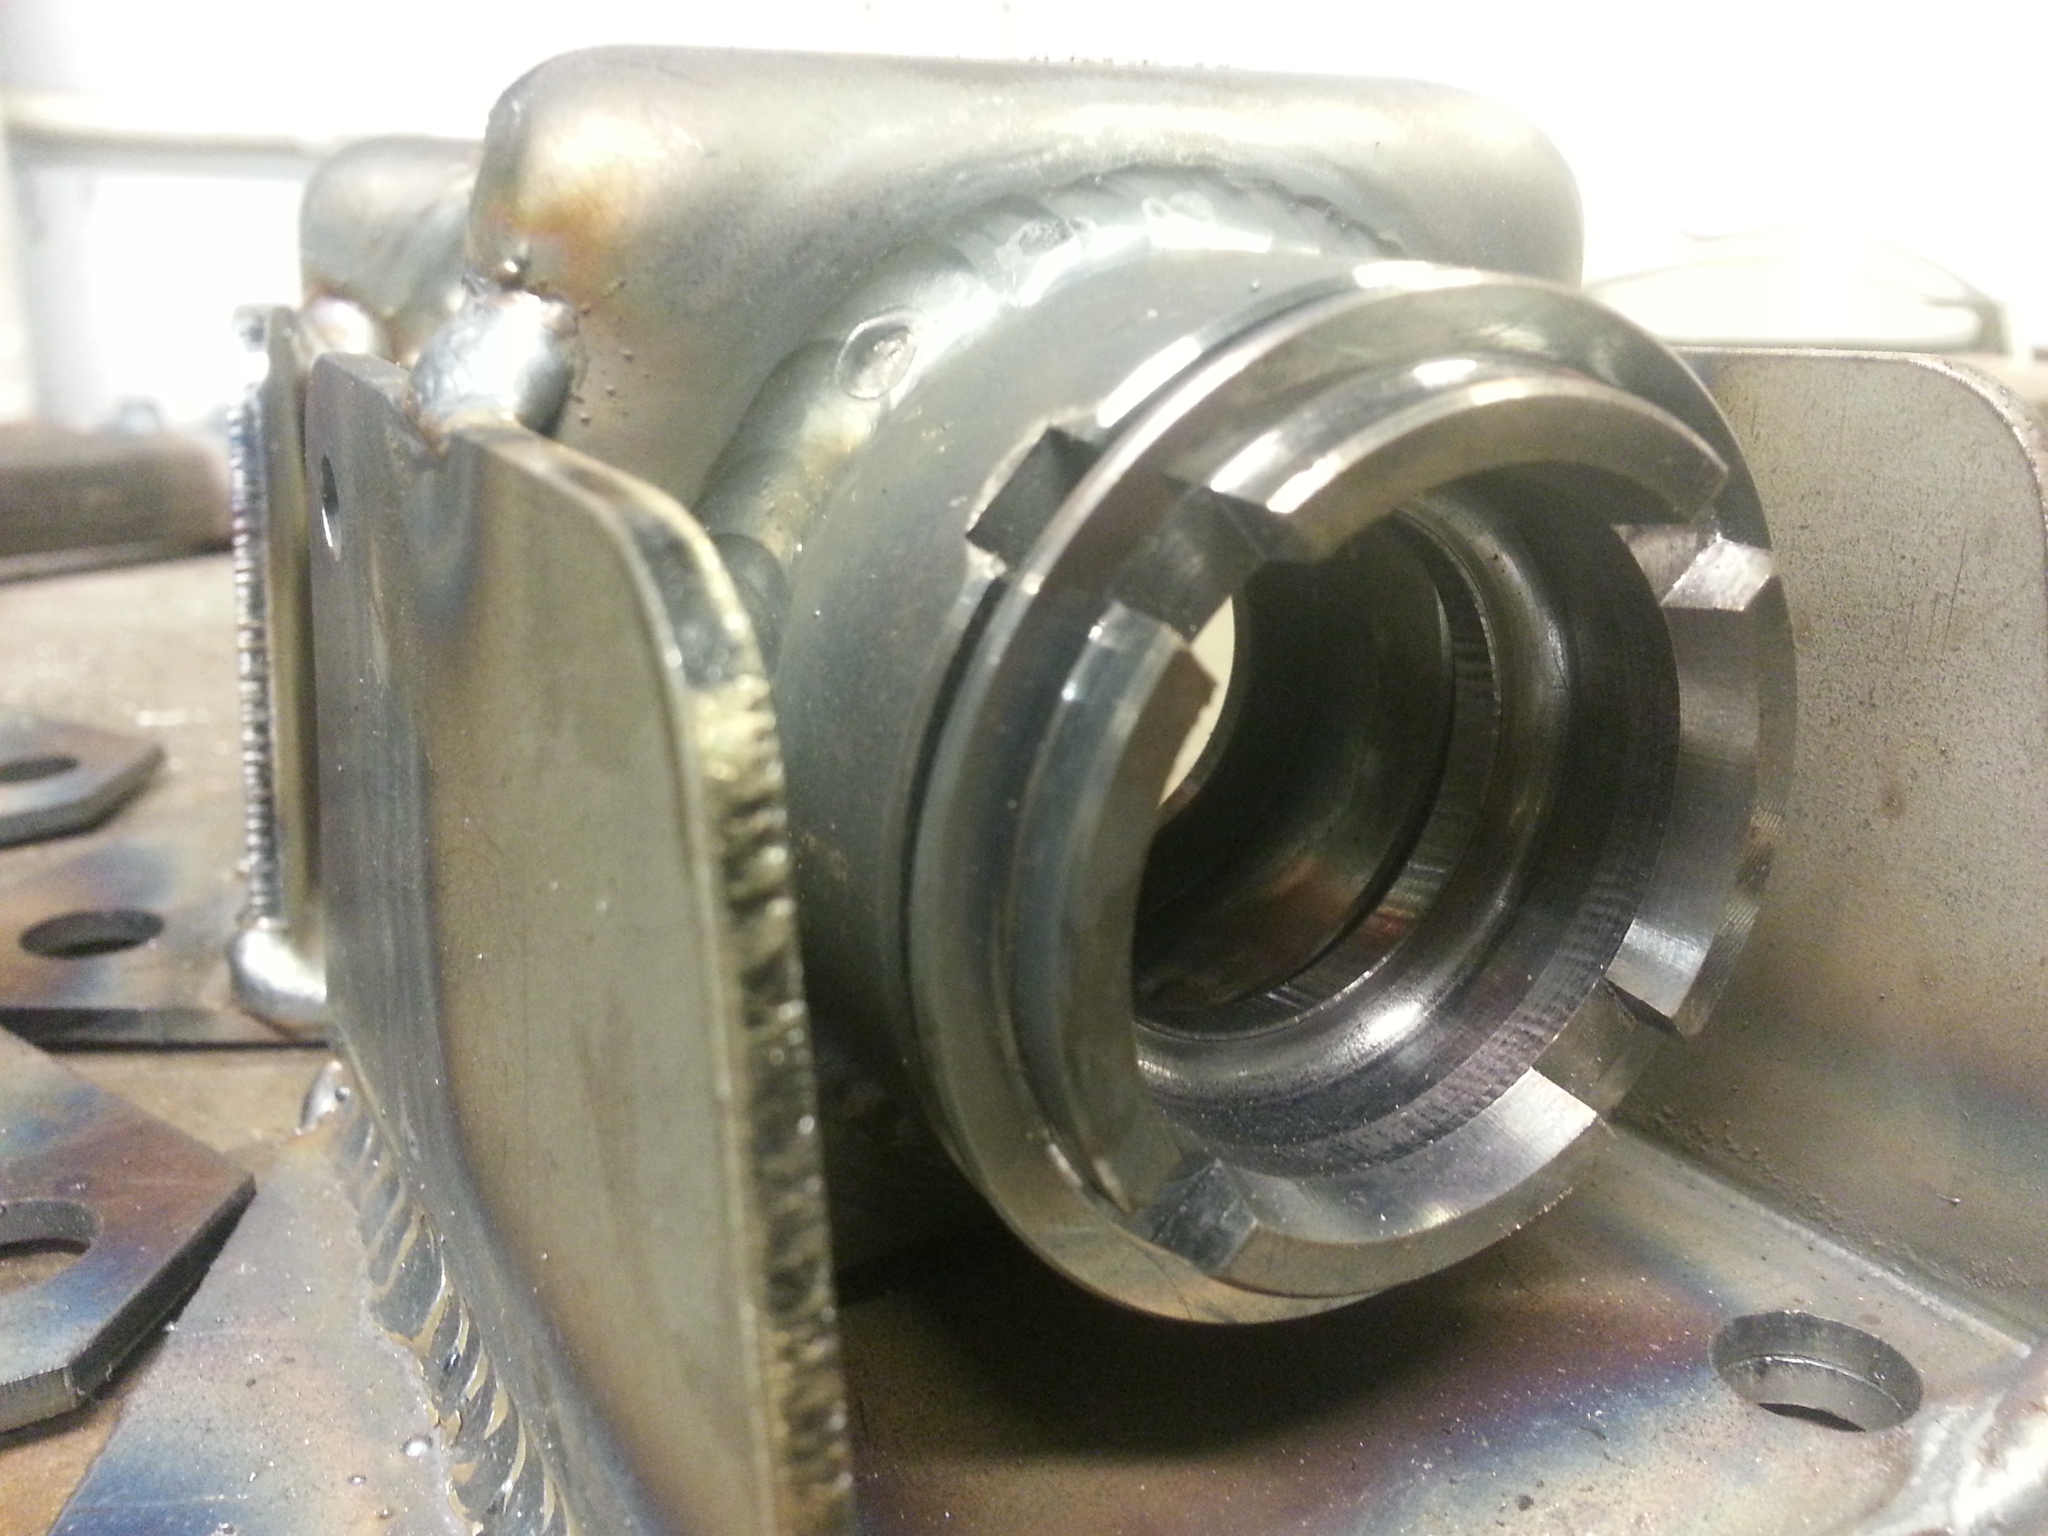
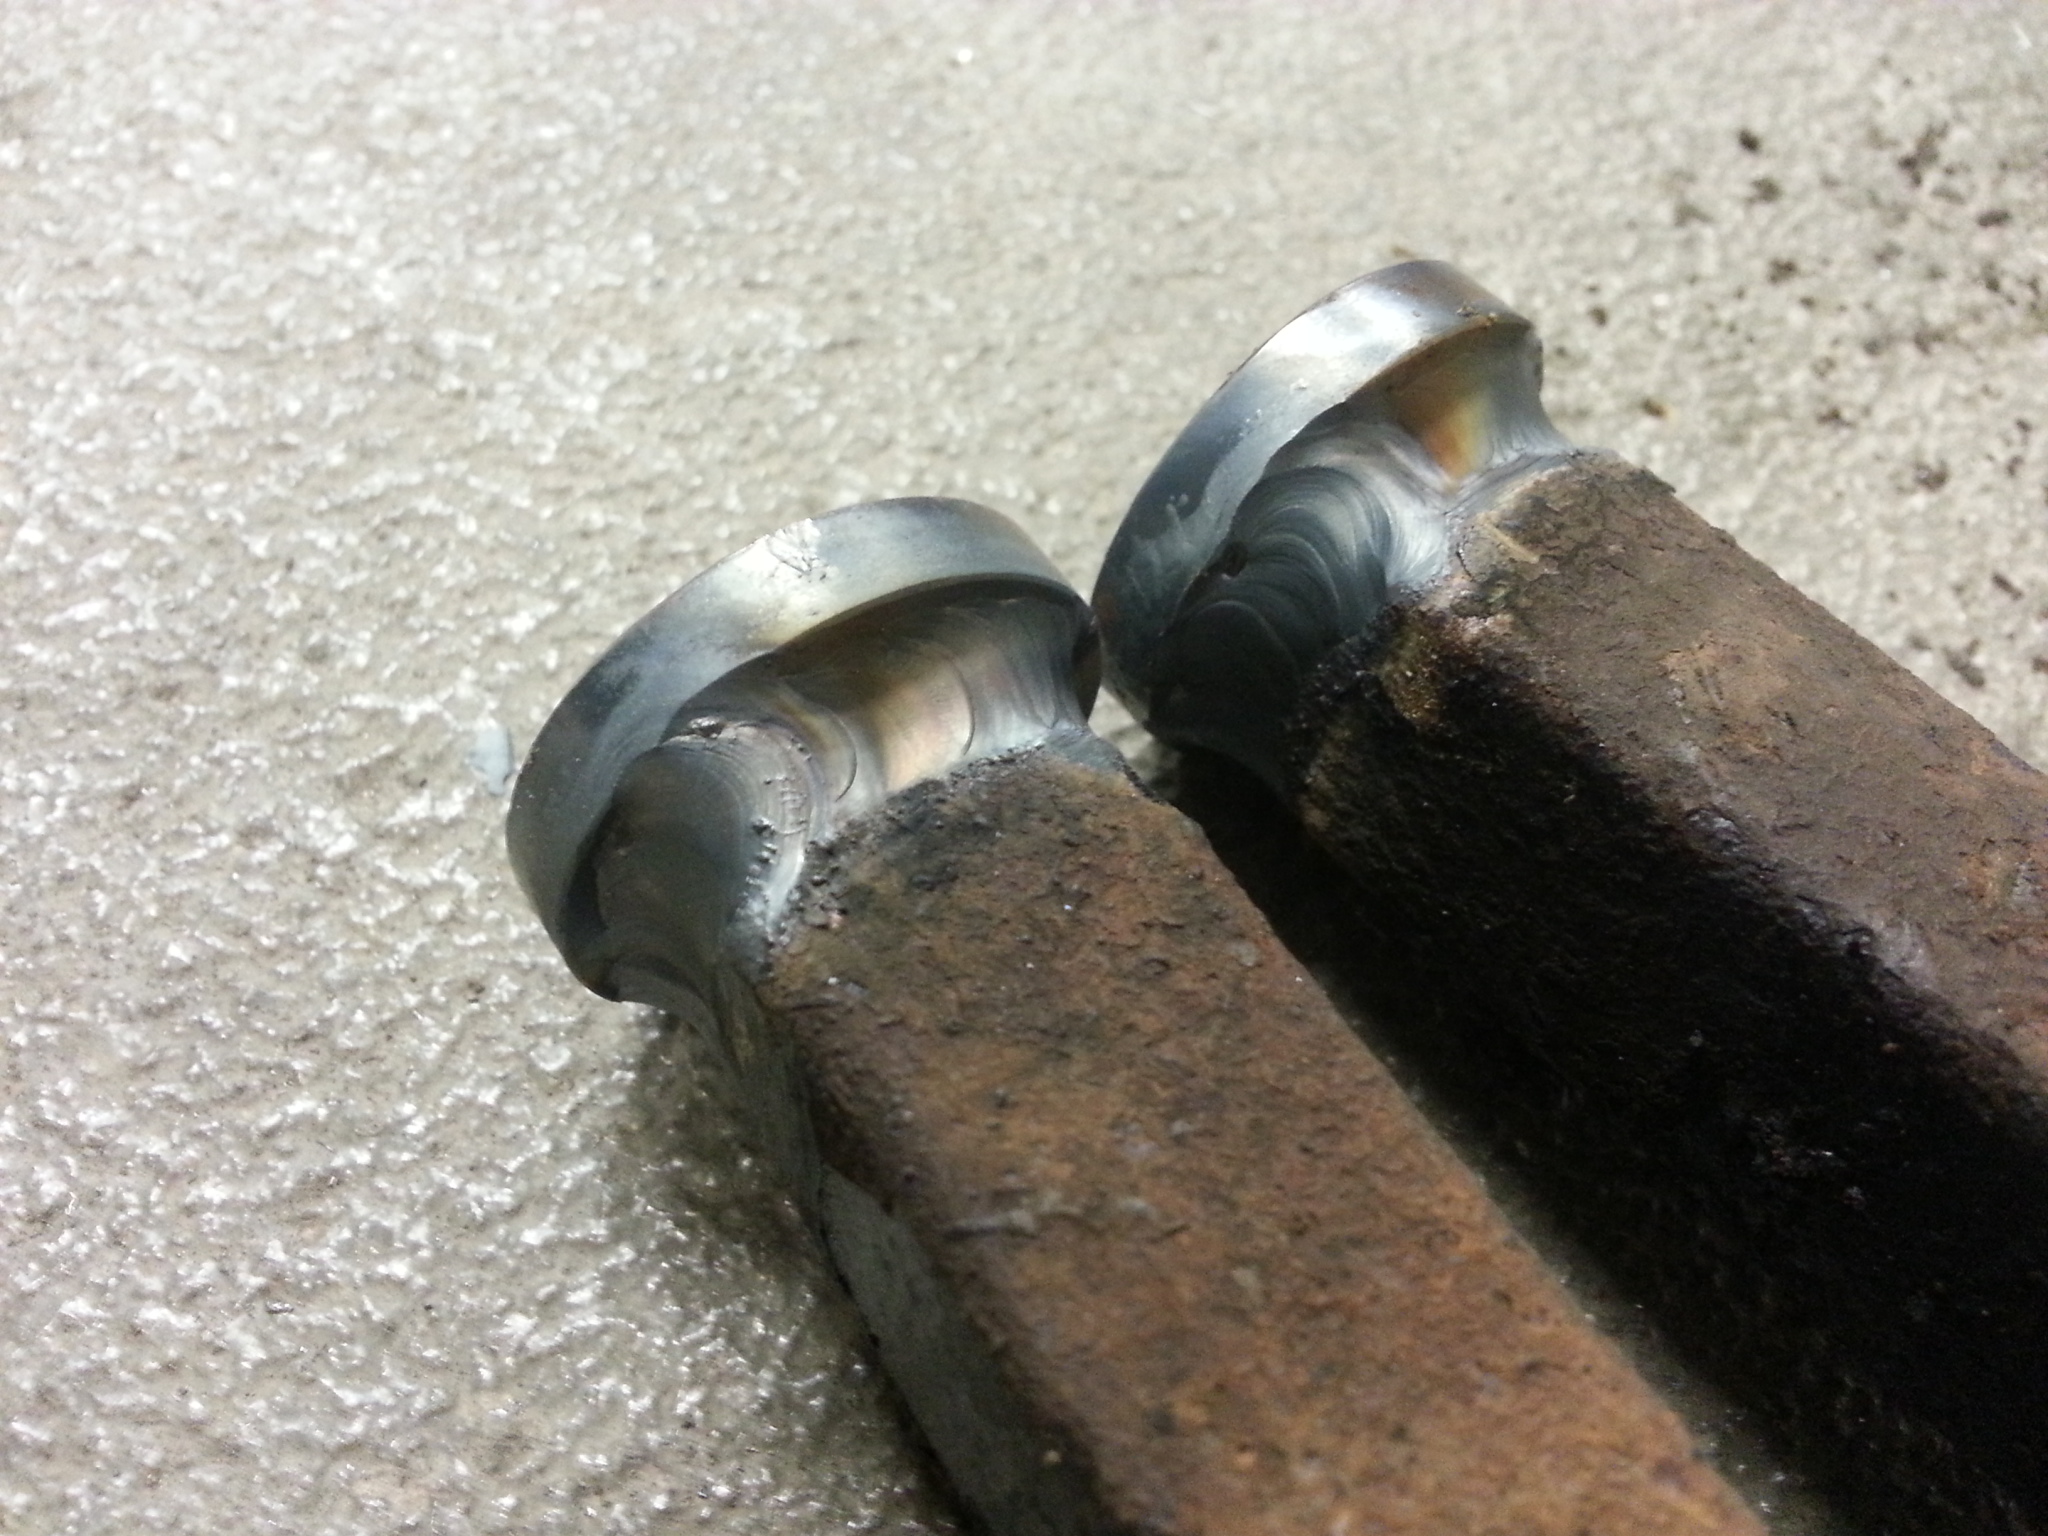
Here the pieces are welded. The g.4 xmember is also seam welded all over. It took almost 1.5 hours just to weld the pieces in place. And I used MIG/MAG welder, not TIG as works cars were welded. I ment to TIG weld them but I ran out of Argon.
29.12.2013
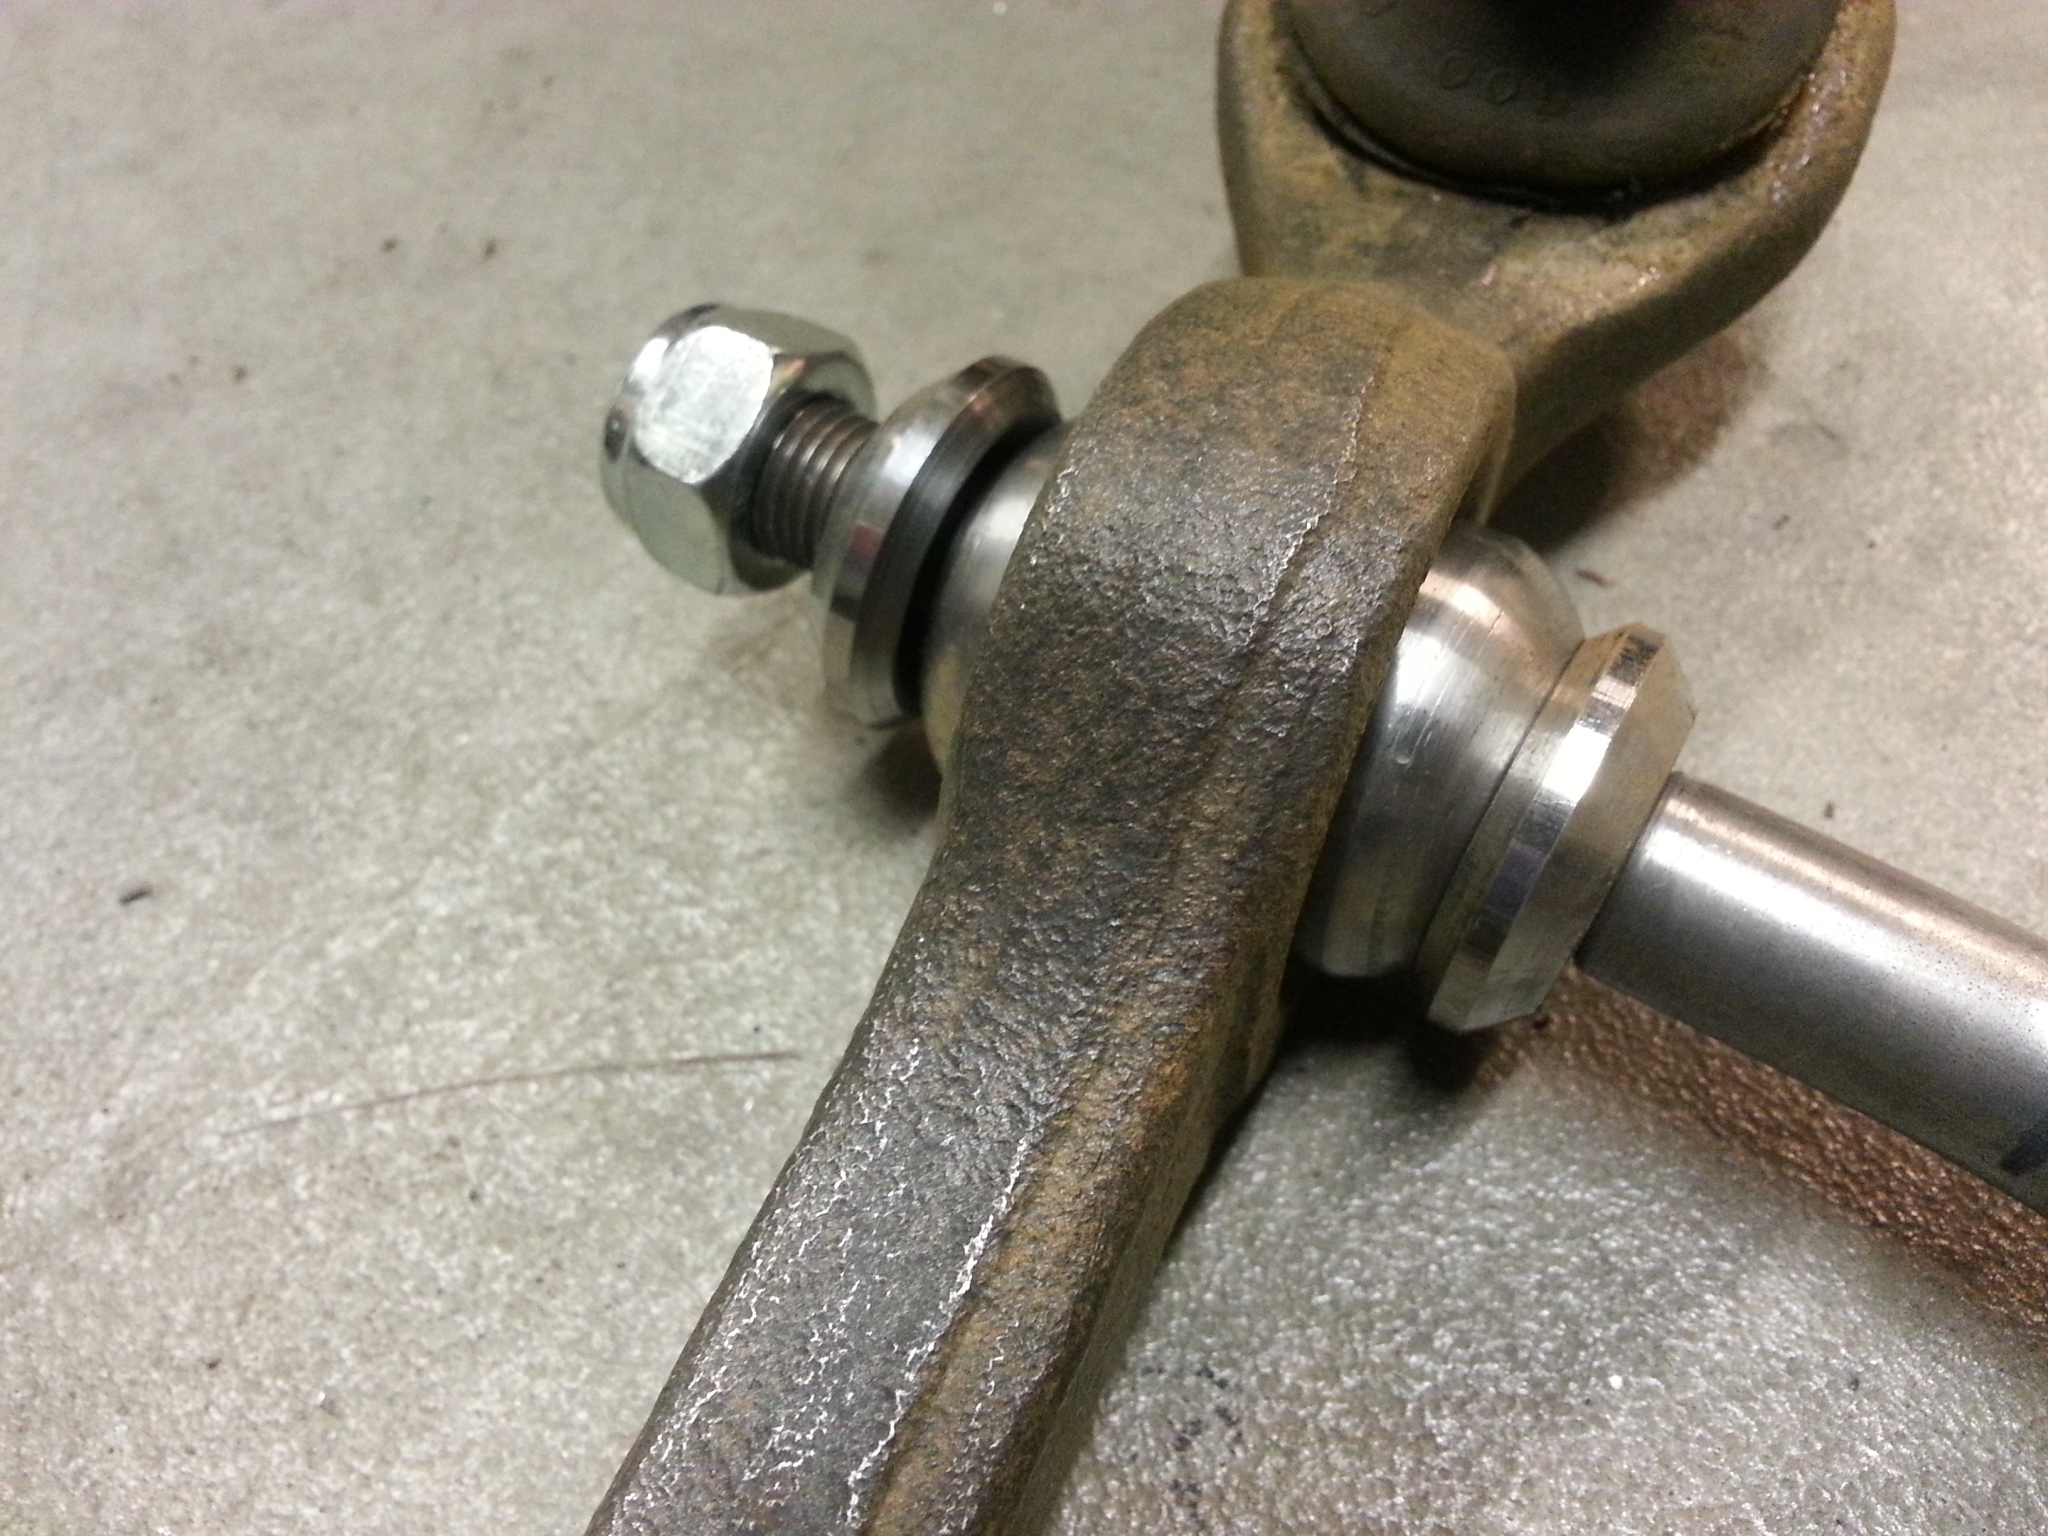
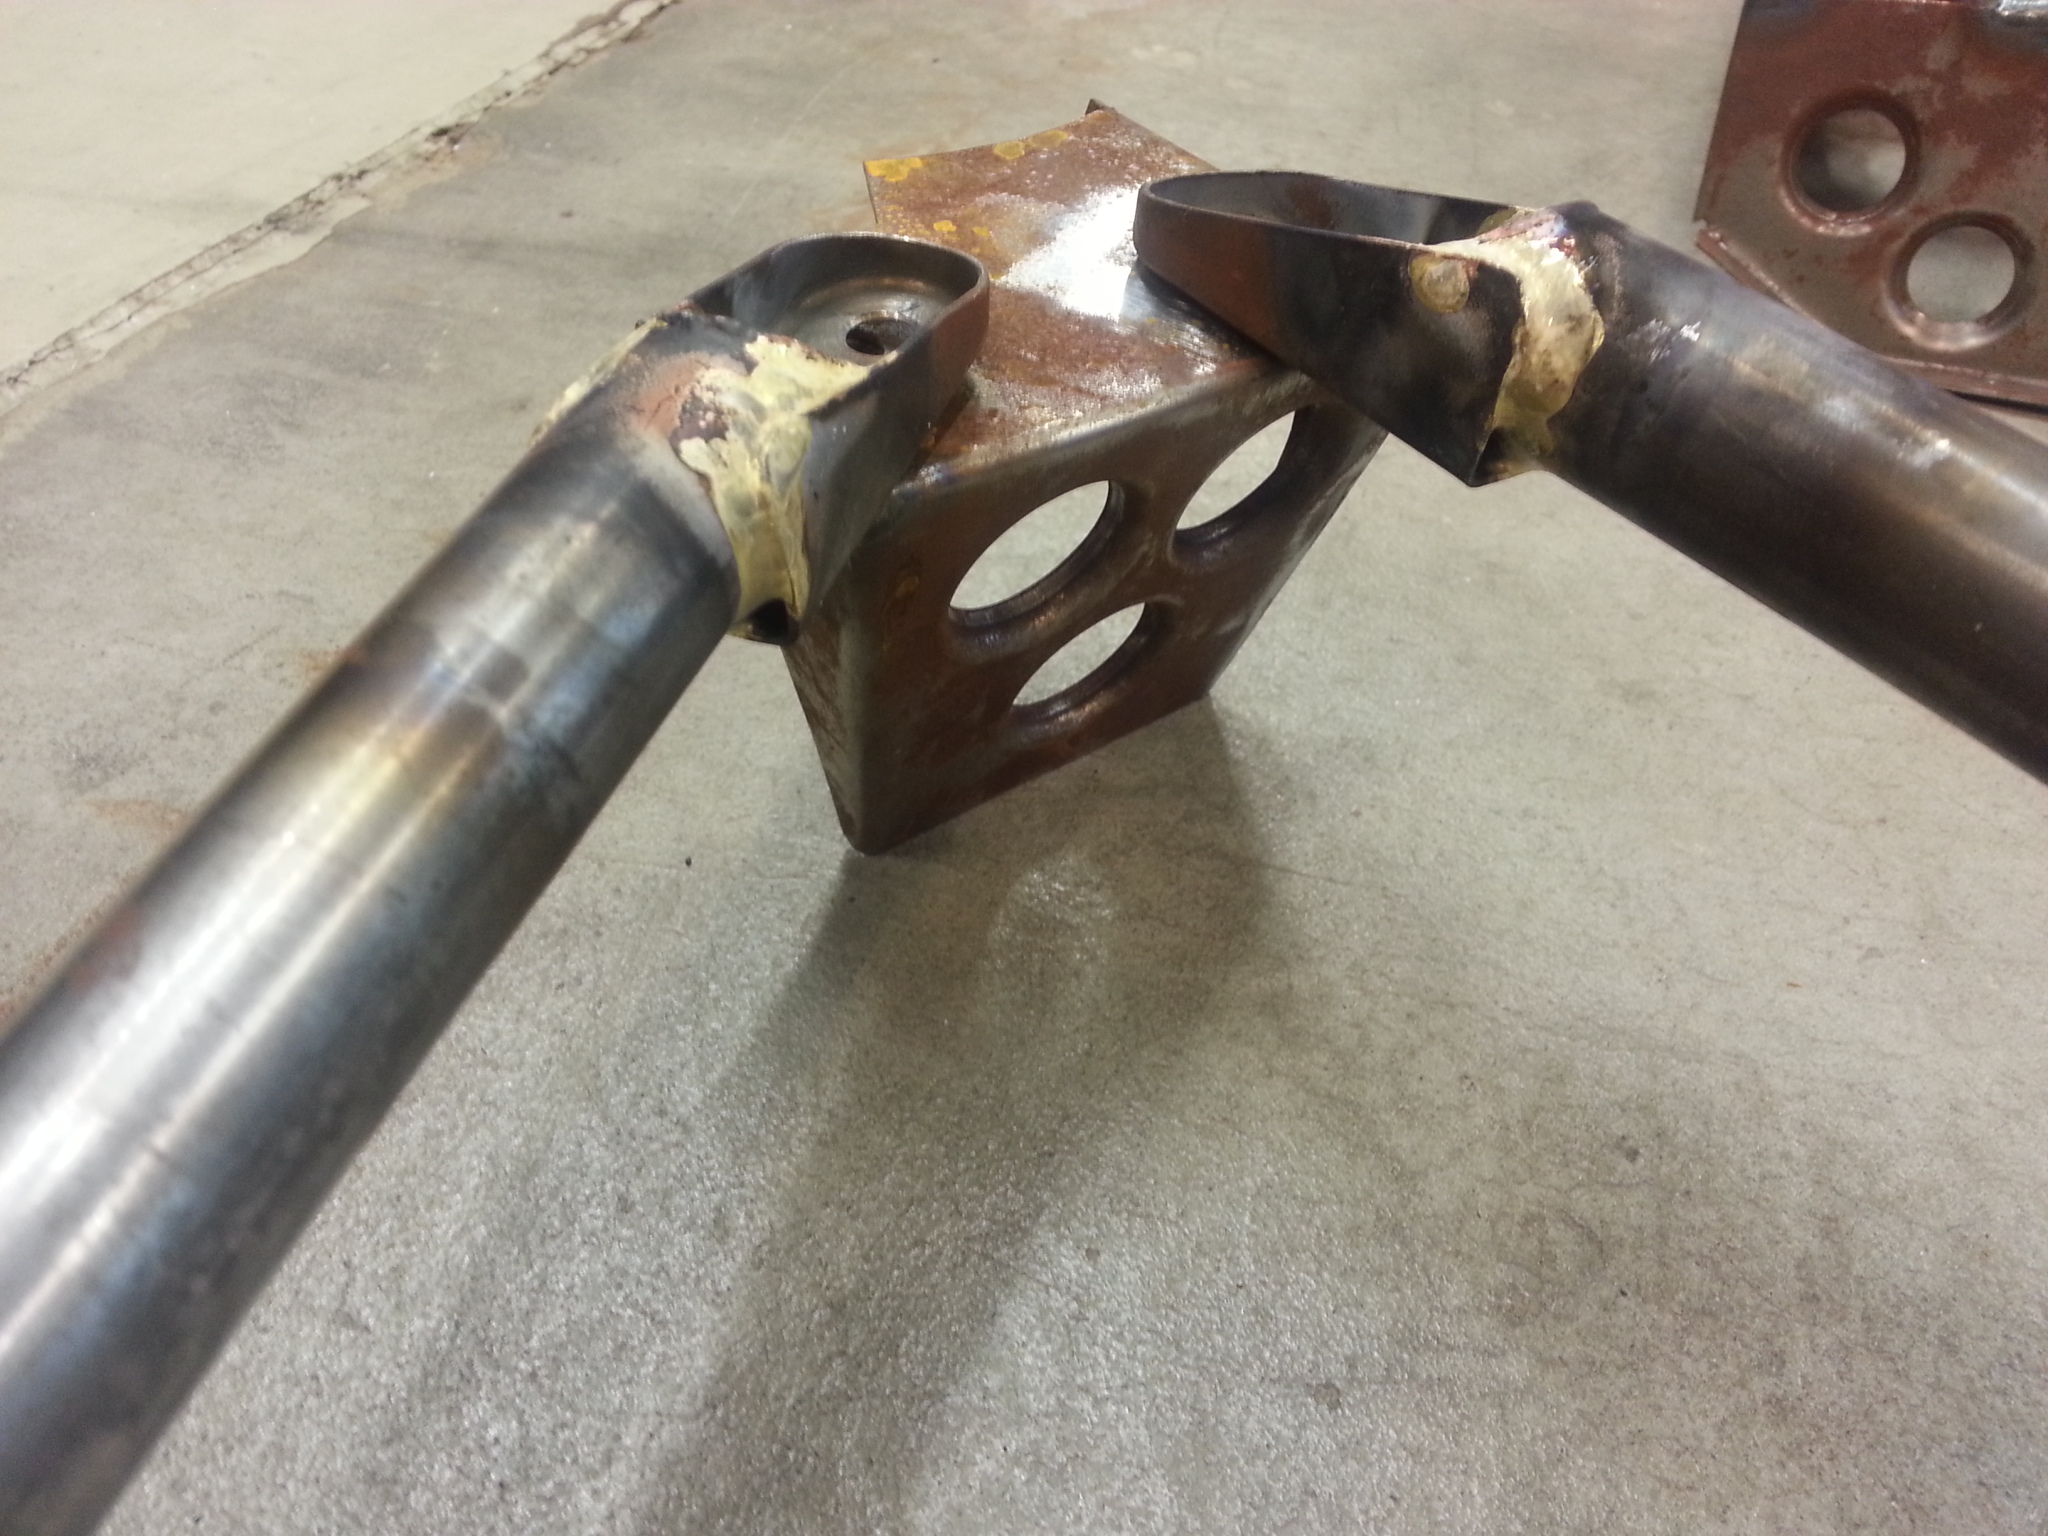
I had couple of hours. I welded couple of sets of front reaction bar uniball brackets. I have ex-works set for my own car, but I need to make some for couple of friends. I need also a spare pair for my own project. If you need some, I have couple extras for sale.


25.12.2013
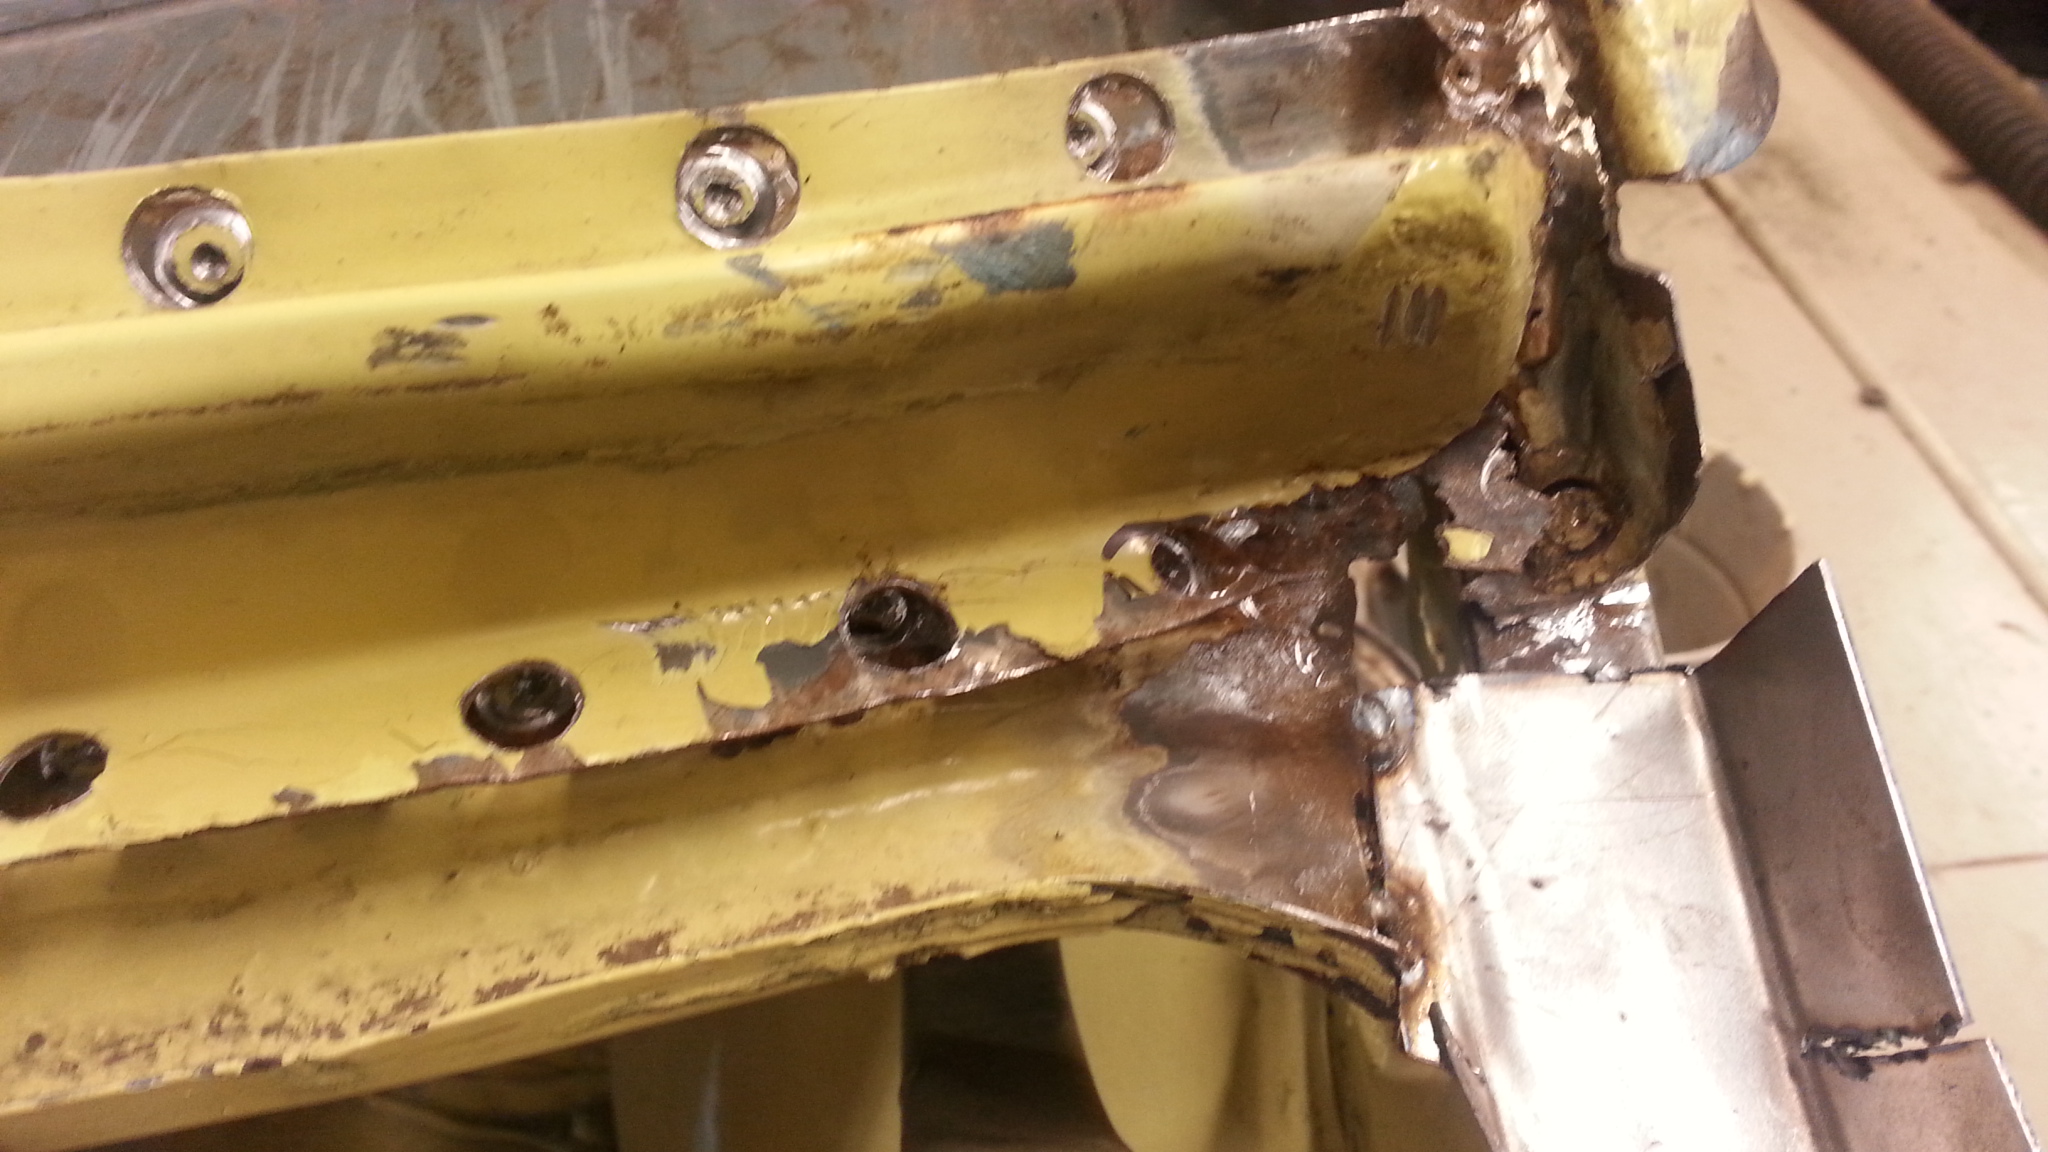
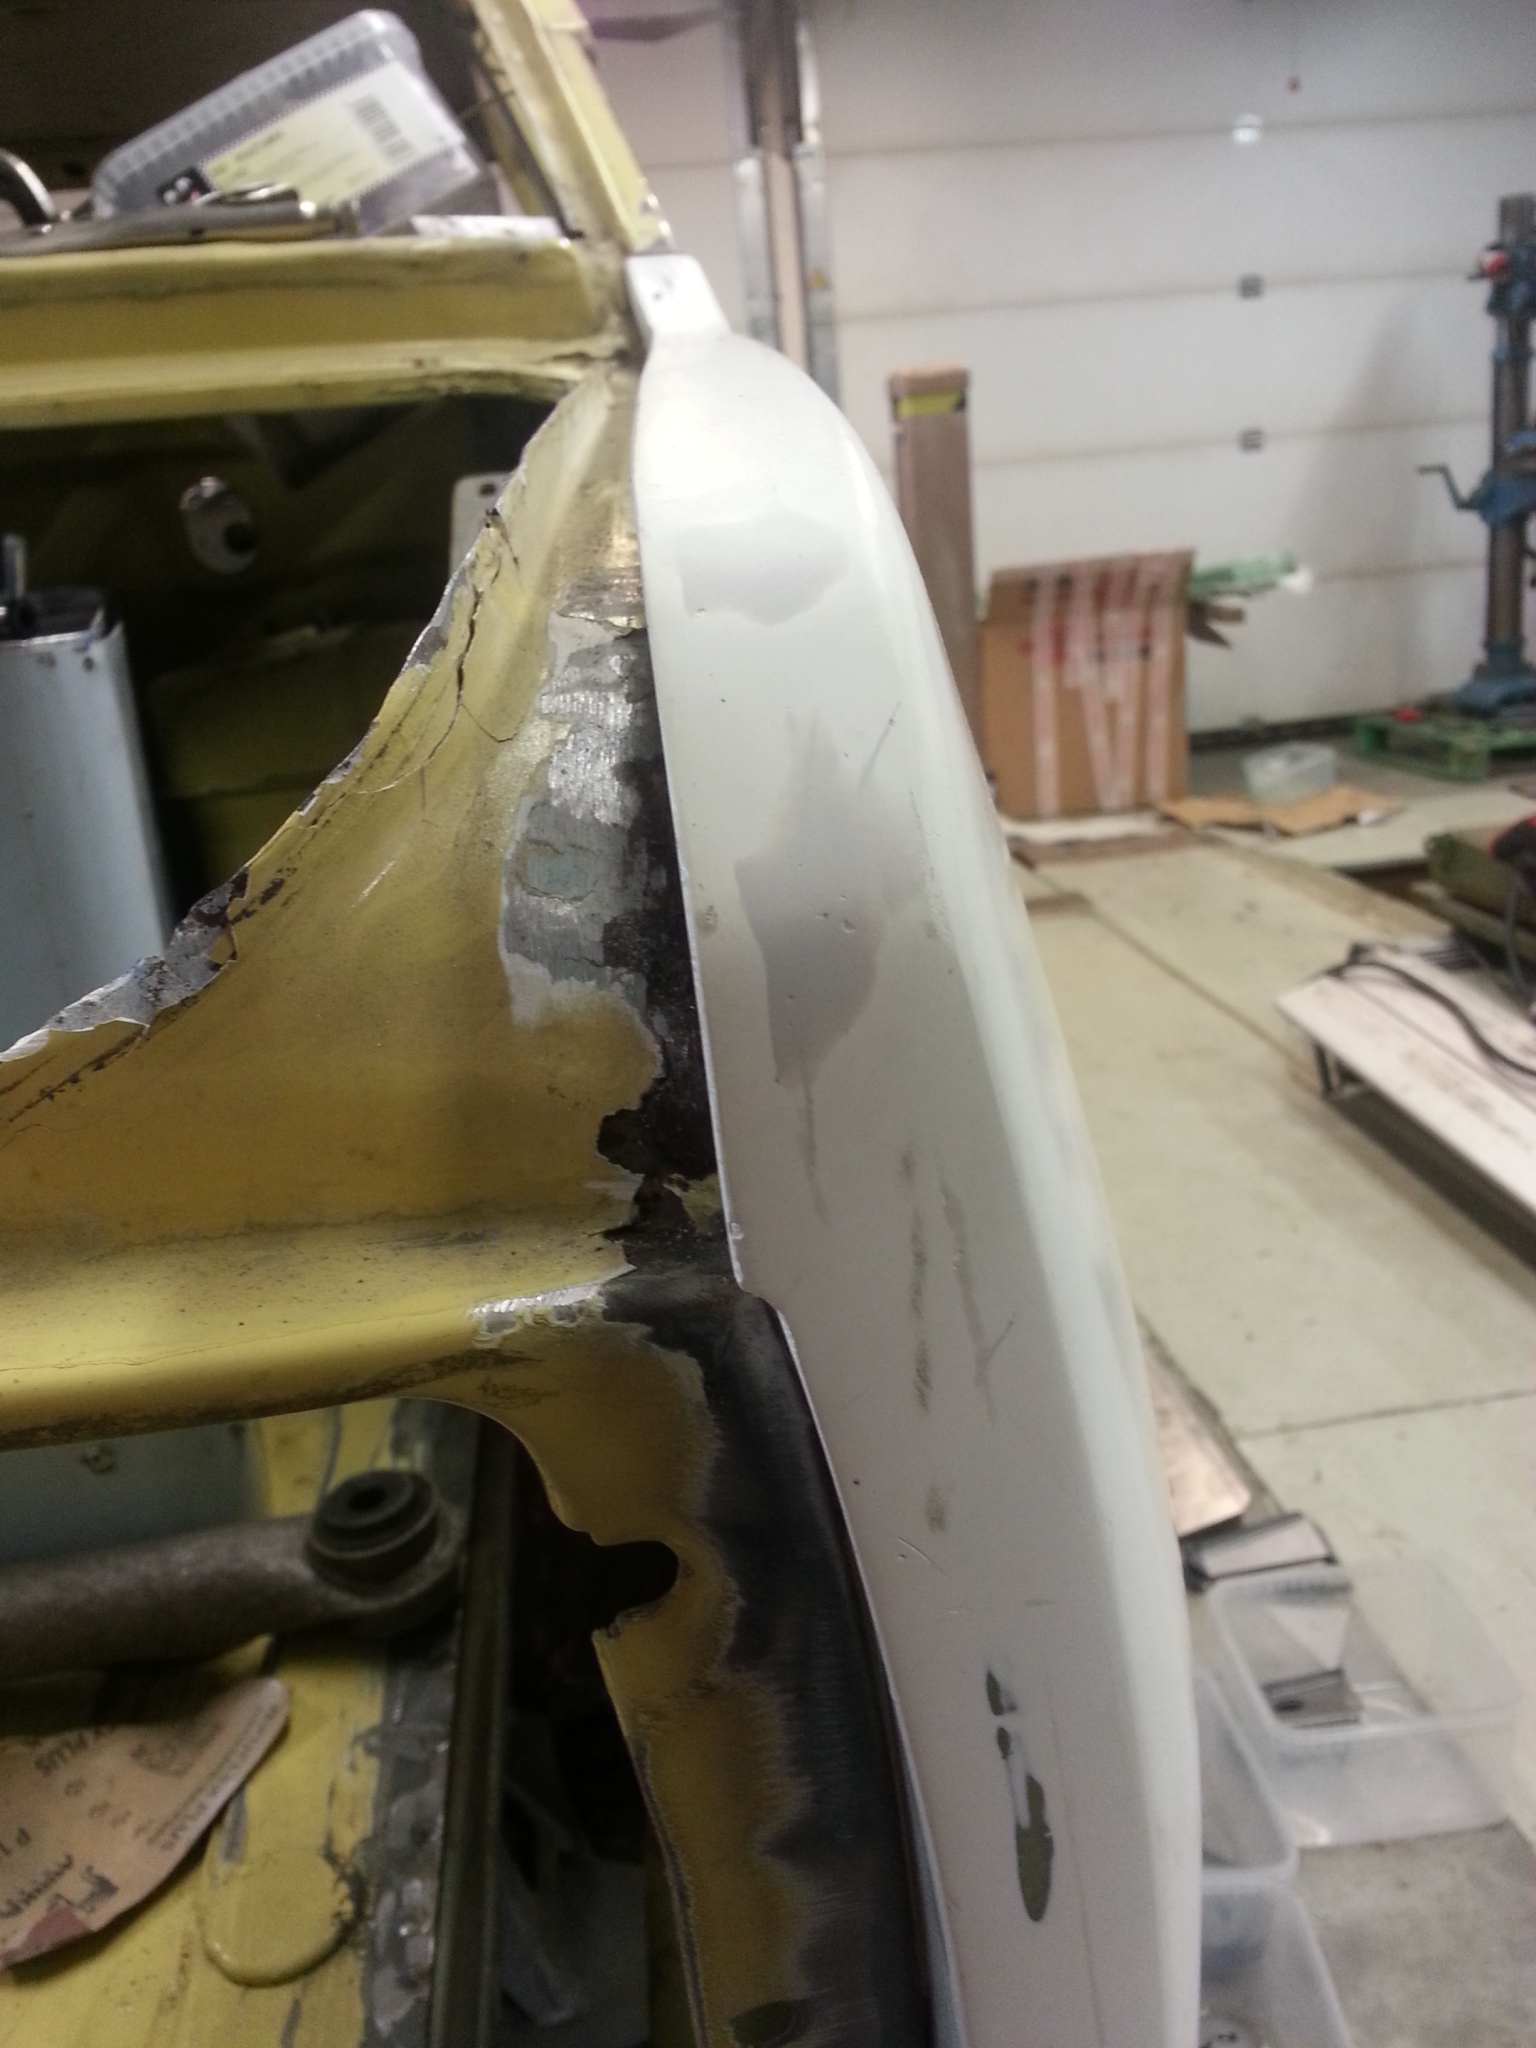
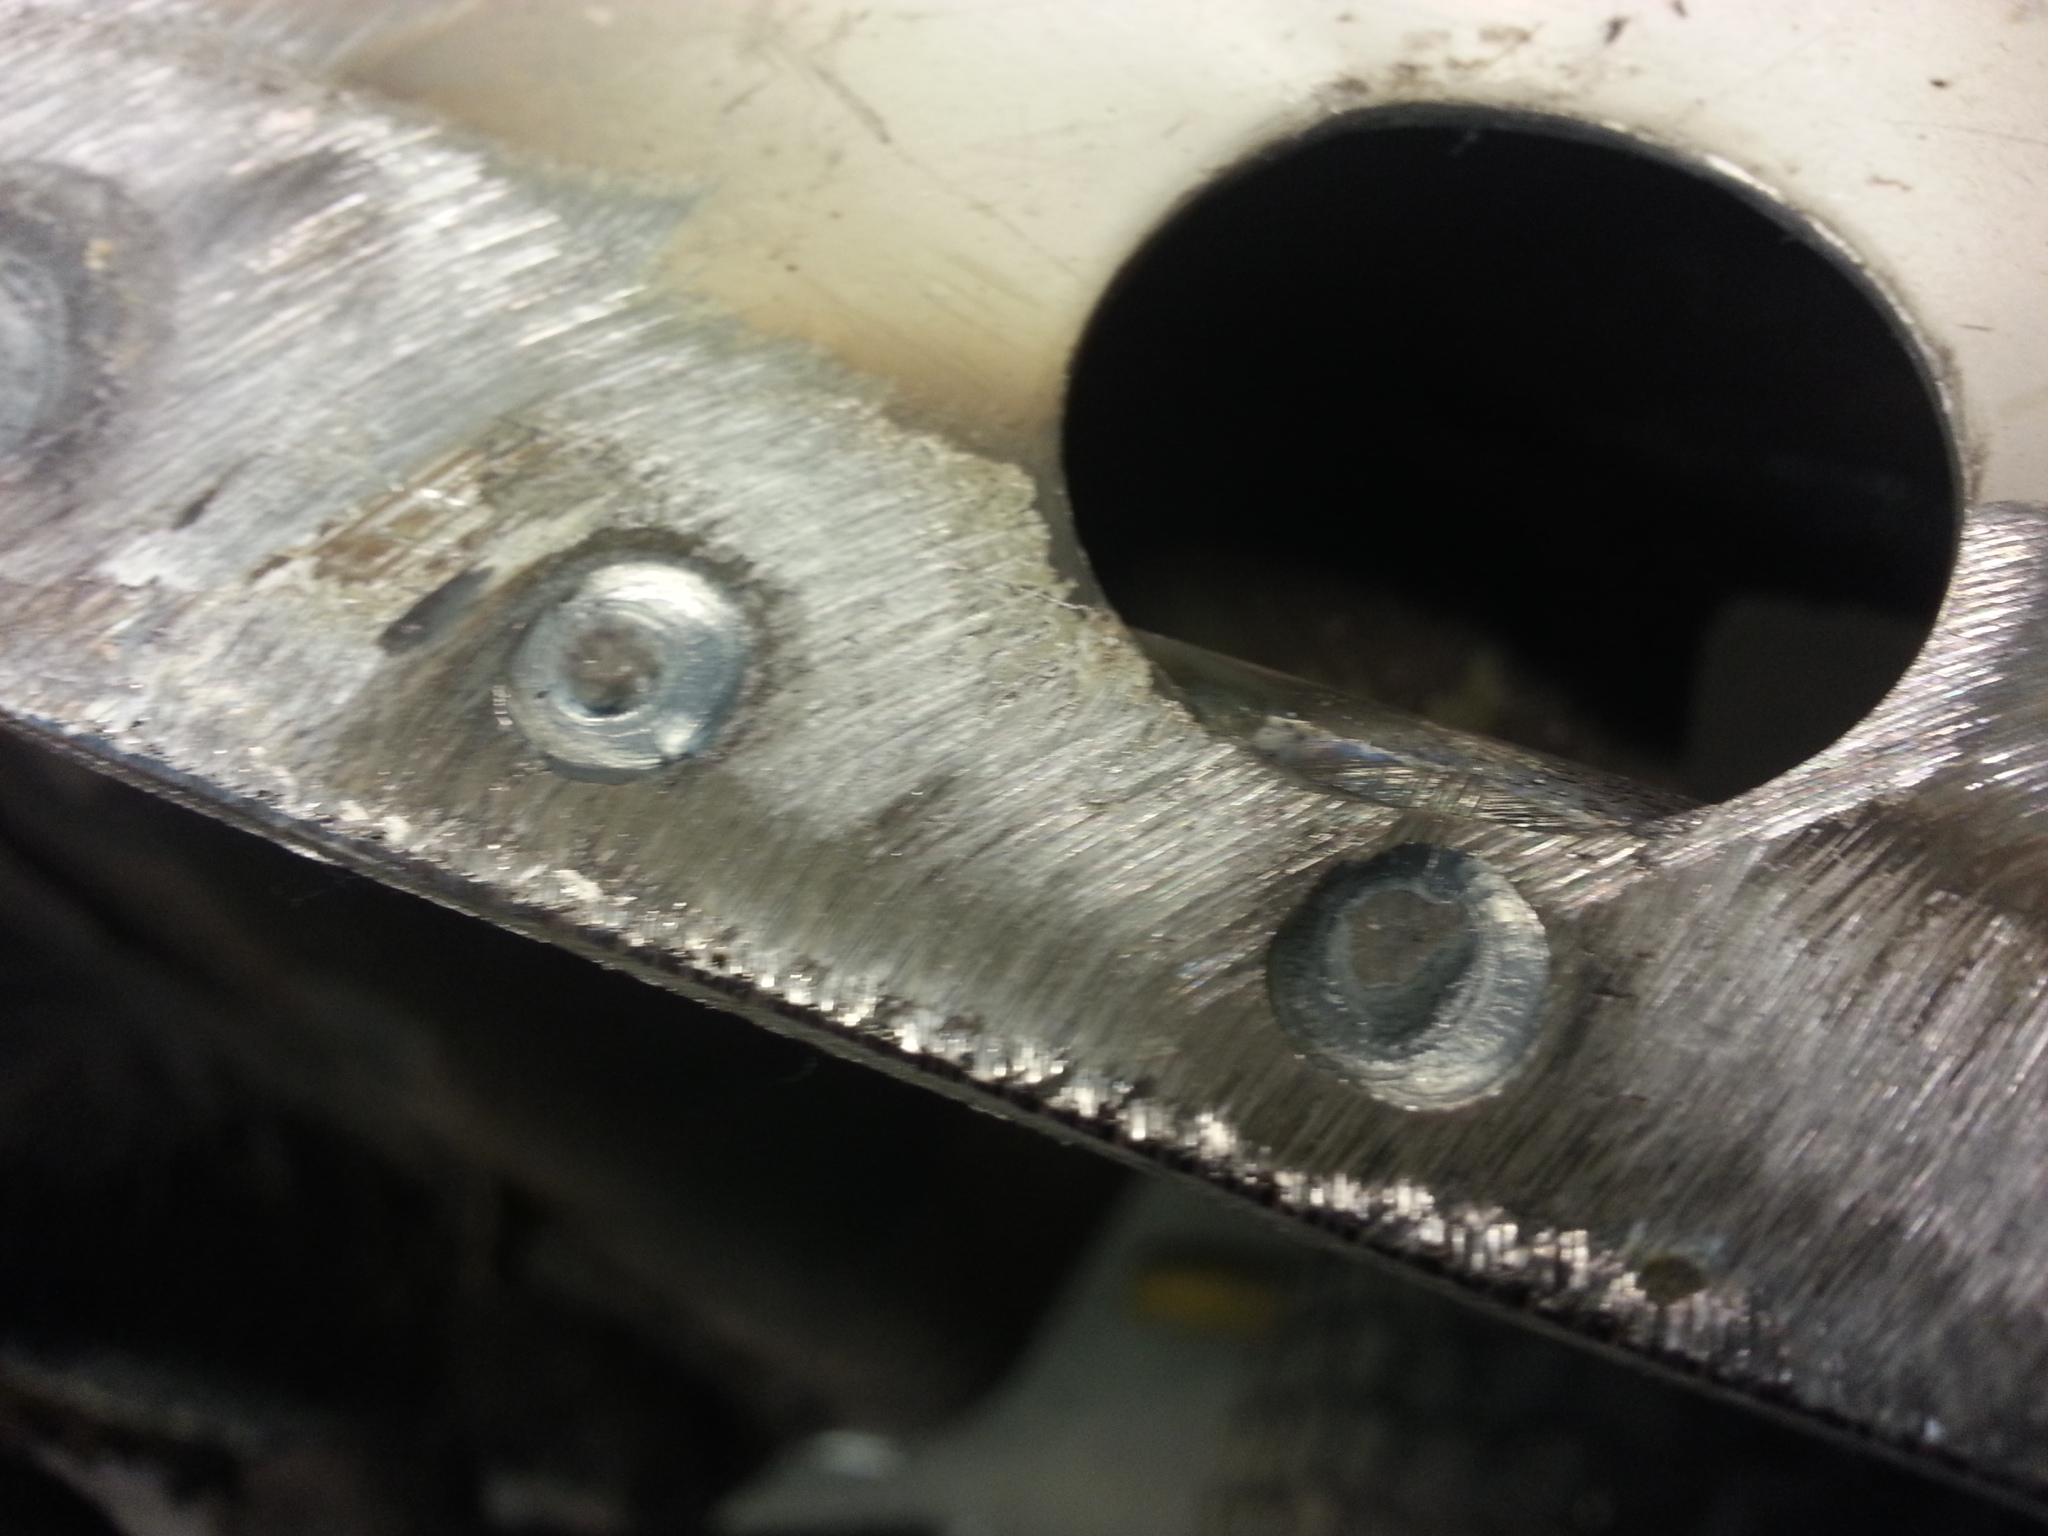
I finished this passenger side corner repair. The new piece is in same level with the old, I loaned a pressure air presser to make the needed step to the side of new piece. Notice the spot weldings I made with TIG.


24.12.2013
 What brand logo this is?
21.12.2013
Im finally getting this project on. I started rust repairs, Im waiting for larger repari panels, but I can make the small stuff before that. Its been a long time I needed to do rust repairing so its good to practise a bit with smaller areas.

Tow brackets drilled away, and sheet welded straight.

Front bumper brackets removed, the small drilling holes welded straight.

Rear side window seal mounting, pretty bad damage before and after.

Some new decal, dashboard decals g.4 and Stradale trunk decals both colors.

Front reaction bars, Stradale and g.4. TCA inner rubber joint was removed to g.4 here are my own arms, Im pretty proud of the TIG welding I did myself. Ive been practising TIG welding a lot lately. Propably 20-30hours steel and aluminum welding.


Practising cast alu welding, Monkey engine side cover.


Now Im having all g.4 front suspension pieces. Or actually, I need to have made the roll bar mounting brackets to TCA. I need to buy the uniballs too.
I will make the front of the body rustrepairs first, then I will weld the g.4 mods so I can bolt g.4 suspension in place.
14.12.2013
New set of g.4 dashboards arrived. These are the same as earlier, but some new things were done. The Veglia Borletti gauges have small bump on bottom to keep gauges straight. I included small slot to the dash to make it perfect. The dashoboard in the picture is unbend, I will bend them. If you need this, just contact me, I made some spares.

11.12.2013
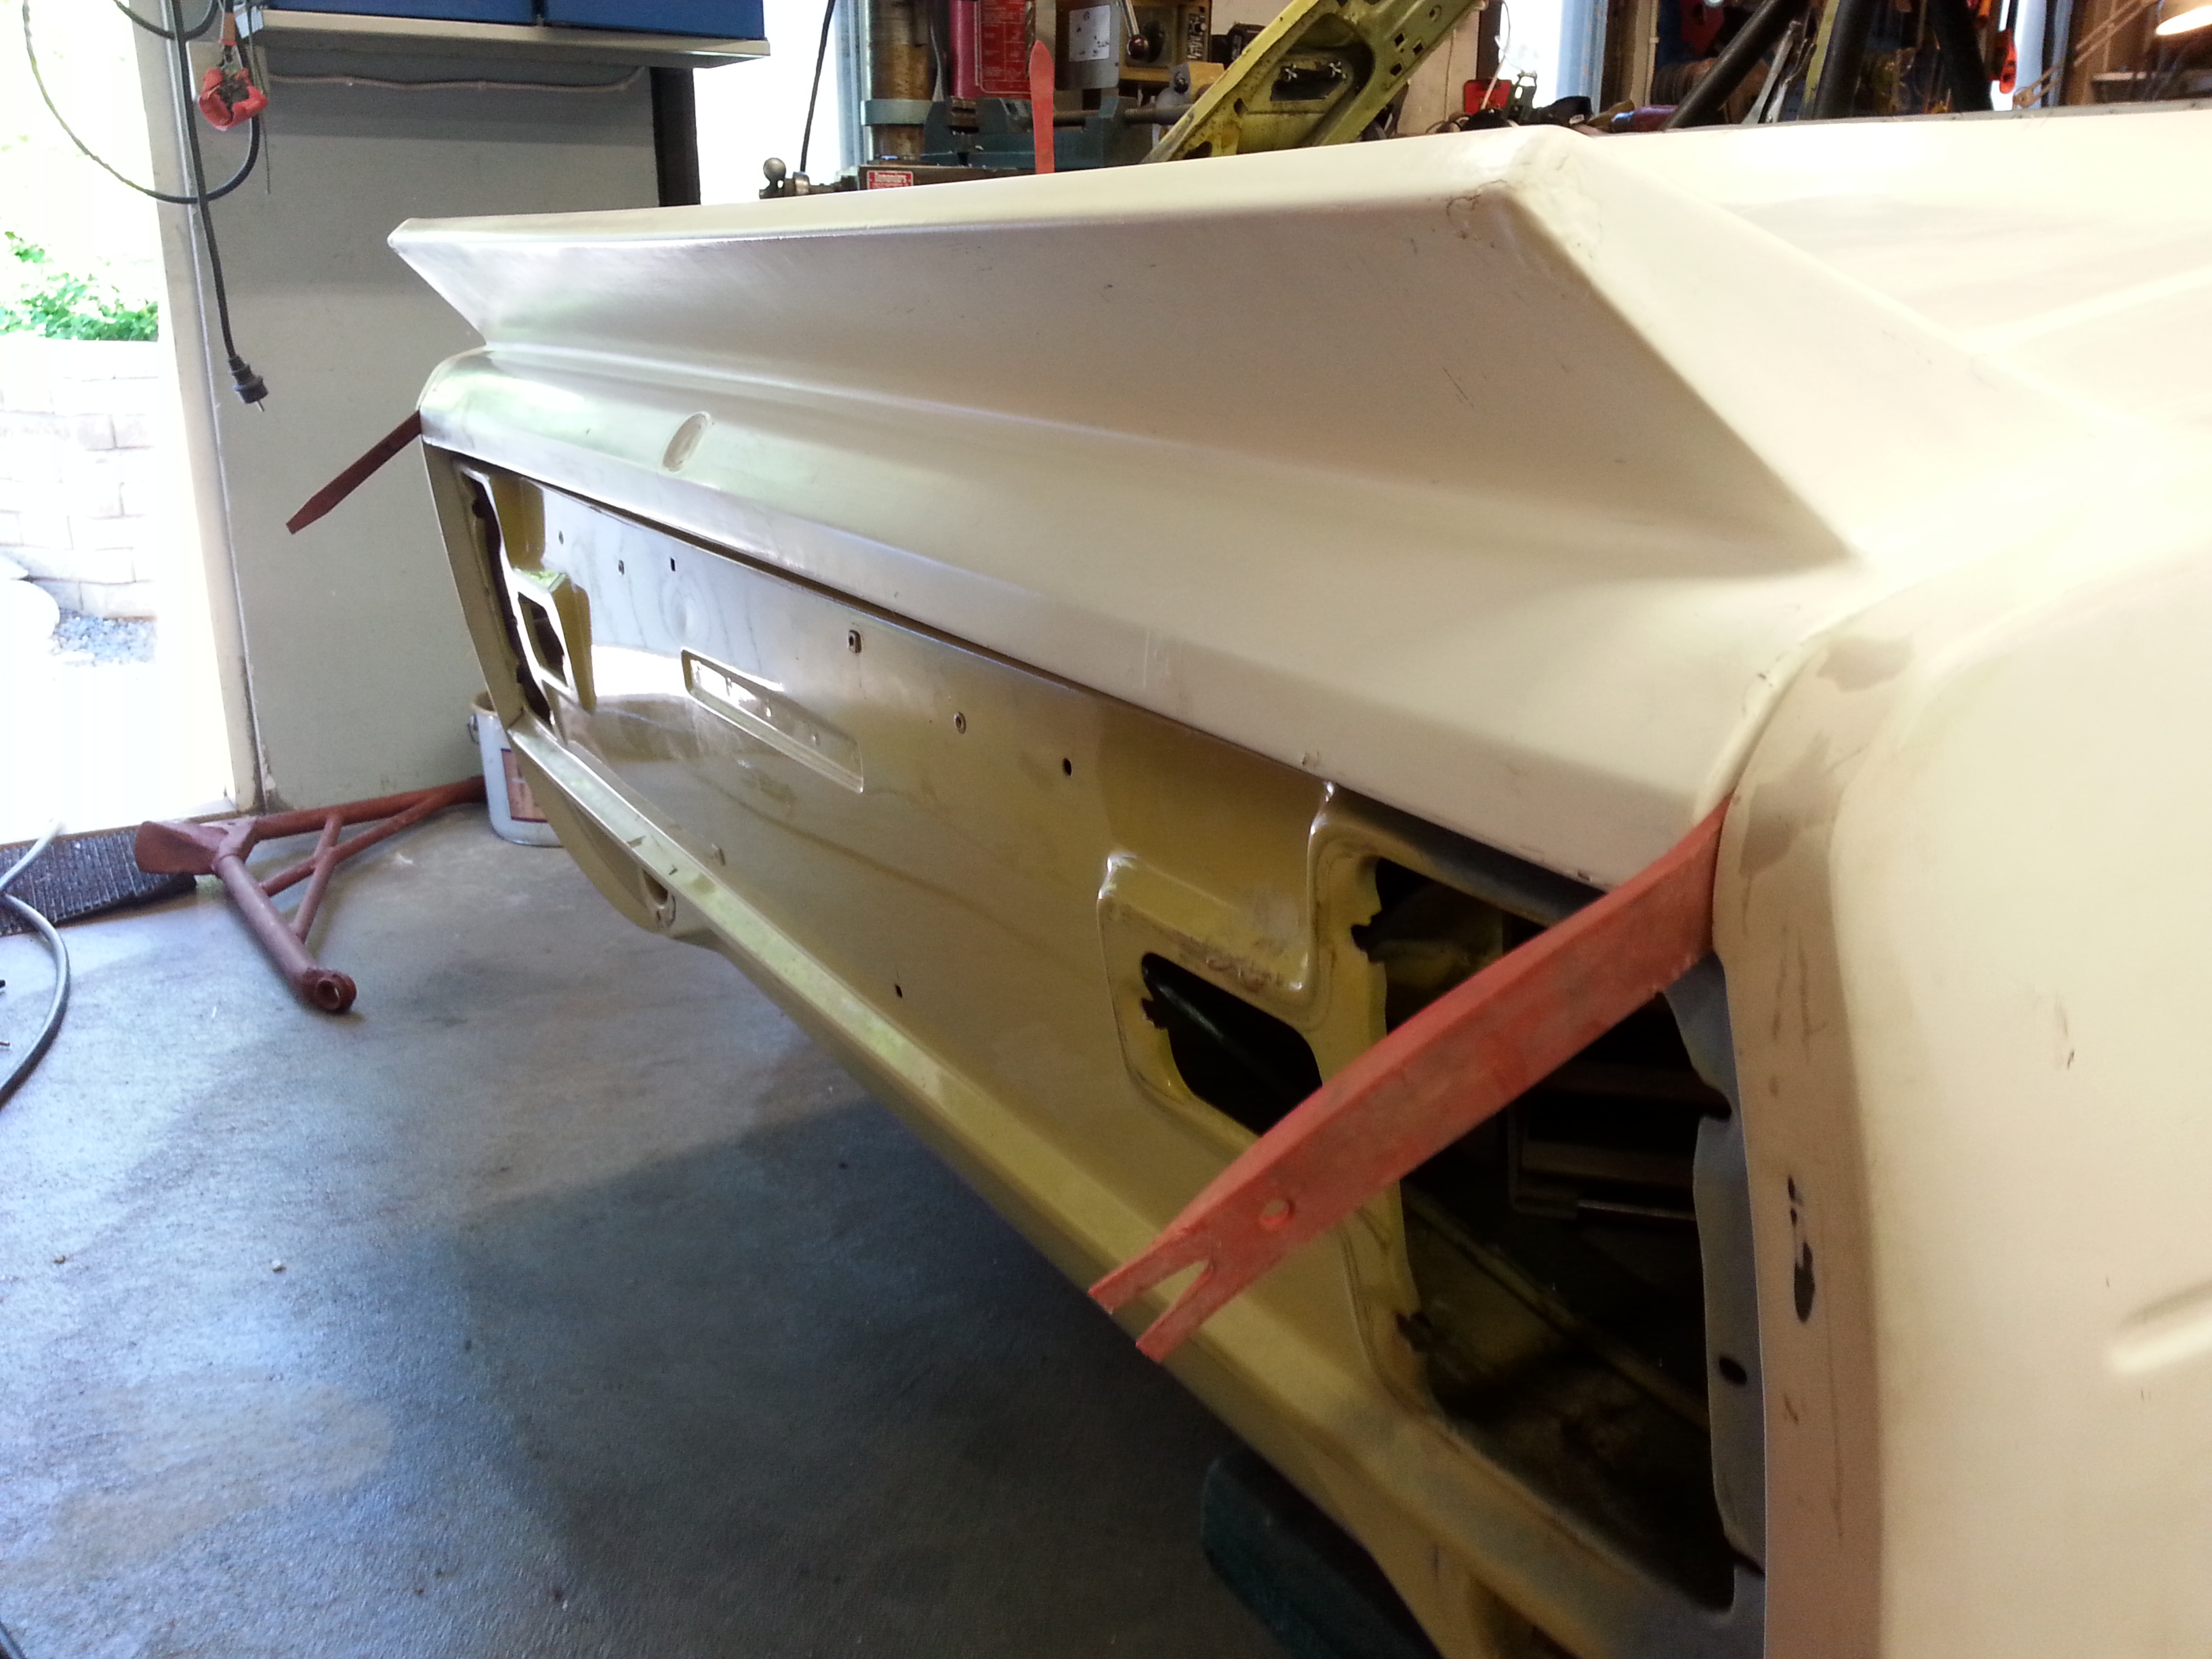
 Test fitting with Polish trunk lid. Too tight fit, but I think I found the problem.
 After comparing the original Abarth pics to my mudguards I found that the curve should stop turning to righ after the rear light area has passed. After that it should go straight up. Molds need some more adjustment.
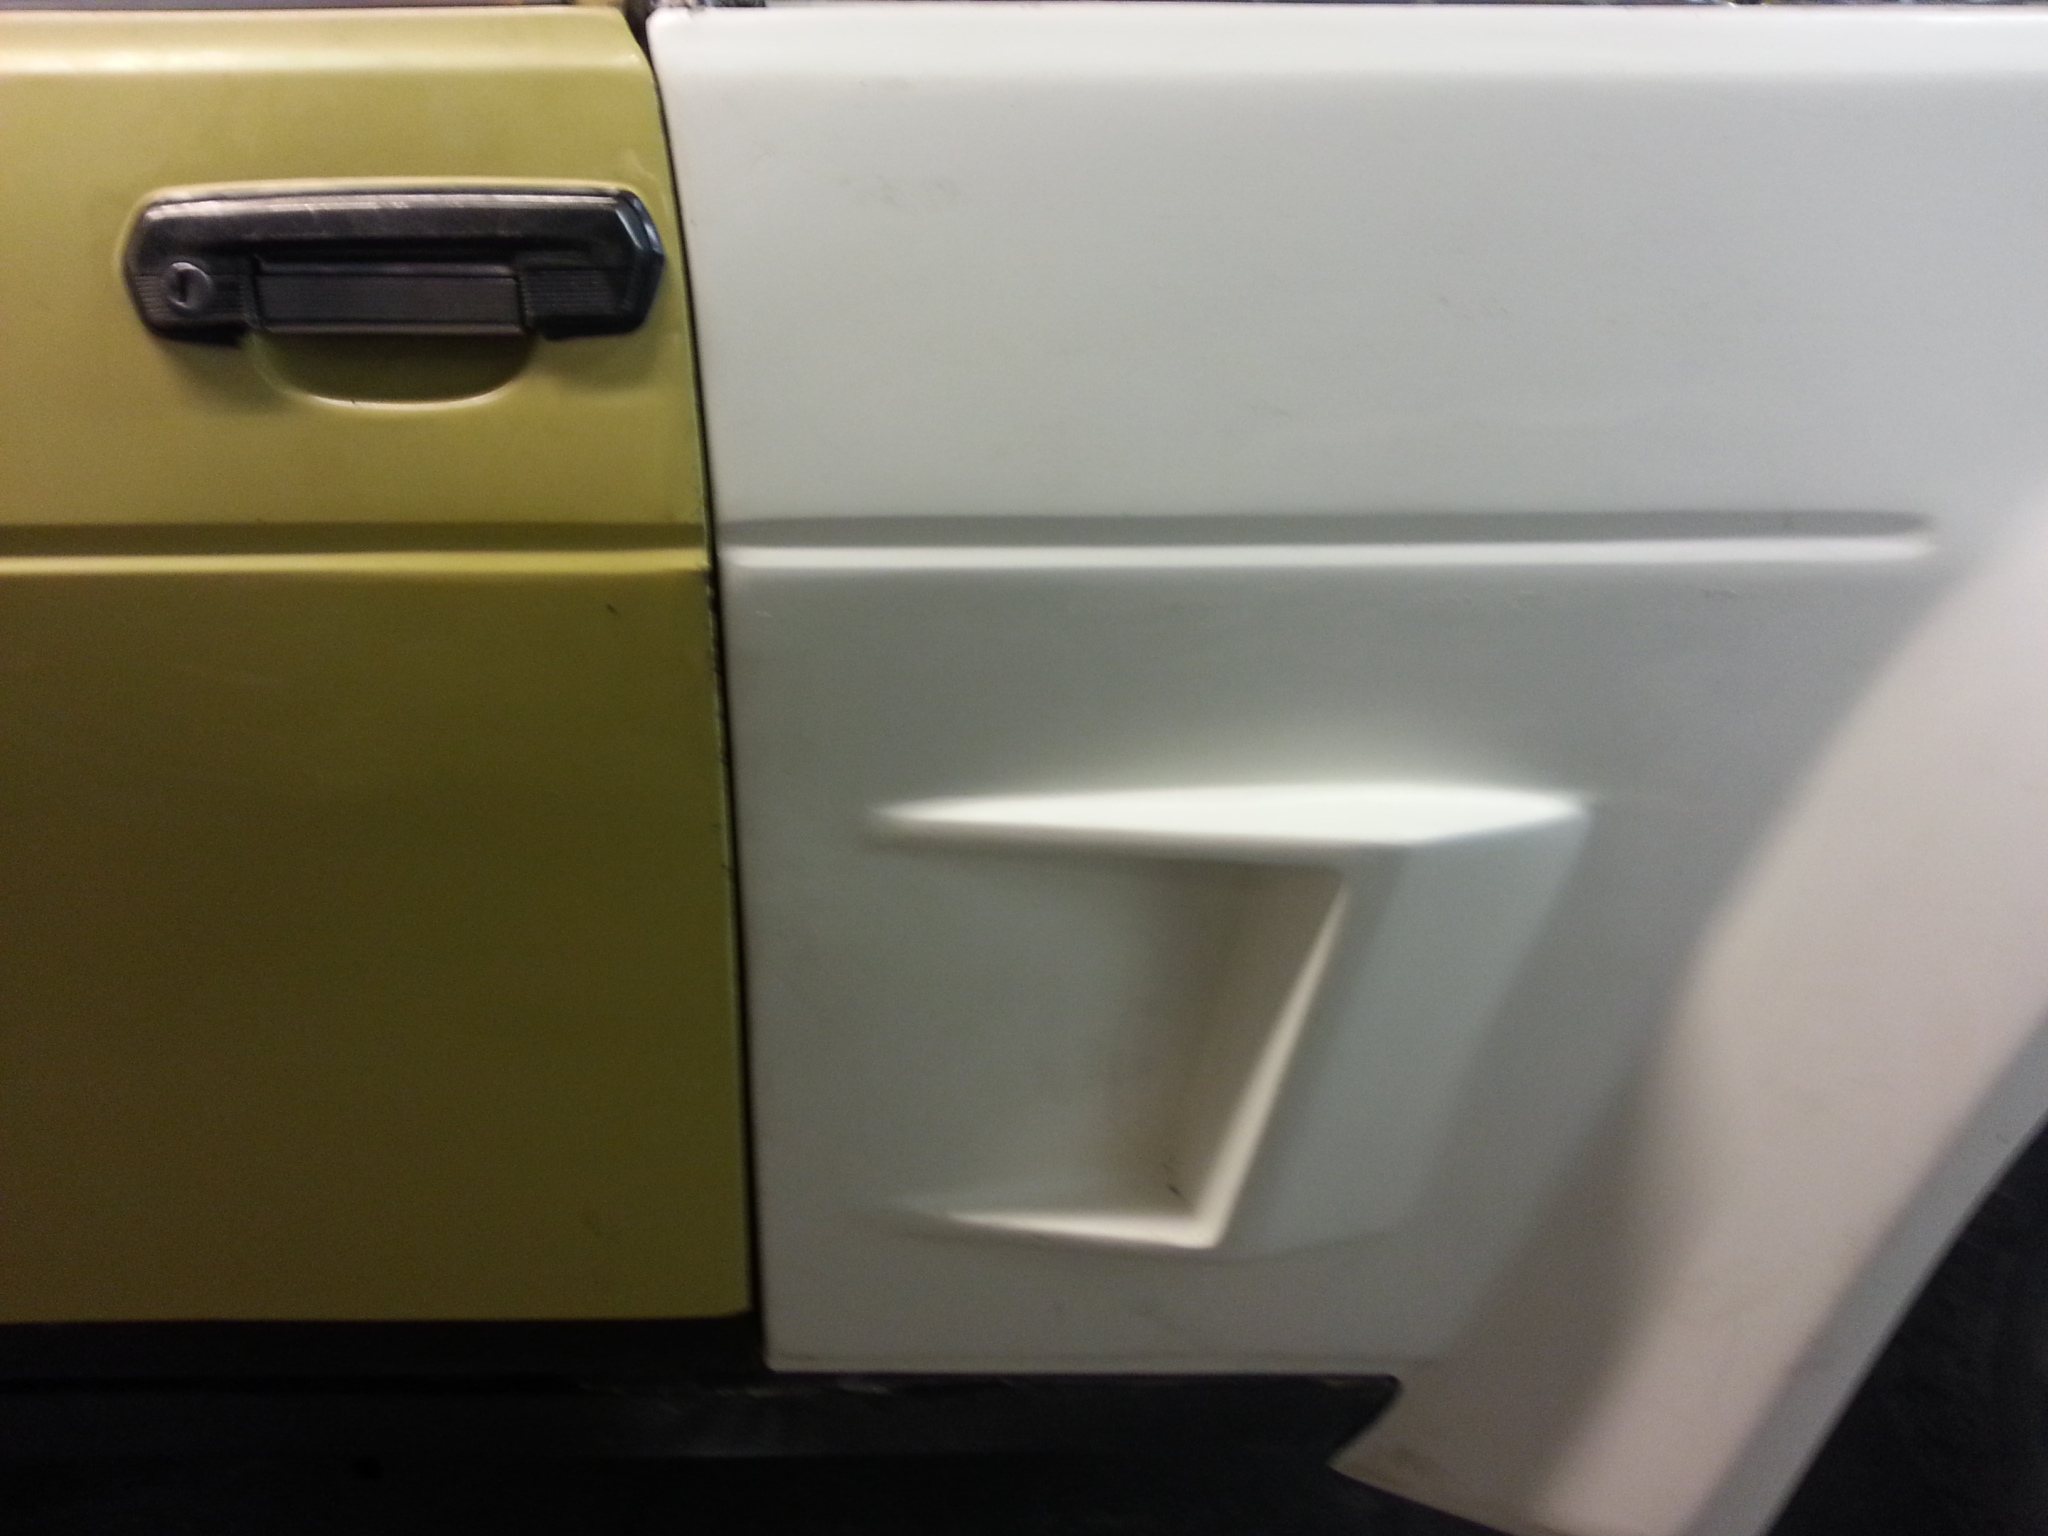 The door line looks nice, but…
 The rear is too short, I have pushed it too far towards doors. Need to get back atleast 5mm.
10.12.2013
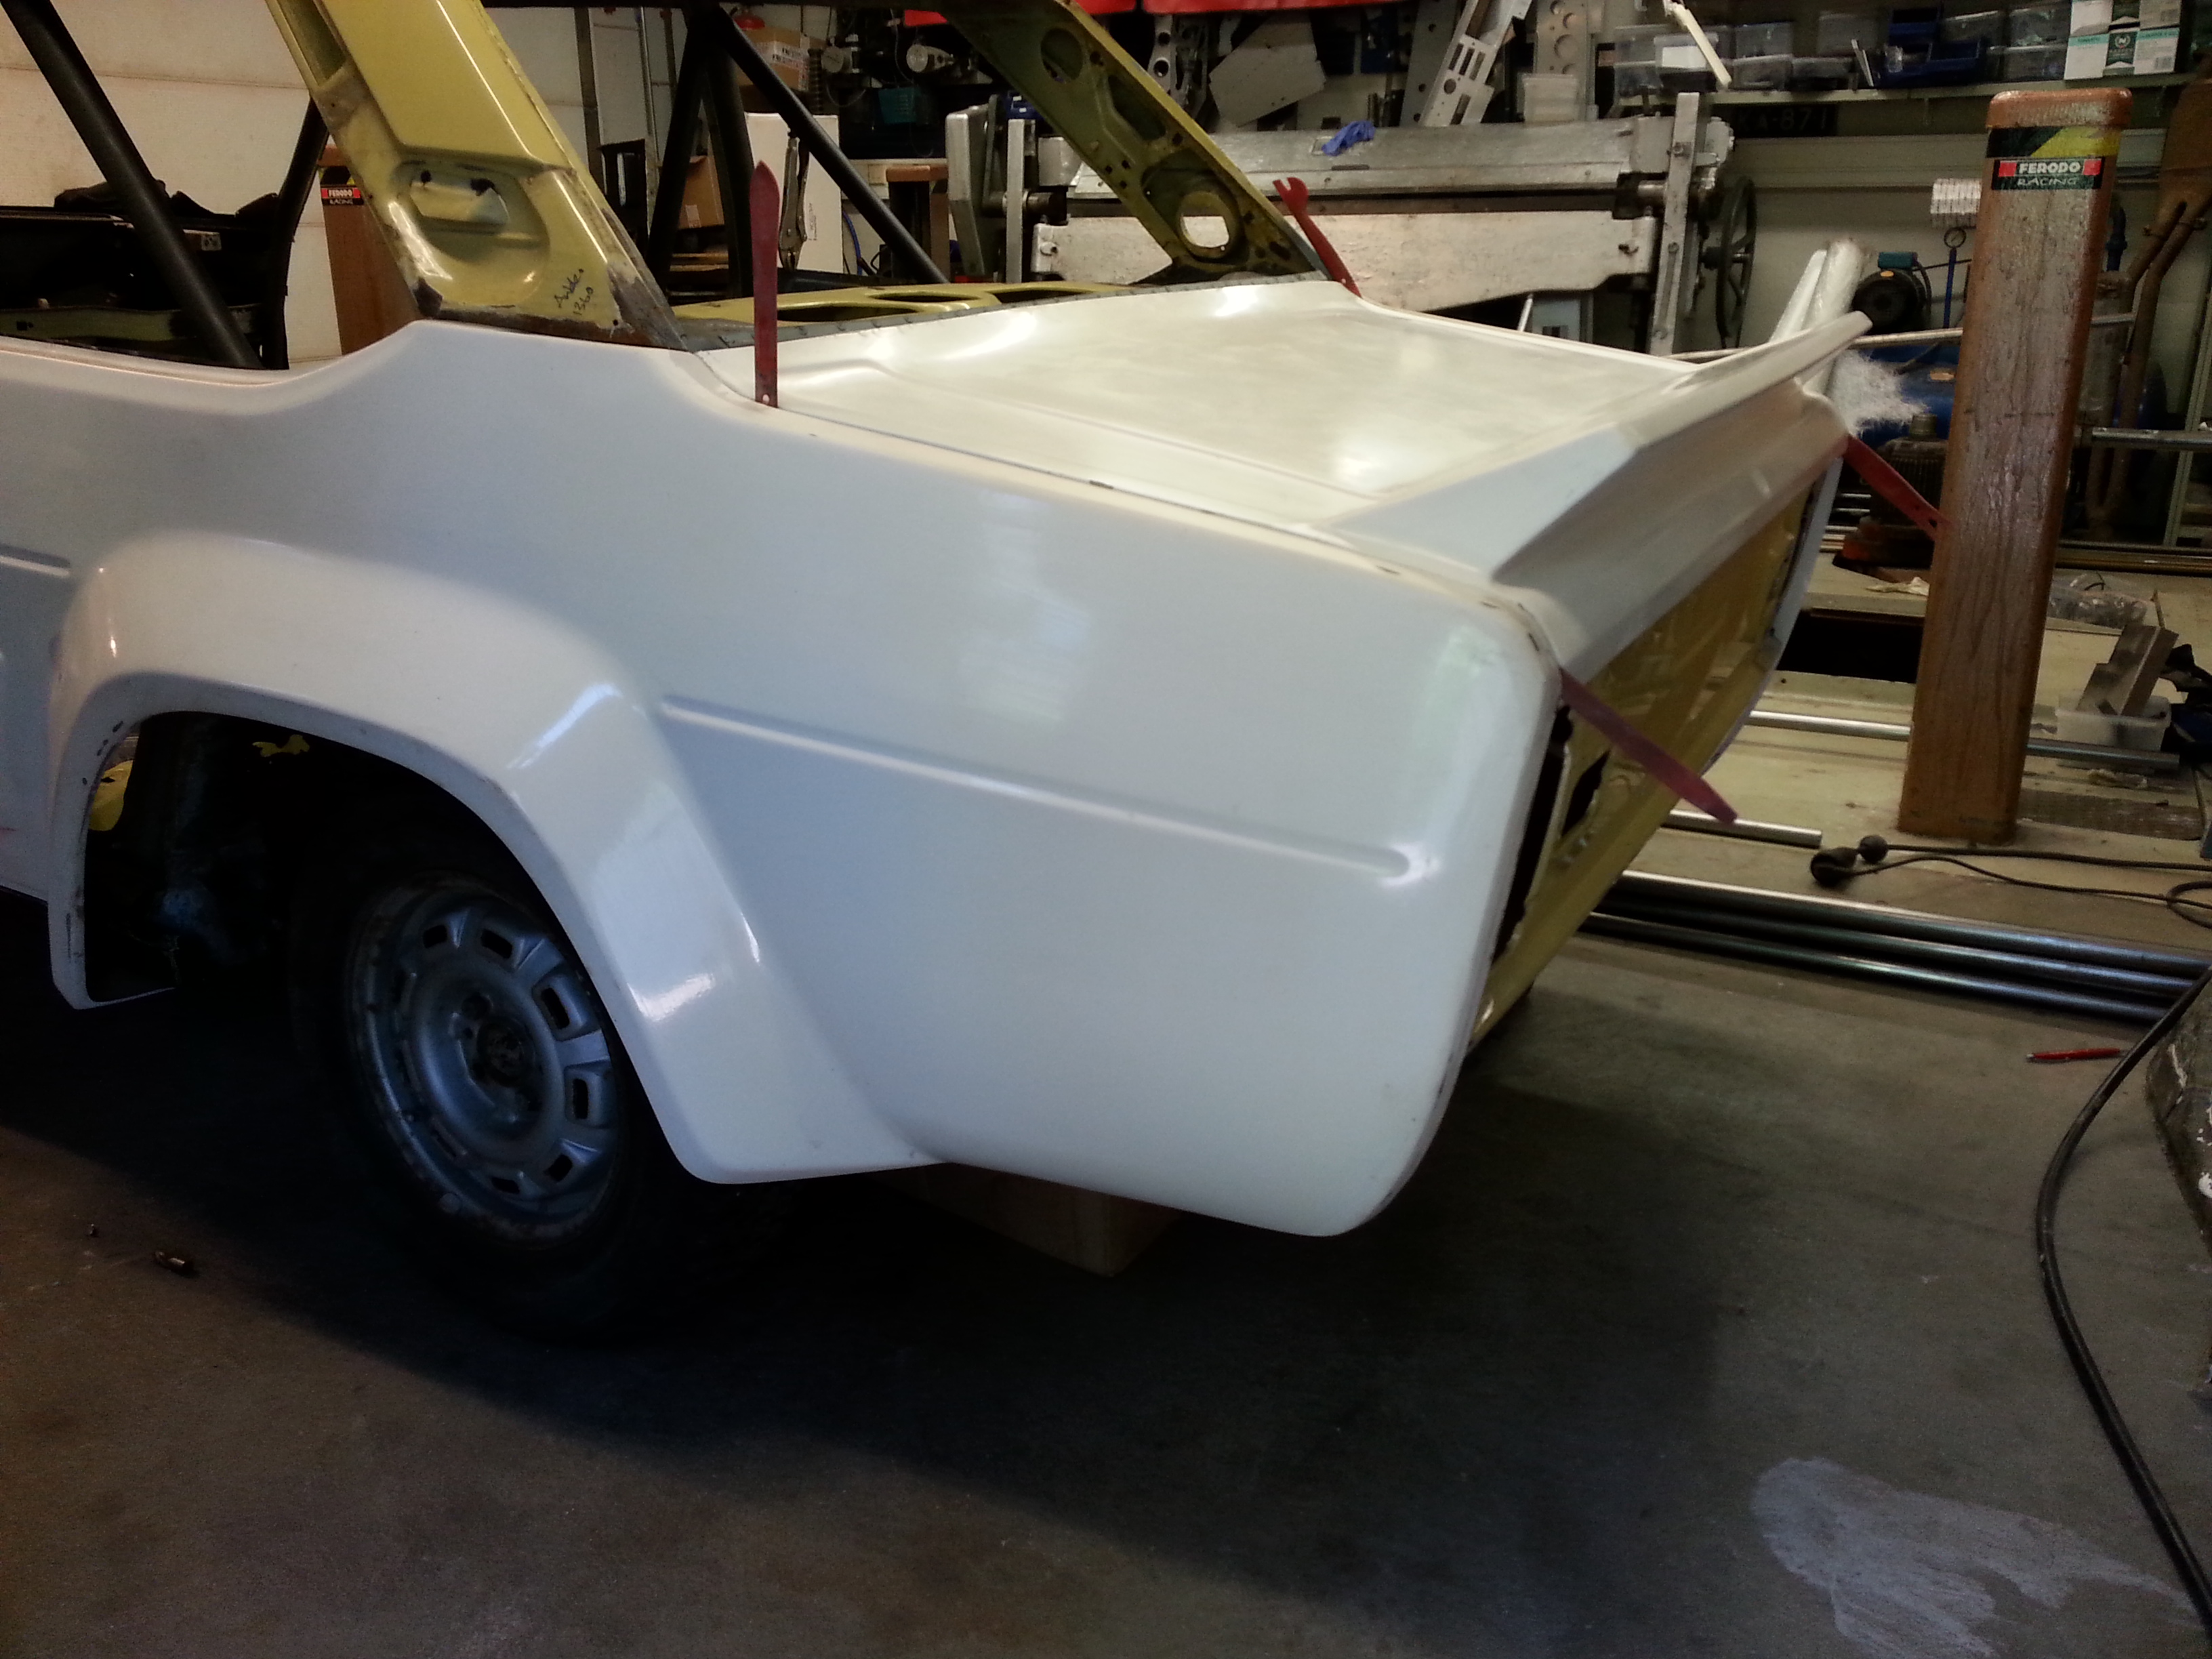
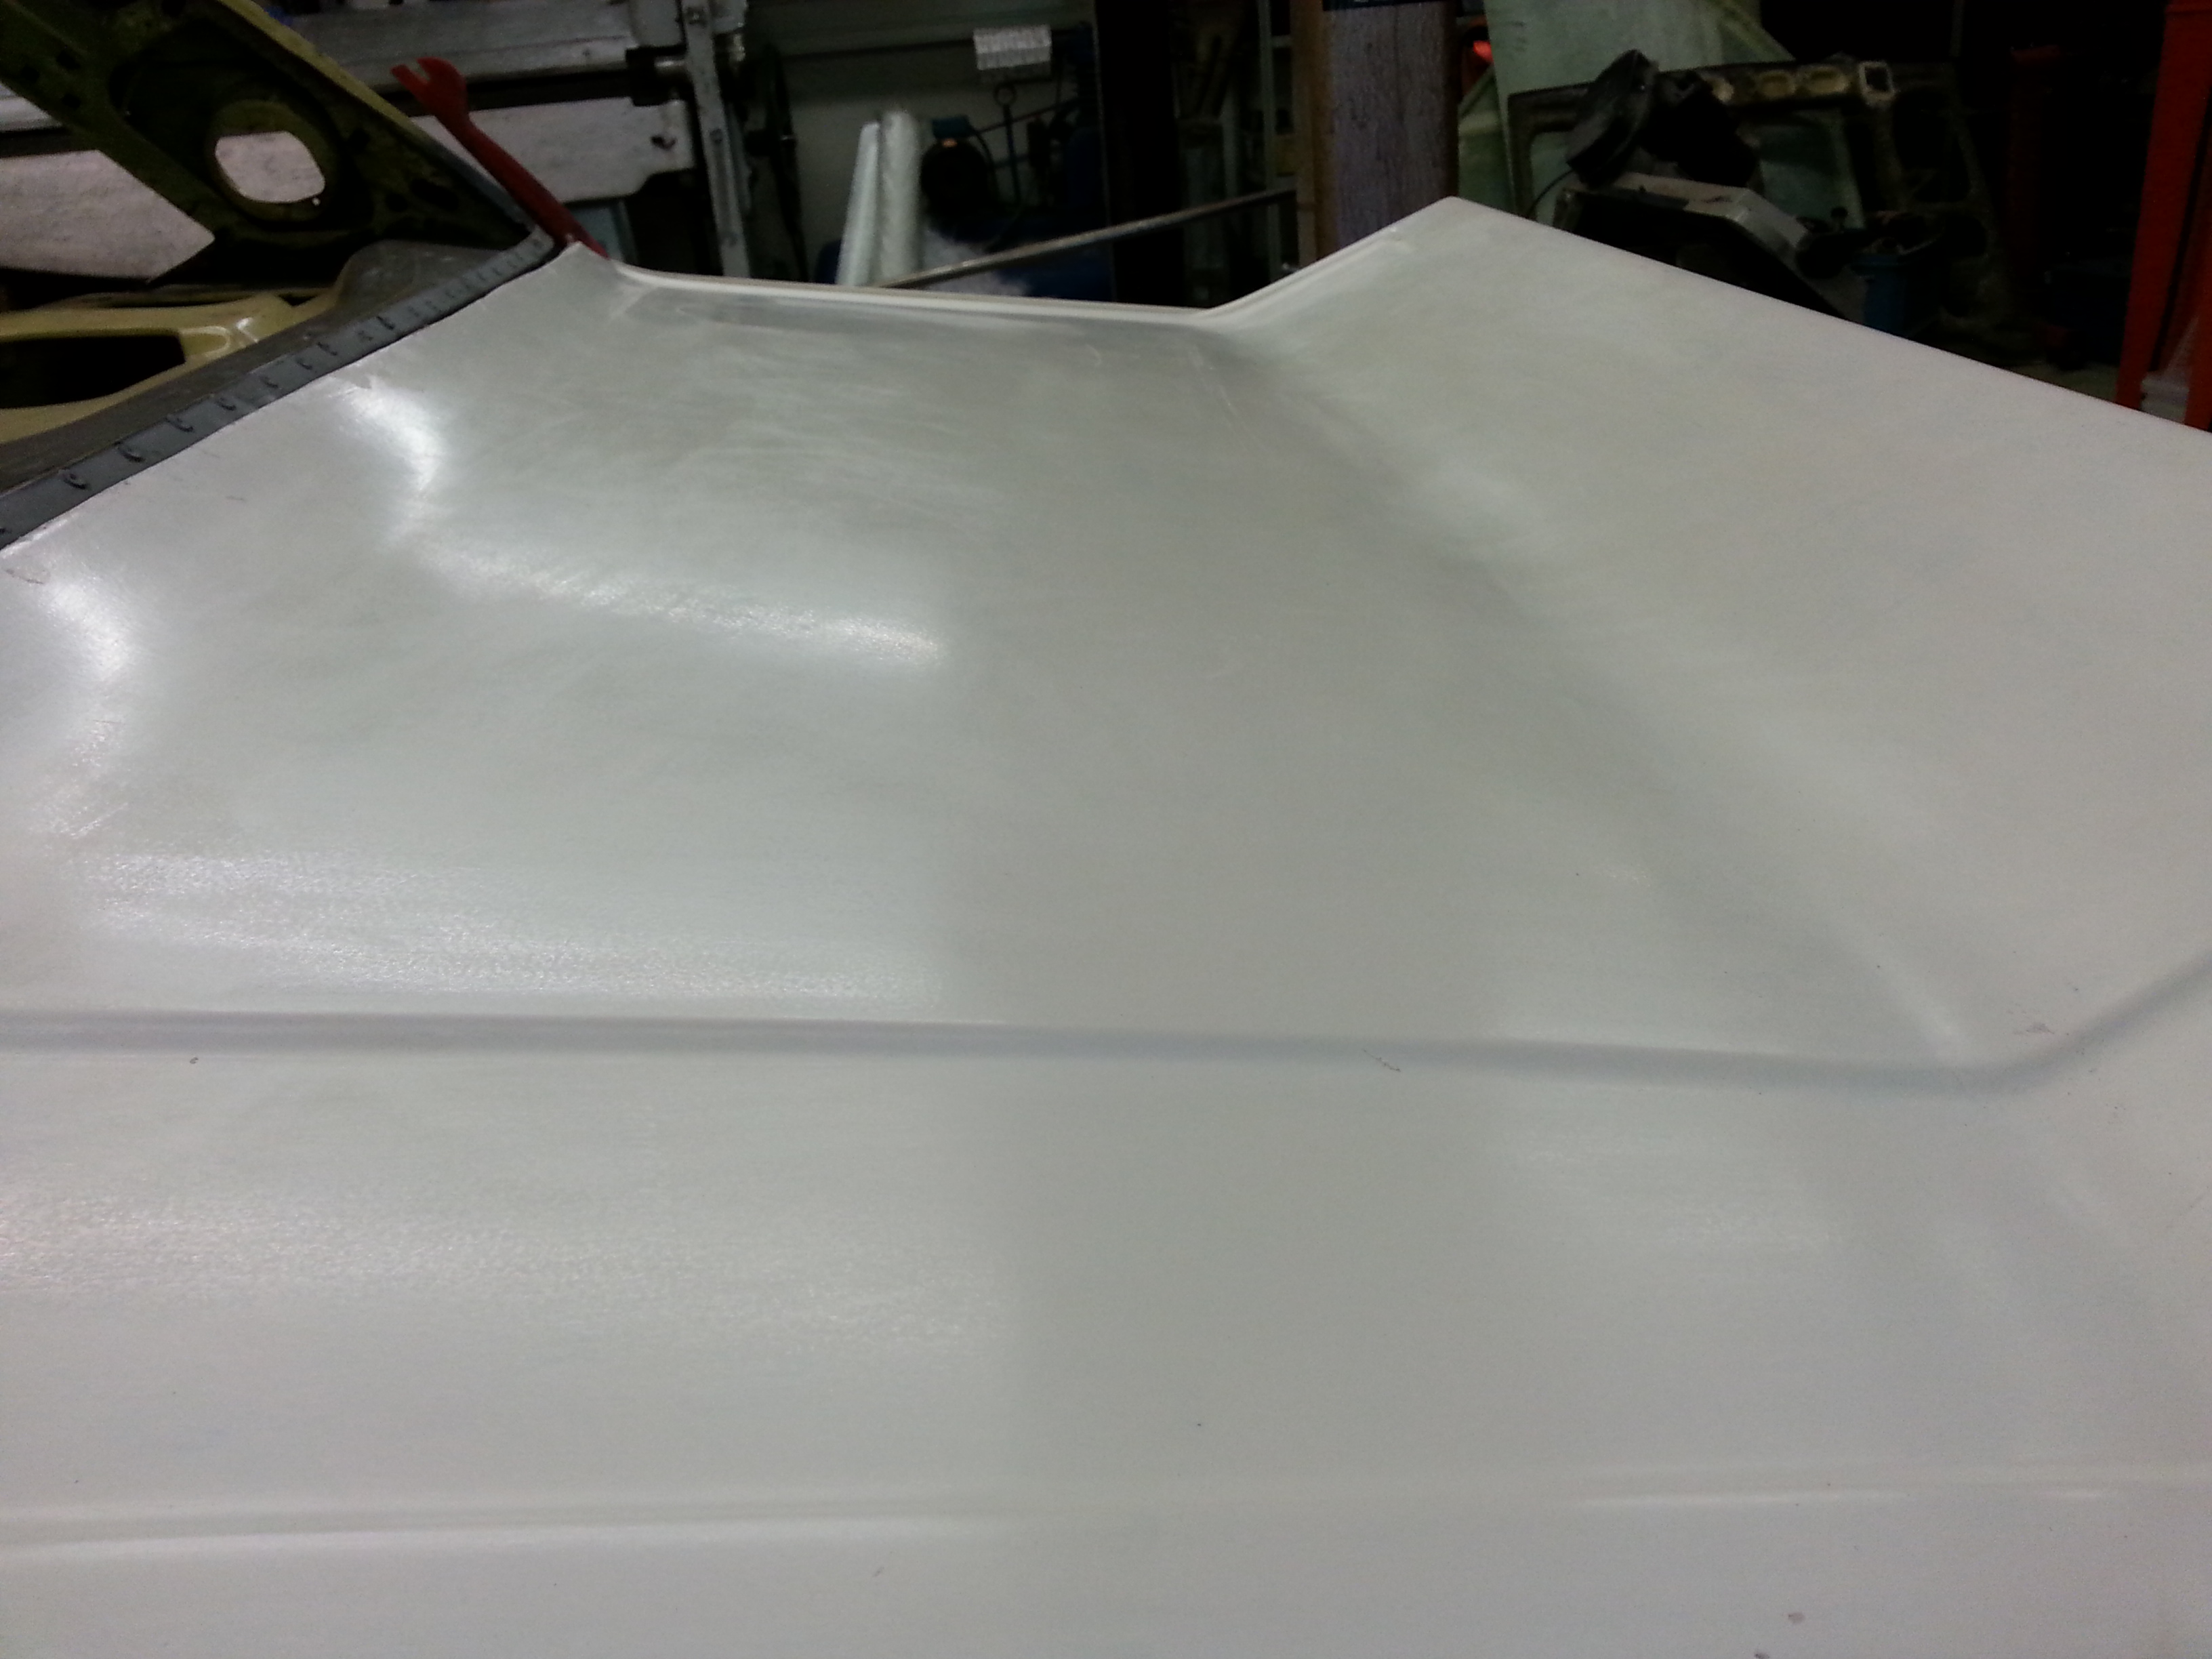
The chassis arrived yesterday. I have it in my own garage now. I will make a lot of fiberglass part fitting in following days. The mudguards I made from my own molds are now clamped to the chassis. Quite nice fitment, took only 45min to modify them. Im going to do modifications to the moulds to make them fit even better.
 From rear it looks really good. The bottom piece needs a bit adjustment to the mould to be perfect.


Left side is pretty nice.
 From rear, the right side is quite nice.
 From inside its almost perfect
 Right side looks pretty nice, but is actually worse than the left. I must make some mods to the moulds to make these fit better.
 Left side looks ugly from bottom, but its actually better than right side. Still, I need to adjust the molds a bit to make it as it should be.
10.12.2013
![]()
 I just got some of these Abarth Stradale trunk lid stickers. It was used in every original 131 Abarth Stradale. If you need them, 20€/each.
30.11.2013
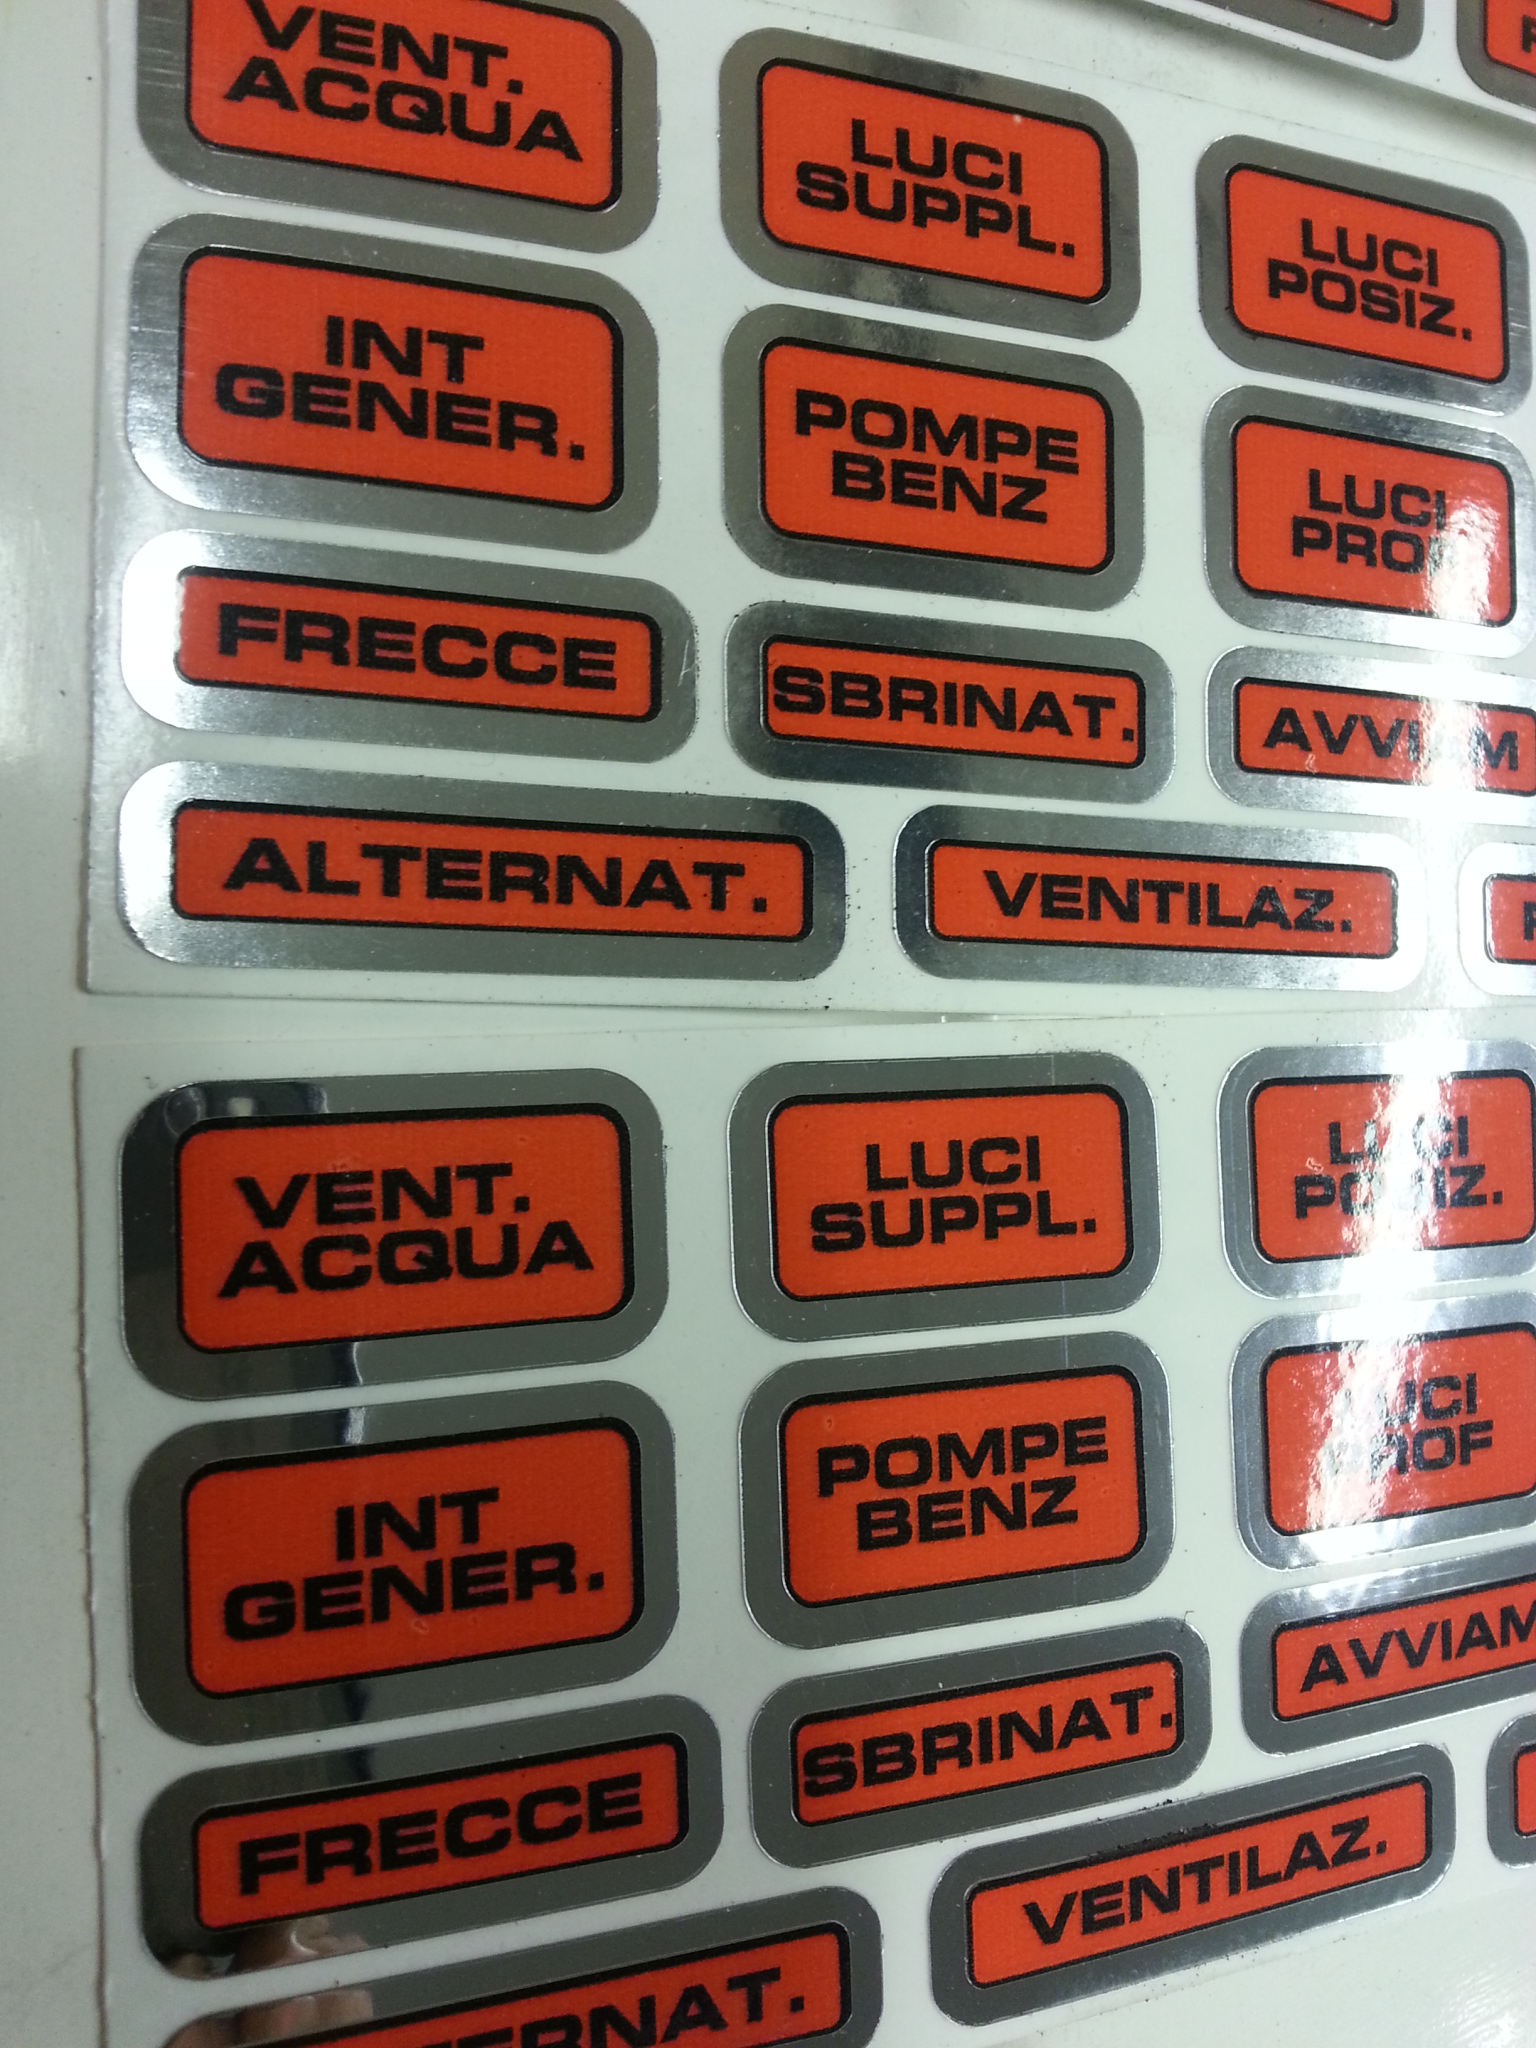
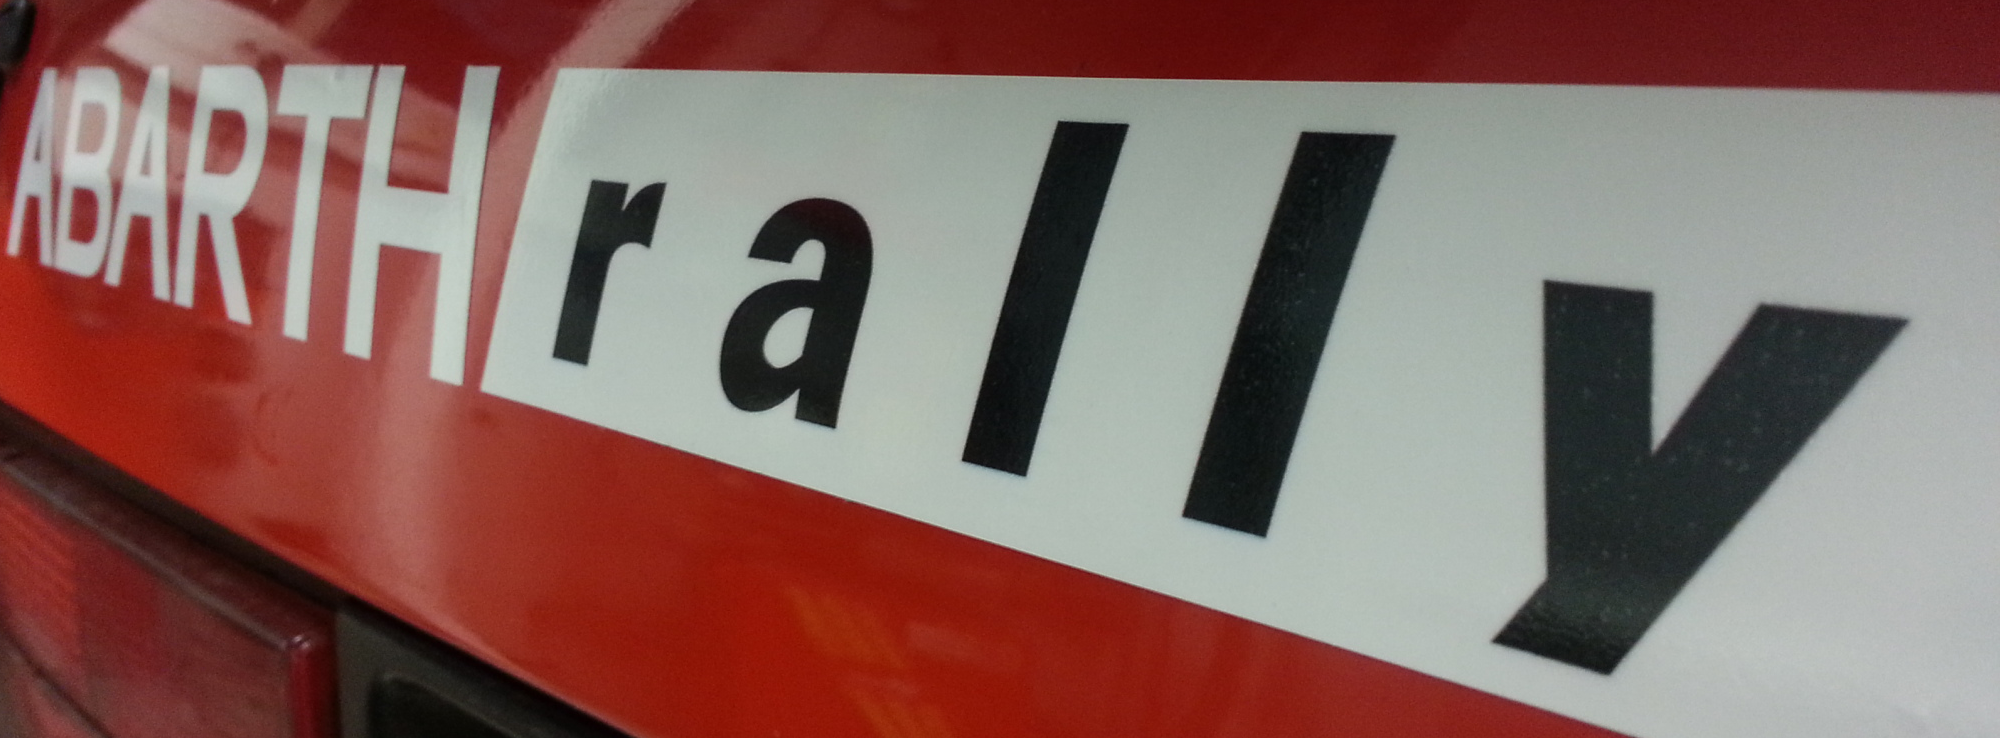
I didnt remeber, but I do have these dashboard stickers. Im going to make large bunch of copies of them. So, if you need them, just mail me. Im also producing the Stradale trunk sticker “ABARTH rally”, theyr being done at the moment, waiting to get them.

27.11.13
. One of the lucky days. Found a working Hald Tripmaster with cables. And it even seems to be working. Abarth raced mostly with two haldas, but sometimes, rarely though, with one tripmaster. So, I still need to find another to have accurate setup for my car.
21.11.2013
Ive been making my own fiberglass bodyparts. The parts Ive got earlier dont quite fit, so I had to go and collect my own molds and start to repairing process. Now they are getting together, here you can see the first parts Ive been making. The rear mudguards, next I will get the front spoiler mold repaired.


6.11.2013
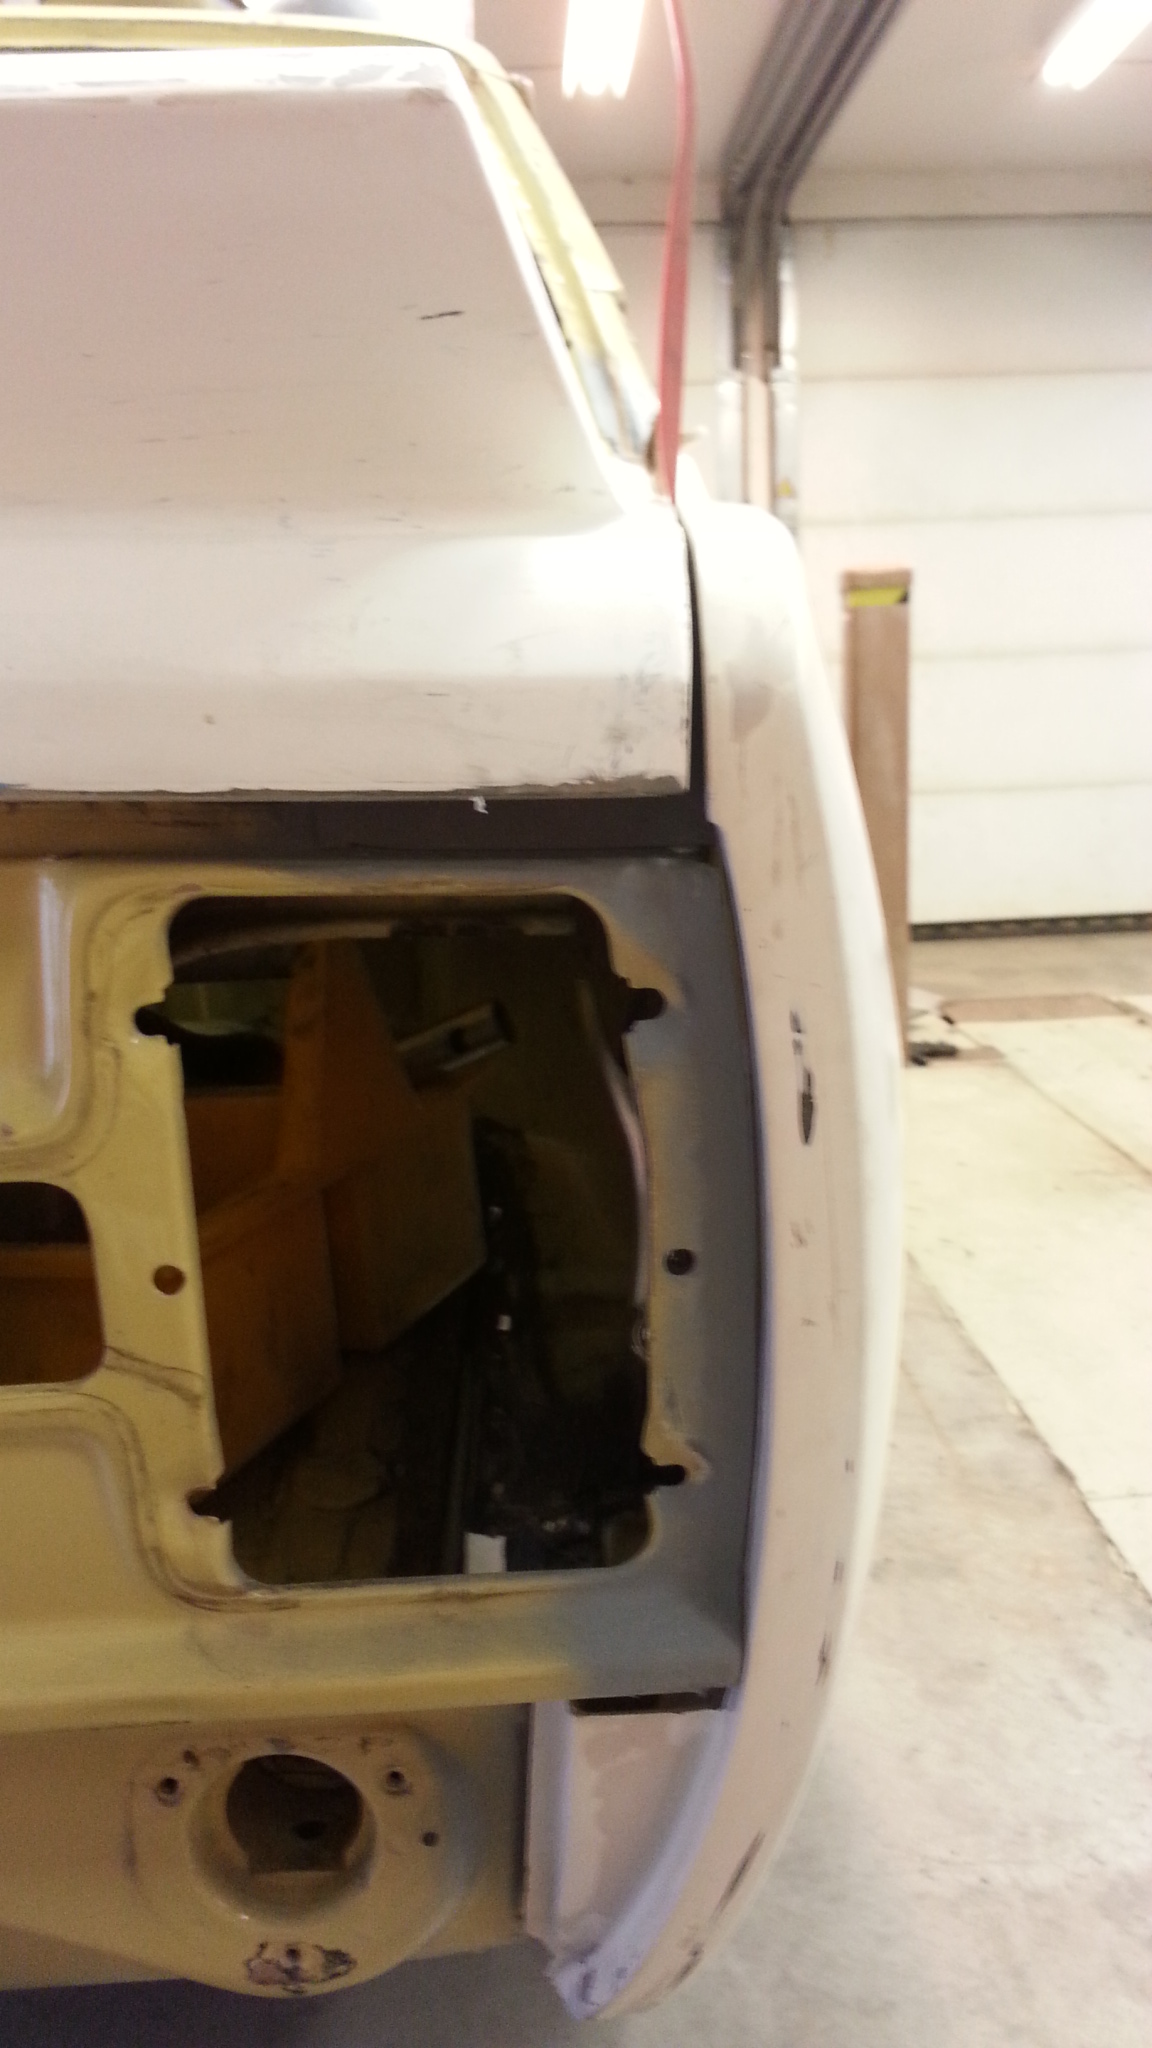
Some new progress, friend of mine did this while back, but I havent updated the page. The front panel has been changed. Im also waiting for bunch of body panels from Turkey. Hopefully I will get them soon so we can finish the bodywork.


11.8.2013
Ive been waiting for a package from UK. And I got it couple of days ago! They are exact copies of works team body steel parts. I didnt get all the parts, there are some still coming. Rear mudguard strengtheners, fuelpump/filter brackets and sparewheel brackets are coming later. But, can you believe how nice these are? I cannot.. Theyr really really the best bodyparts I have seen ever, theyr 100% correct g.4 style.

Oilcooler brackets on left, front reactionbar brackets on right.


Gearbox tunnel reinforcing on left and seat brackets on right.

Rear suspension middlebrackets and rear shock towers.

Rear suspension bracket on left and diff rear carrier on right.


Batterybox on left and dashboard mounting on right.


Raceplex ECU brackets on left and front lower arm reinforcing on right.


Front shock upper mounting reinforcing on left, and engine bay support bars on right.

Engine bay support brackets and bars.
24.6.2013
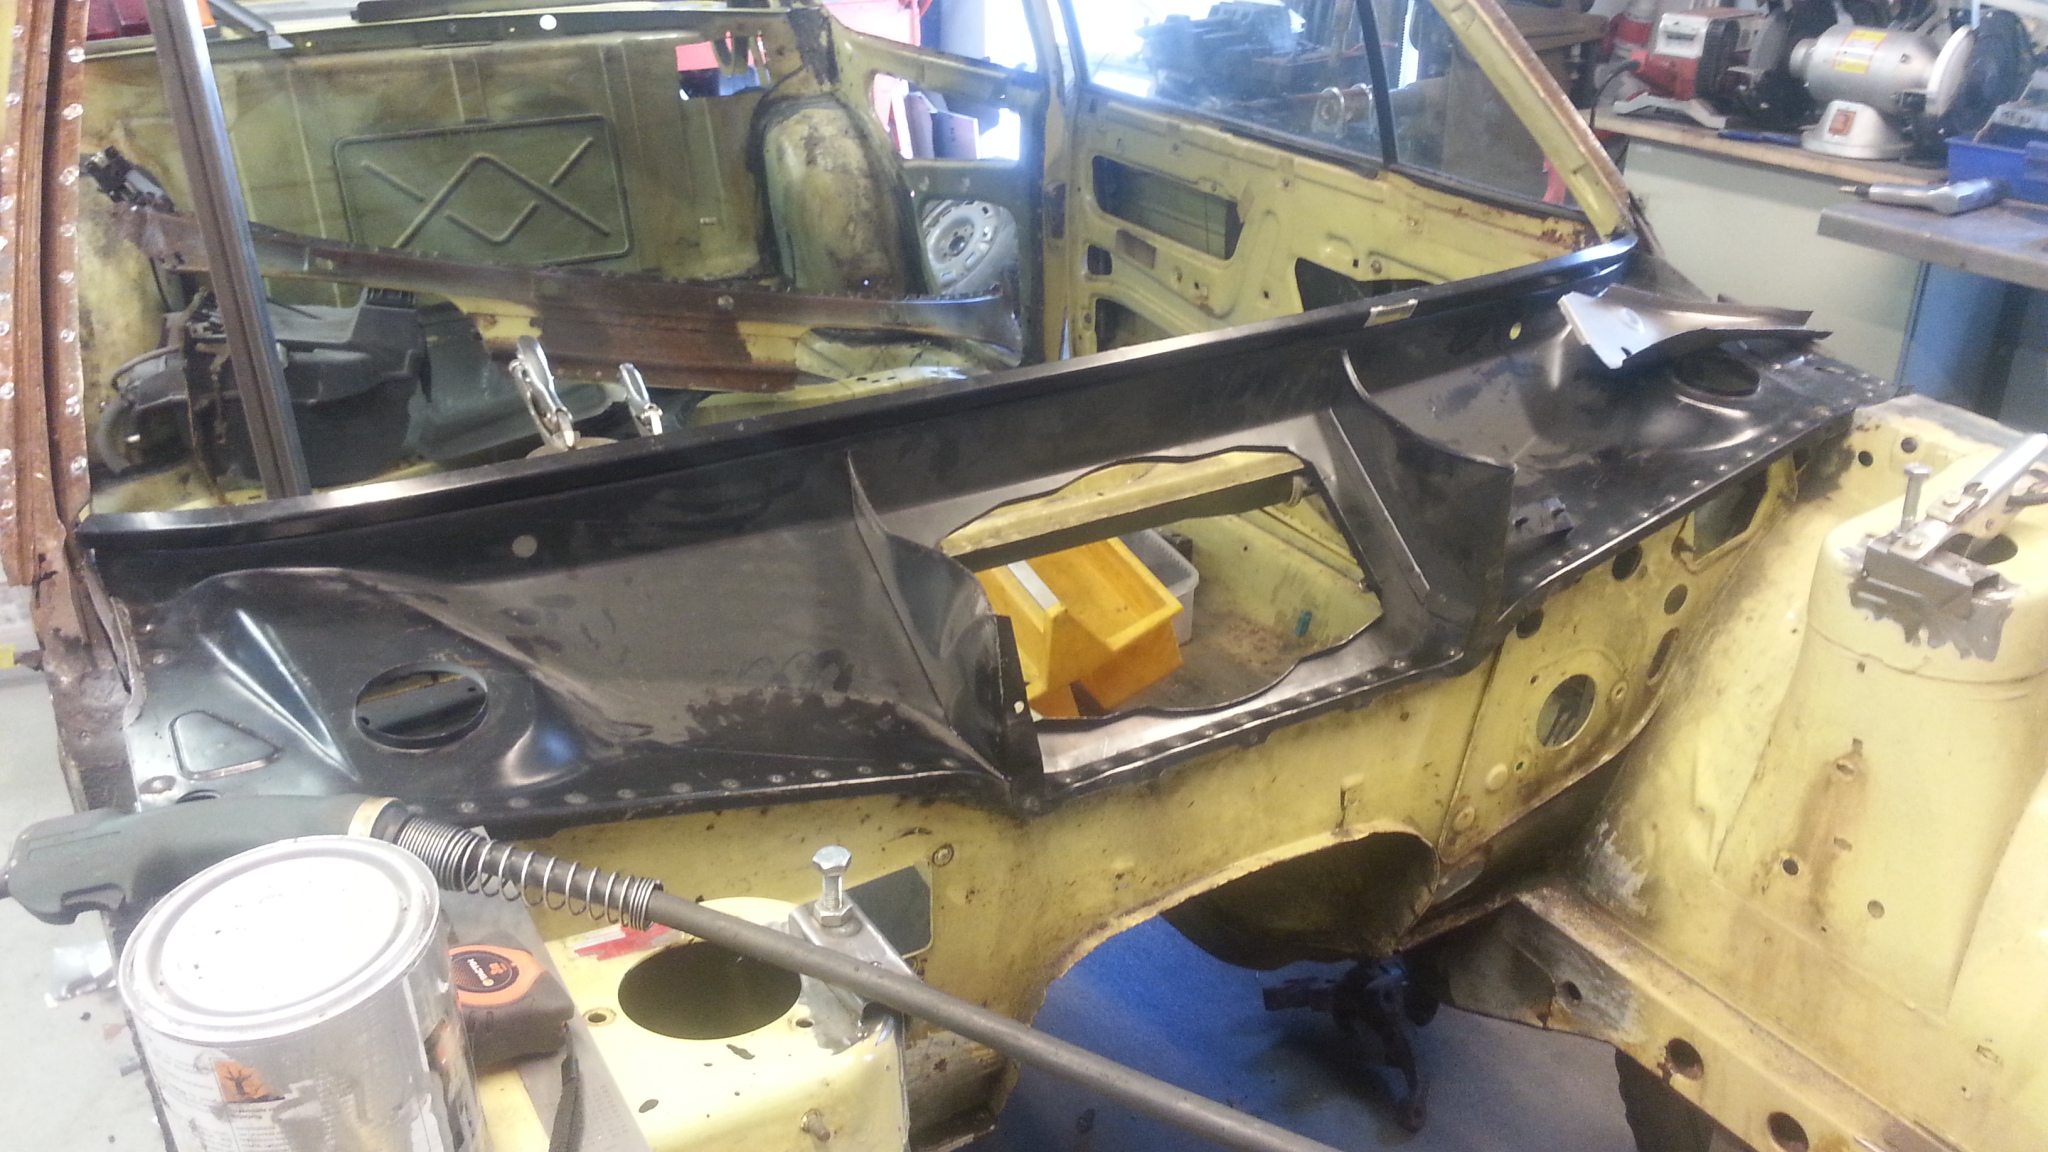
Some new progress on body. My friend took the front end to closer inspection and found some rust. Now it has been ripped down as you can see from the pictures. I need to get some new panels.
 Front panels is taken away completelly. I do have new panel to go on later.
 There was some rust damage repaired nicely. New panel comes on top of this.
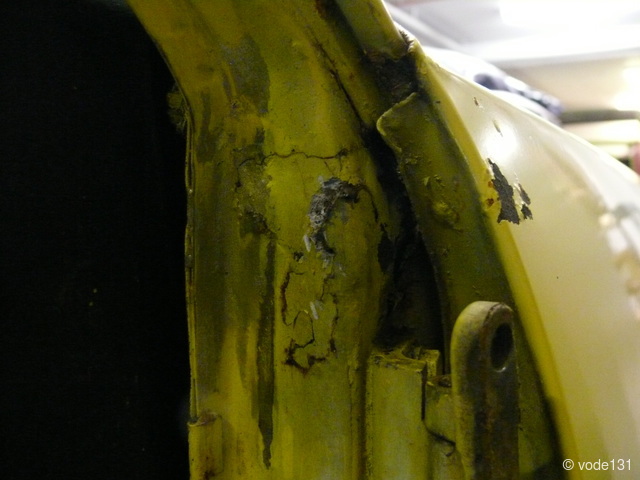
 Phew… Some heavy rust under windscreen wiper mount panel. Luckily new panels are available..
24.5.2013
Theres not so much happening now. Some smaller steps. The body is at my friends carage and he has stripped it completelly now.

Some new parts, seat belt O-bolts.

24.4.2013


Ive got really good advice from Finnish Fiat forum. If you heat the fiberglass, you can reform it. Forex in front bonnet there was a weird bump, I pressed it, heated it, and waited a bit, and vóila its like new..
23.4.2013
I took the body to the man who is going to strip it down. After he has stripped it down, I either bring it home, or to the roll bar manufacturer. Depending if I have money or not 🙂

 Who is coming in to my bumper on the motorway!!!!
I also got the package from Poland. The bodykit arrived. It included the narrow bodykit with gearbox cover and vent panels to bonnet. Its really nicely done. New fiberglass parts are pretty soft, when theyr packed in few days after making they can bend. These are a bit bent, so I need to straighten them somehow.


17.4.2013


I found a real bargain from ebay. Bought some NOS parts really cheap. Windshield gasket was for late models, that I dont need. If somebody need it, I will sell it.
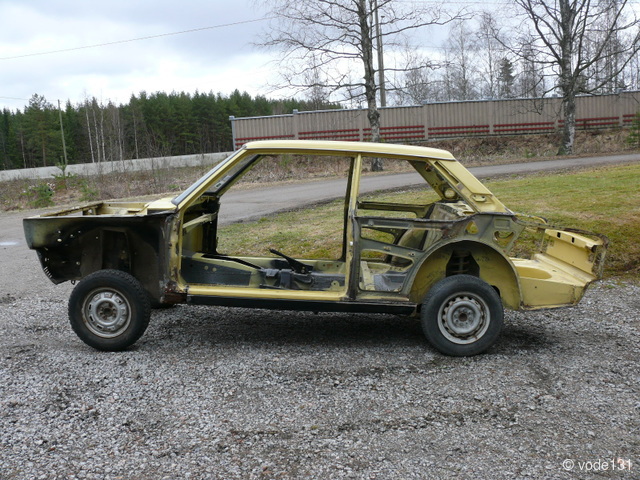
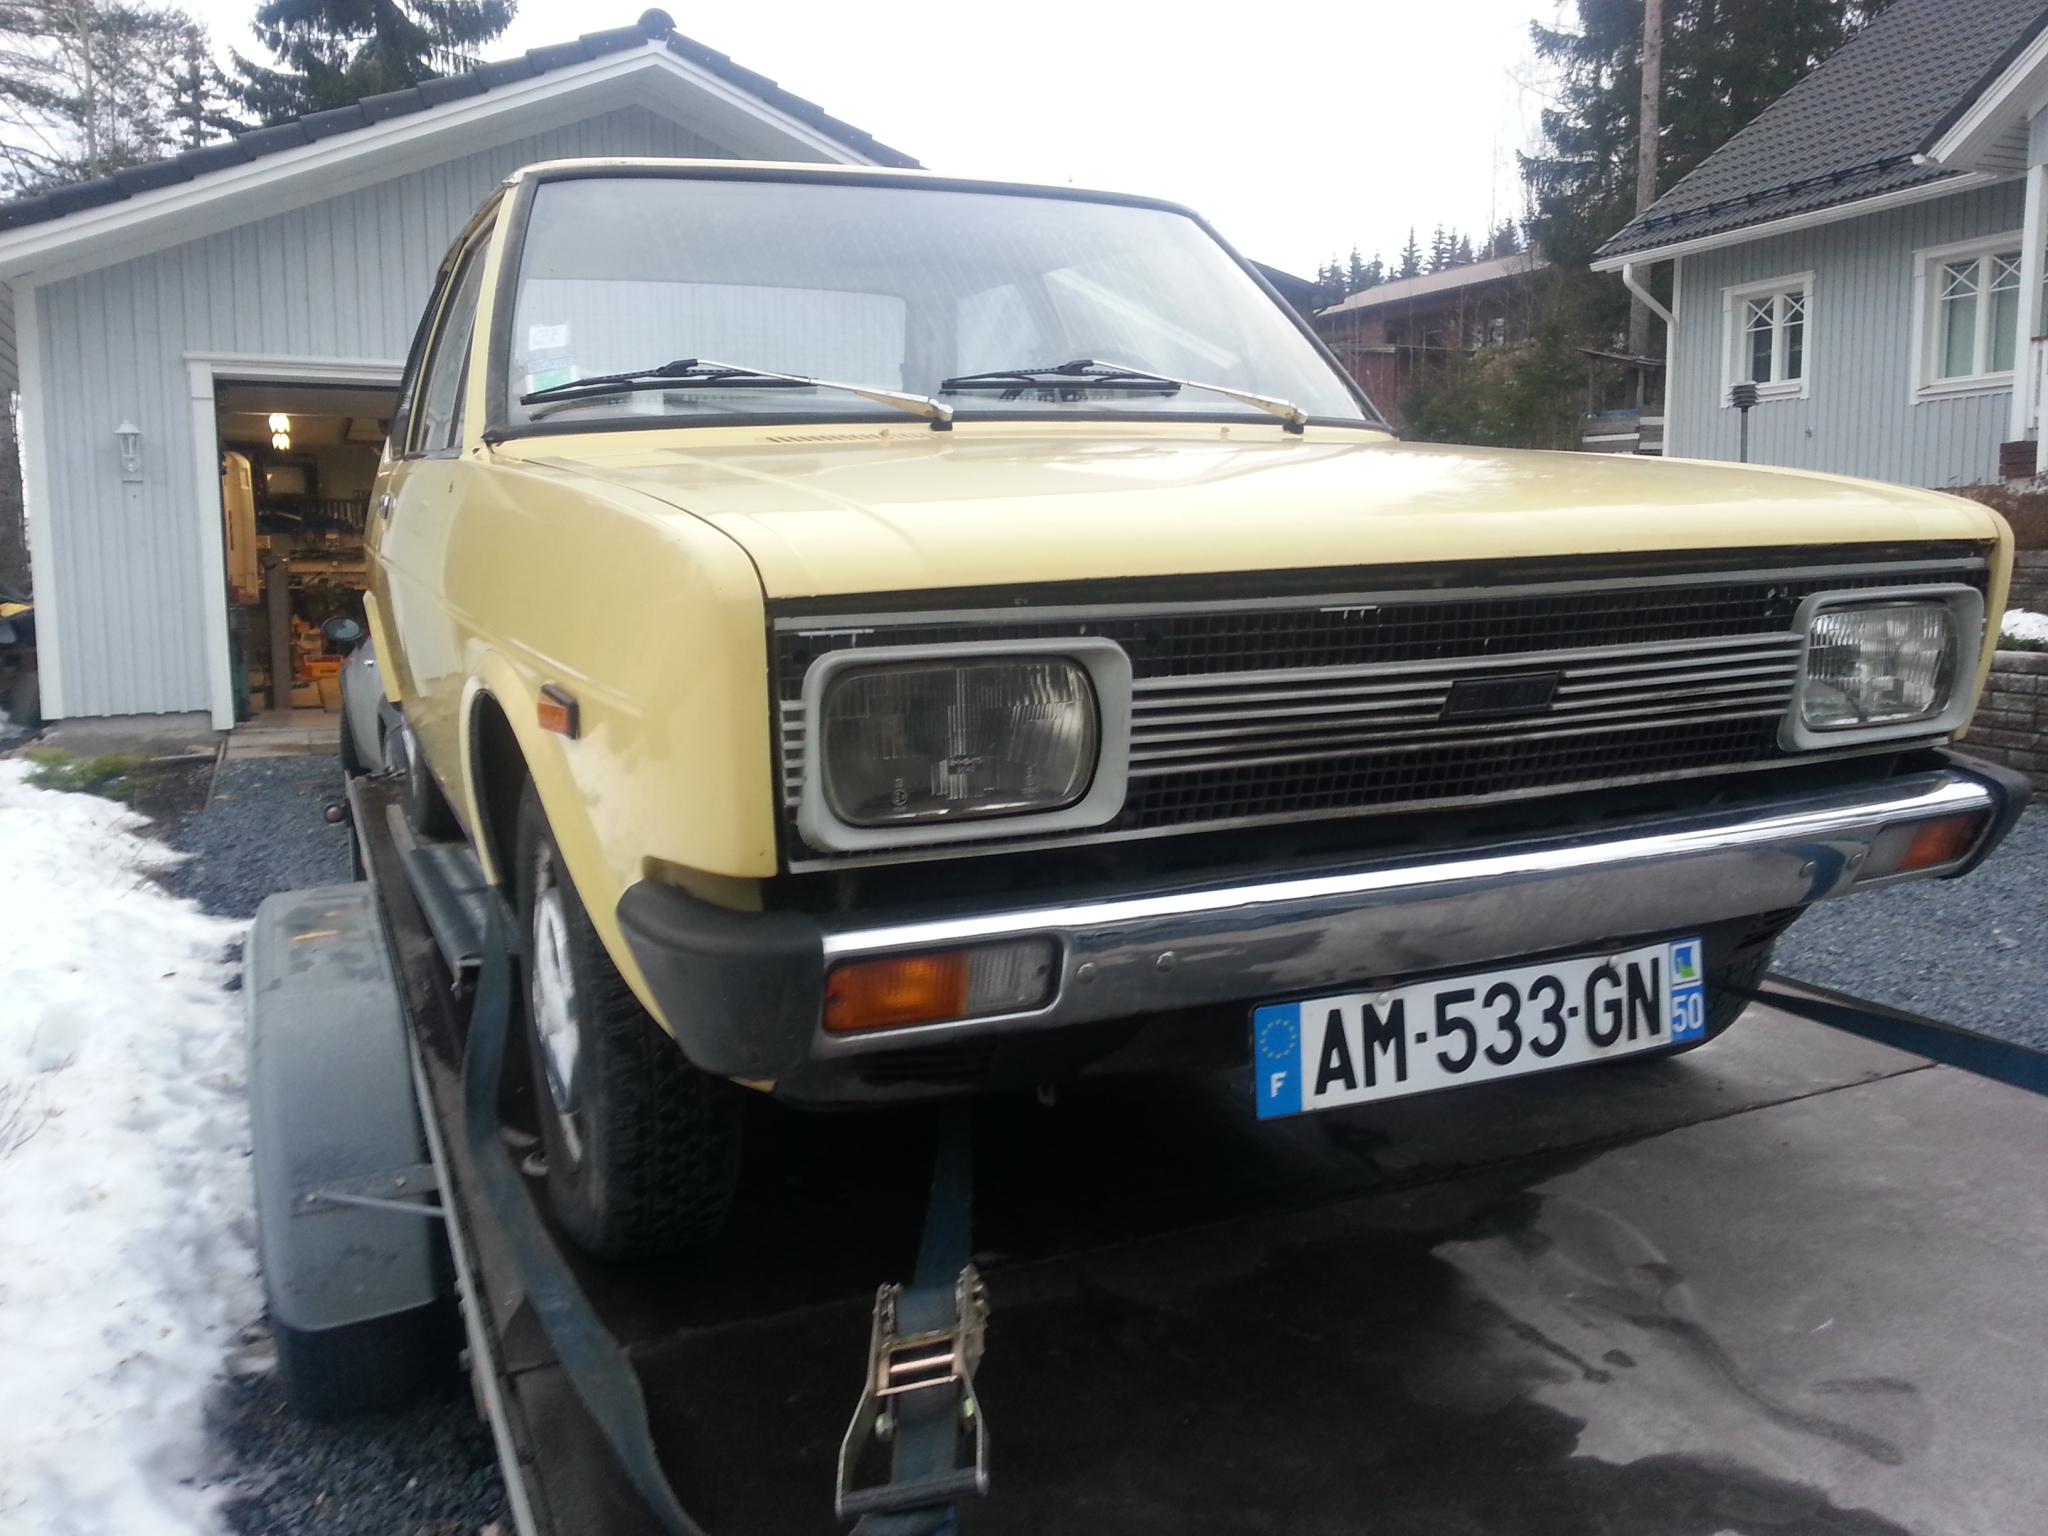
11.4.2013 I washed the car and took to my own carage. Lifted it up and checked how it looks. Its better I hoped! Though, there has been some body repairing and I did find two rust holes, but mainly it seems to be one of the best 131 Ive seen in long time. 


 8.4.2013 This was a big day for the project. I finally got the car itself. Its really early version, dated at 4.4.1975 with serial number of 26xxx, the serial started from 1. Its pretty nice, forexample the trunk was like brand new, new and shiny looking! There were some rust, but not much for a Fiat from -75..
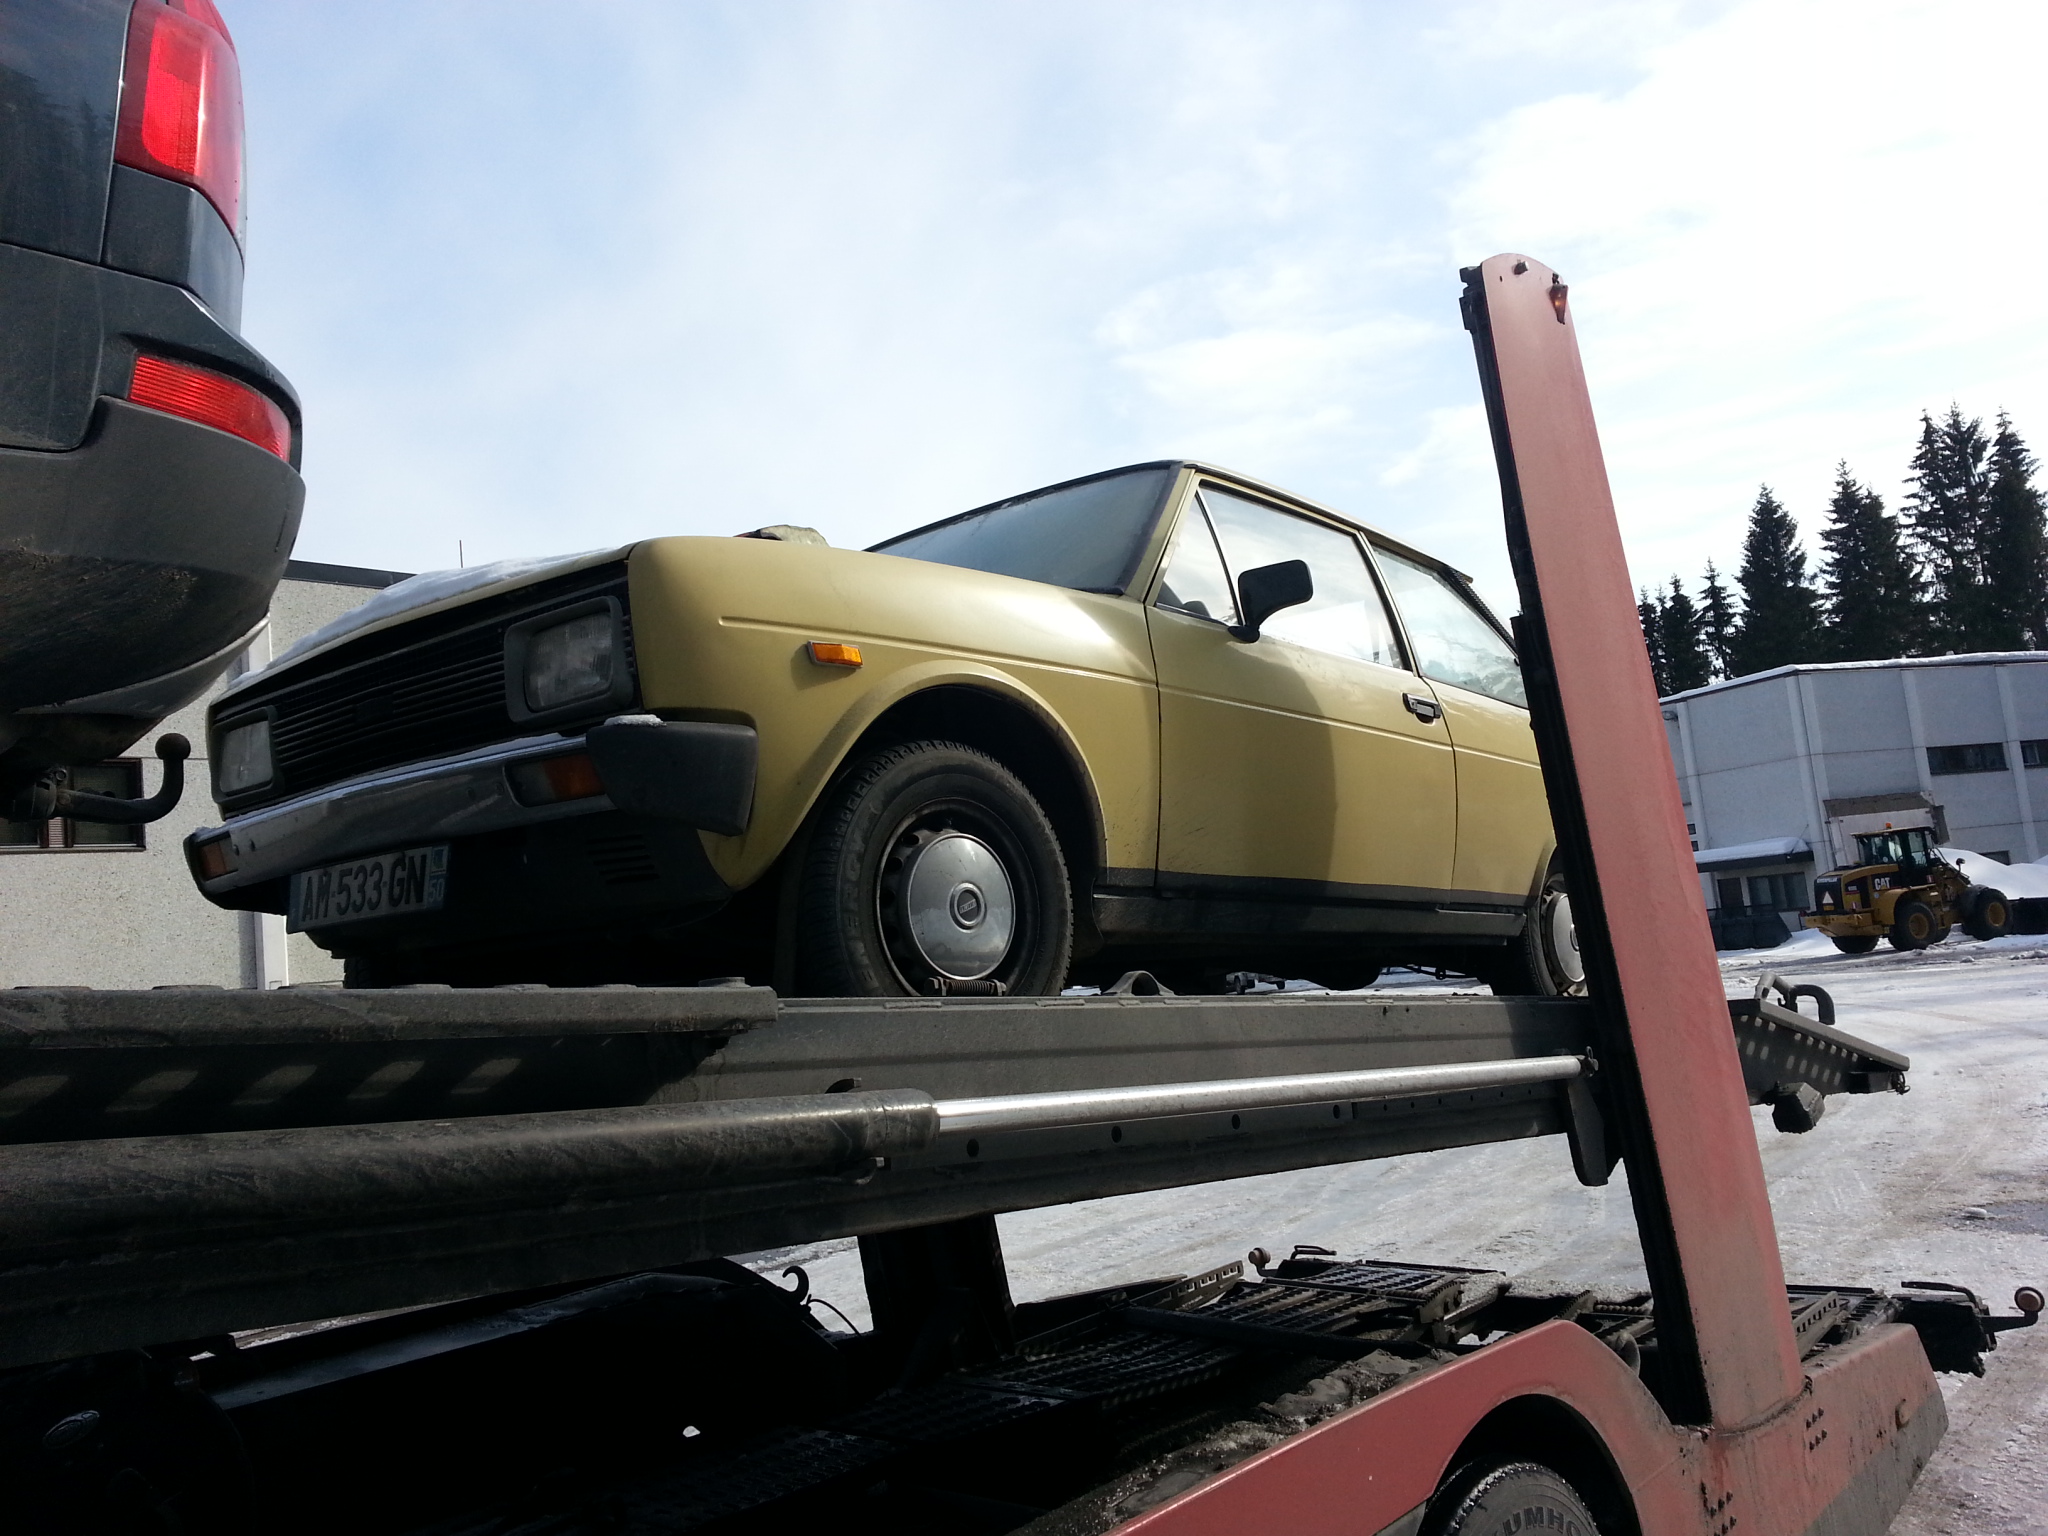
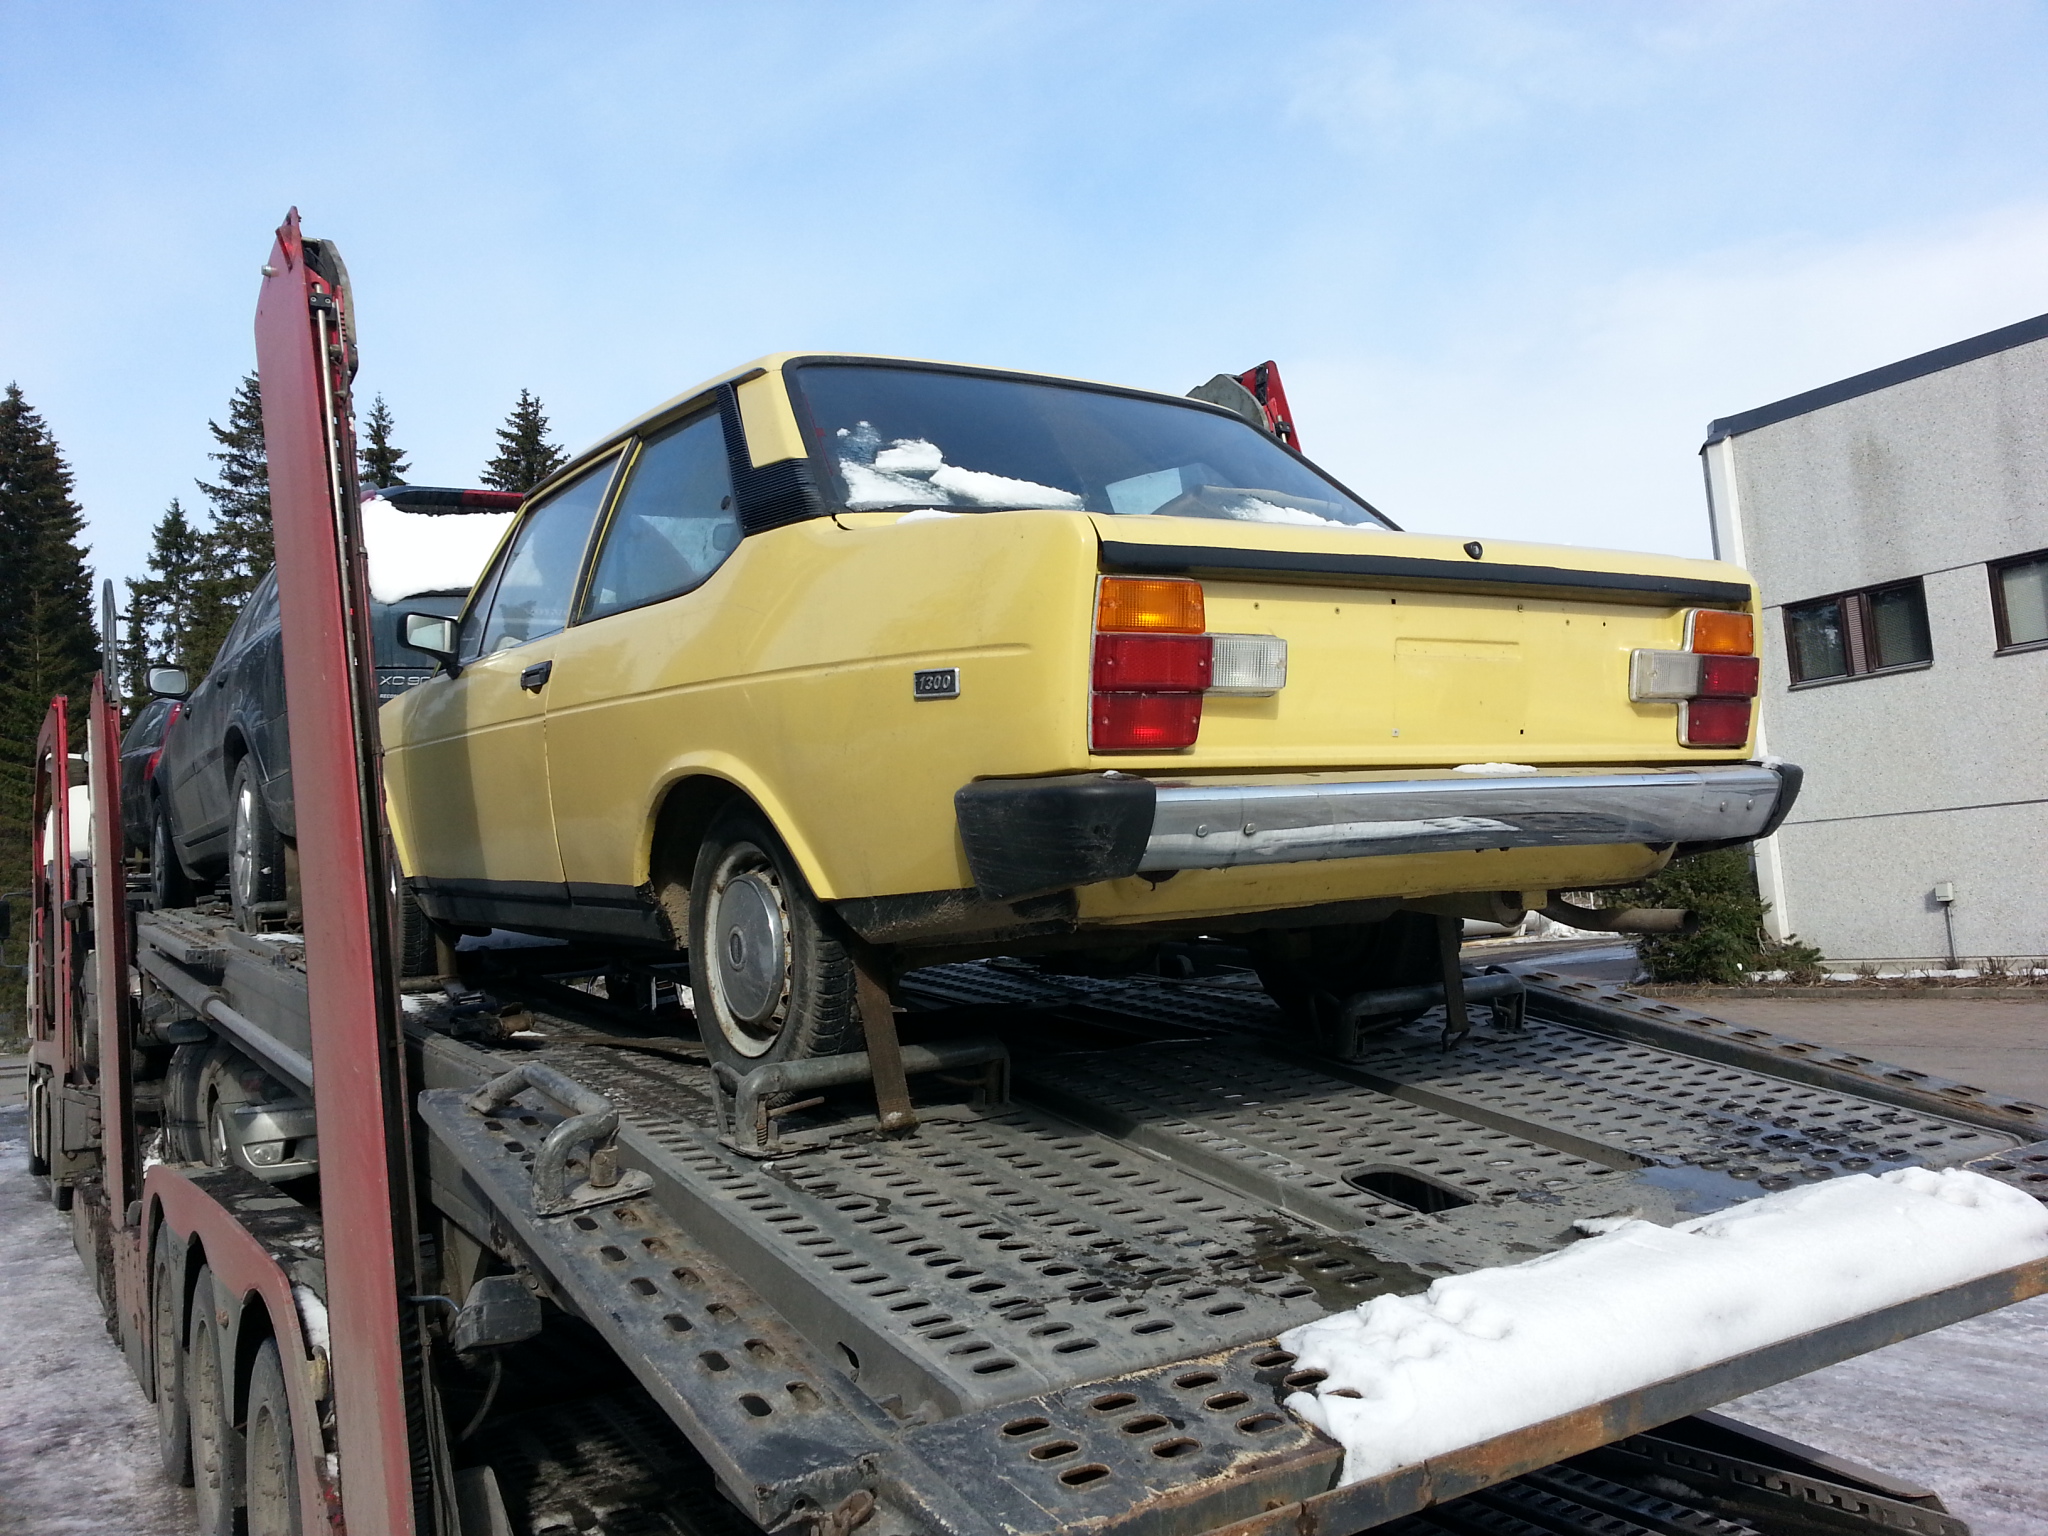
 Here it comes. Its 2500km from Belgium to Finland.

 Looking nice! Its going to be stripped soon. After all parts are out it goes to rollgage installation. Before that I need to know if Im going to use g.4 style rollcage, or more modern (and safer) type. If Im going to circuit racing I will make the g.4 style, if Im going to drive rallies, then I would like more pipe… There are no trees on race tracks.. 26.3.2013 I just got some new lights. Now I have two and half pairs of rear lights and three pairs of registration plate lights. 10 pairs of front side flashers and a pair of 7″ front light mounting pods, two pairs of 7″ Carello rings for the lamps. But now front spoiler flashers and no 5,75″ driving lights nor their pods.
  22.2.3.2013 .

 The first dashboard I made was made by waterjetting. I wasnt happy with the cut quality, so I had another set done in the lasercut. Finally the finishing was on the level I hoped.
 When I had the Racing body, I seeked and found the 1st version rear lights, I still have it though I will not need it anymore. I also have parts for the large front lights. Two pairs of rings, and one pair of bottom cups in 7″. The lamps were broken when they arrived… 21.3.2013 I found a xbrace from UK. I got it months ago allready, and its waiting to be cleaned. Its real works xbrace, and it has had some hard times during its life. The sumpguard mountings has been changed, you can see the welding is poor compared to other weldings. Its been boxed and has all the extra braces works team used. It looks like its couple of millimetres bent, I tried to press it straight in my hydraulic press, but its too small. I need to visit some garage to find larger press.
 As you can see I have grinded the sumpguard mountings away. I hammered it straight and now I will weld the brackets back. After that it will be mediablasted and powdercoated. I know works team didnt powdercoat the parts. This will be one of the small thing Im going to do differently. Powdercoating is so much thicker and harder than normal spray paintings. It will last years longer. 19.3.2013 I have bought several 131 2d bodies to start making the g.4. The first one was -75 2d. It was so terribly rusty that it needed practicly all metal structures at bottom. The complete floor should have been changed etc. See pictures below.

 It seemed so large project I sold it away and bought another body. This one was a Racing body. It had been once welded allready. It was a lot better, but the floors had been made from straight sheet metal. I wanted original looking floors cause rally car dont have carpets. So, this had to go also.

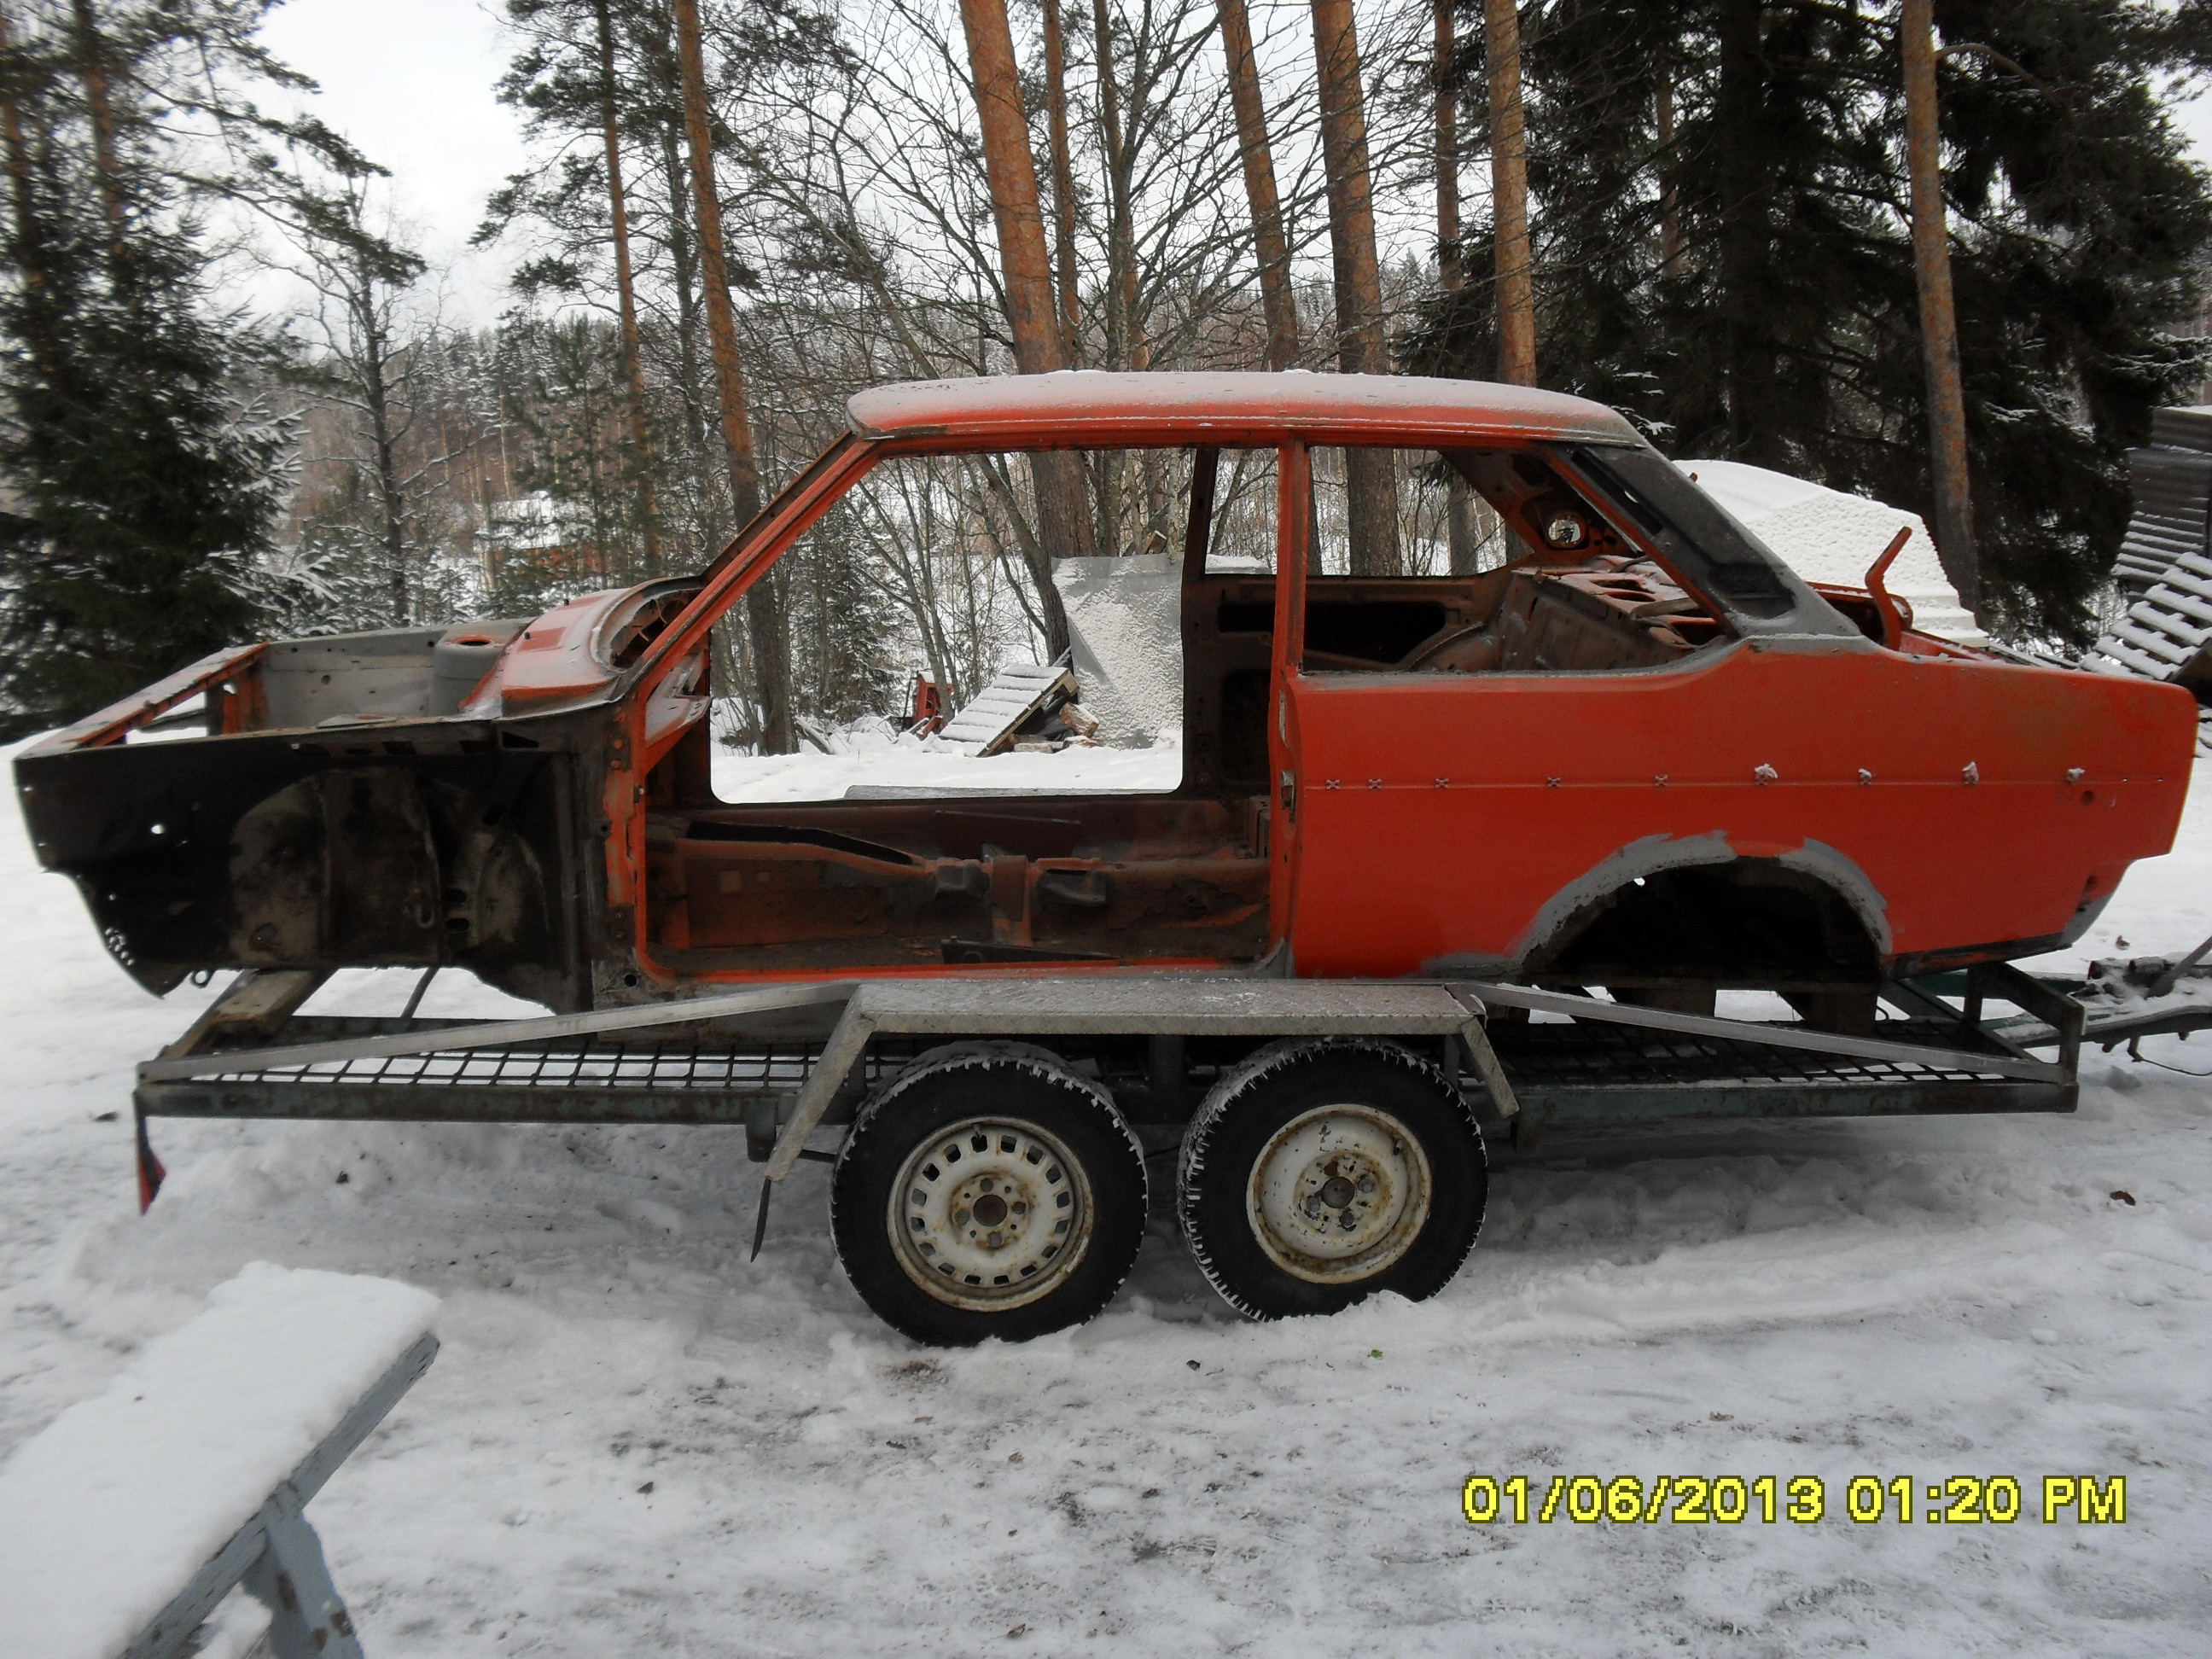 Luckily I could find a better car from europe. I will have it in few weeks. Then I will put more pics from it. The first job is to strip it and see what it needs repaired. It is -75 2d so I dont need to change the rear lights. Hopefully it dont need rust work. Then its going rollcage assembly. After that it comes for seam welding and bodymodifications starts.
Update 22.3.2013